

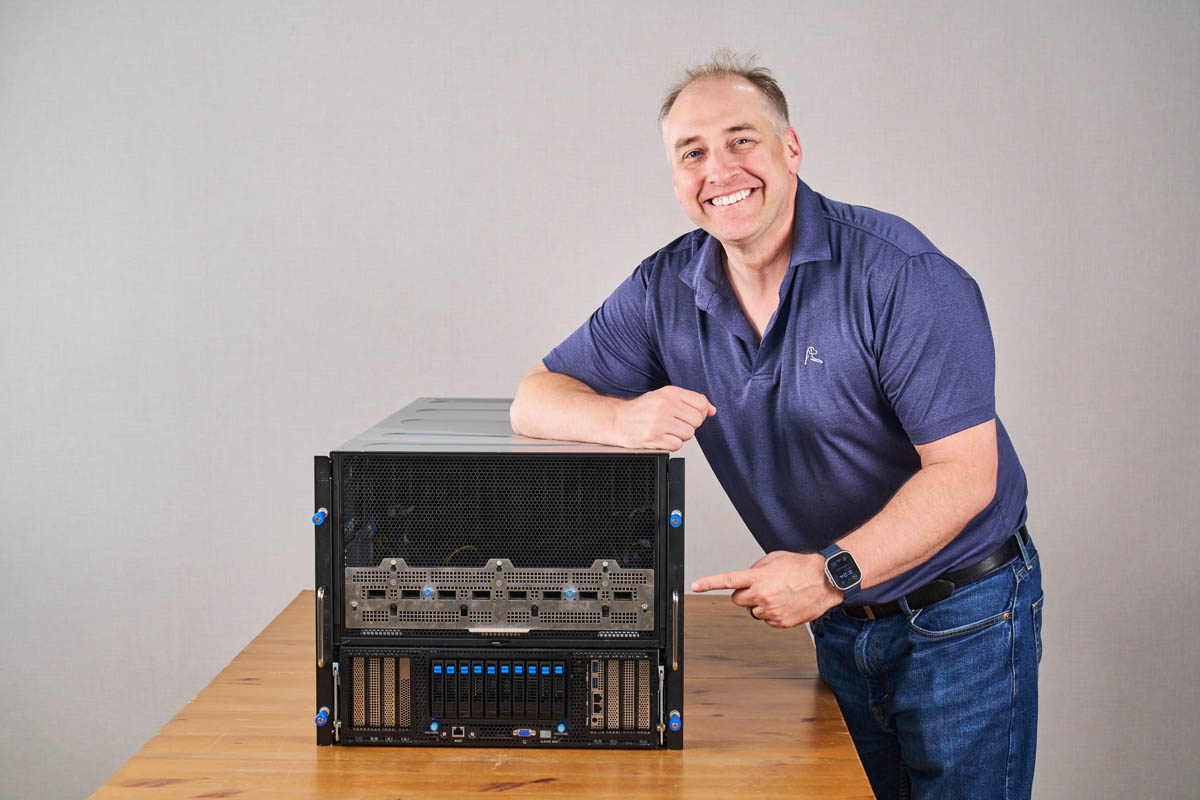
The ASUS XA NB3I-E12 is a huge server. Occupying 9U of rack space, it brings a cutting-edge NVIDIA Blackwell Ultra subsystem along with Intel Xeon processors and over 6.4Tbps of networking in a form factor that is relatively easy to integrate into data center racks. Today, we are taking a look at this NVIDIA HGX B300 8-GPU platform to see just how much it offers in an air-cooled chassis, and what makes it different from previous versions.
If you prefer to listen, we have a quick short above. Note that we got access to this server when in Taiwan a few weeks ago, so we have to say it is sponsored. We had our own conference room to take apart the server before putting it in the racks to test. Let us get to it.
ASUS XA NB3I-E12 Hardware Overview – Front Components
The system itself is giant, at 9U in size. This view shows that more than half of the height is dedicated to the heatsinks on NVIDIA B300 GPUs. Liquid-cooling makes a lot of sense for AI servers, but air-cooled GPUs can mean systems fit into existing racks and data centers. That is what ASUS is after here.
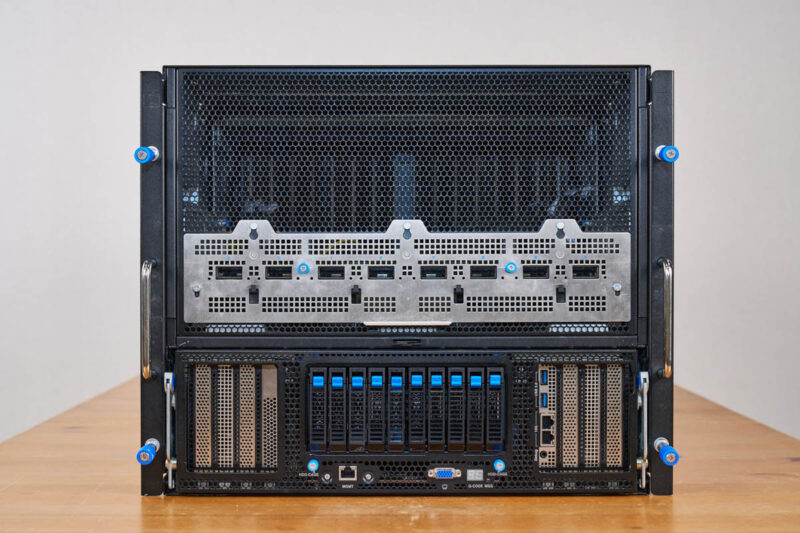
Next up is one of the major changes between the NVIDIA HGX B200 and HGX B300 platforms. Namely, the HGX B300 8 GPU baseboard has eight NVIDIA ConnectX-8 NICs onboard. Each of those provides 800Gbps XDR Infiniband links dedicated to each GPU, and so they need a way to communicate with other GPUs in the cluster. Whereas the NVIDIA HGX B200 and older systems required PCIe GPUs (or customized modules), this is now a base feature in the new systems.
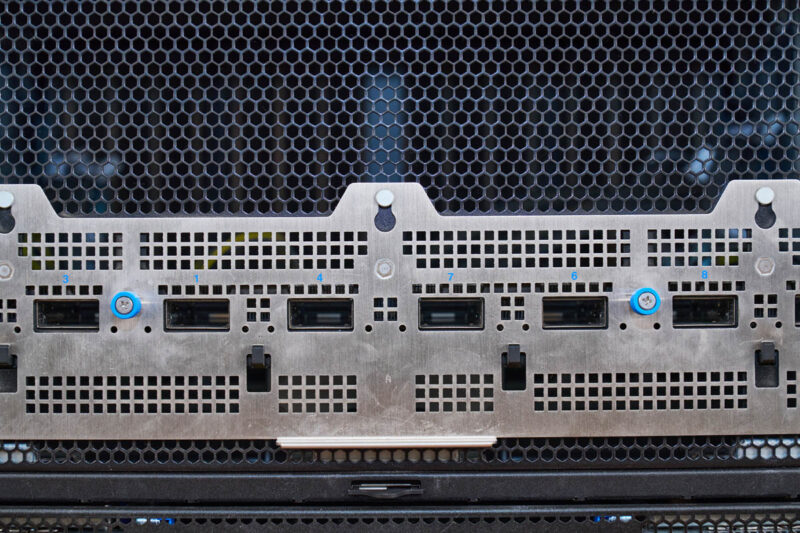
At this point, you may have caught it. If not, here is a closer look. I asked ASUS about this, and apparently, the ports are labeled correctly and are not supposed to be numbered 1, 2, 3, 4, 5, 6, 7, 8. Instead, the official rack wiring is supposed to be 2, 3, 1, 4, 7, 6, 8, 5. That is one we do not hear about a lot in the industry, but it was a neat nugget to learn.
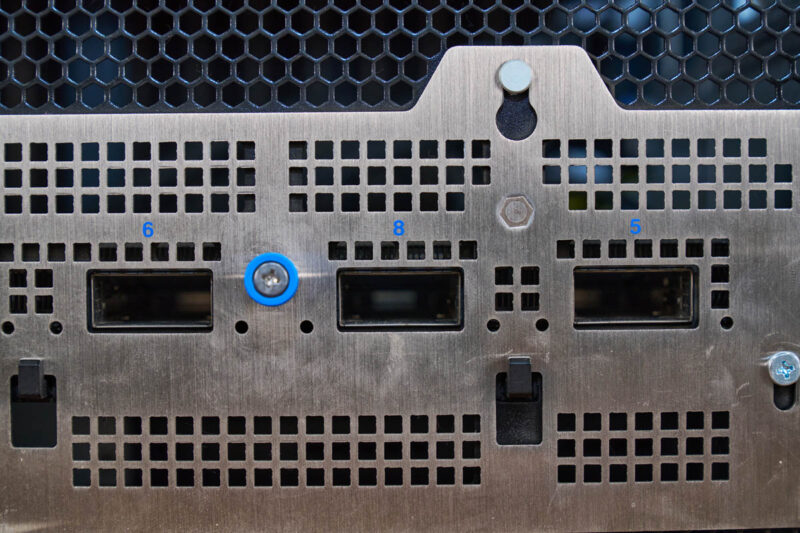
You might be wondering if the other end of the OSFP cages is the NVIDIA HGX B300 baseboard. It is not. Instead, these modules connect to the baseboard via cables.
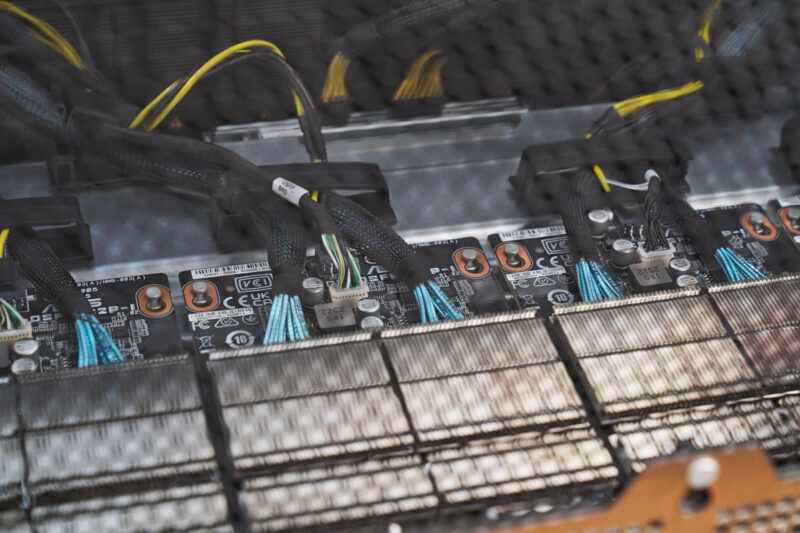
The cages have some significant heatsinks around them, and they are cabled to the NICs.
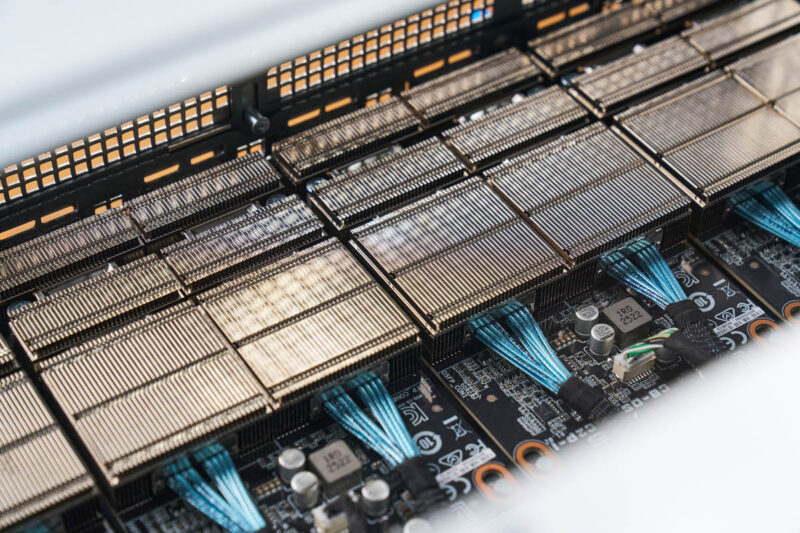
Those NVIDIA ConnectX-8 NICs are really for East-West GPU-to-GPU traffic. Of course, there is an opportunity to add more NICs to the North-South network, which covers connectivity use cases such as going to storage. On the left-hand side, there are PCIe slots for cards like the NVIDIA BlueField-3 SuperNIC (DPU.)
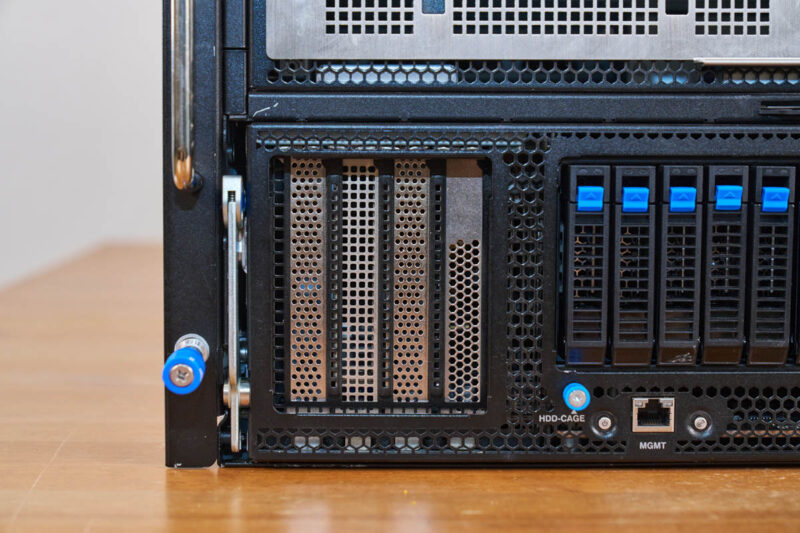
In the center, we get storage and I/O.
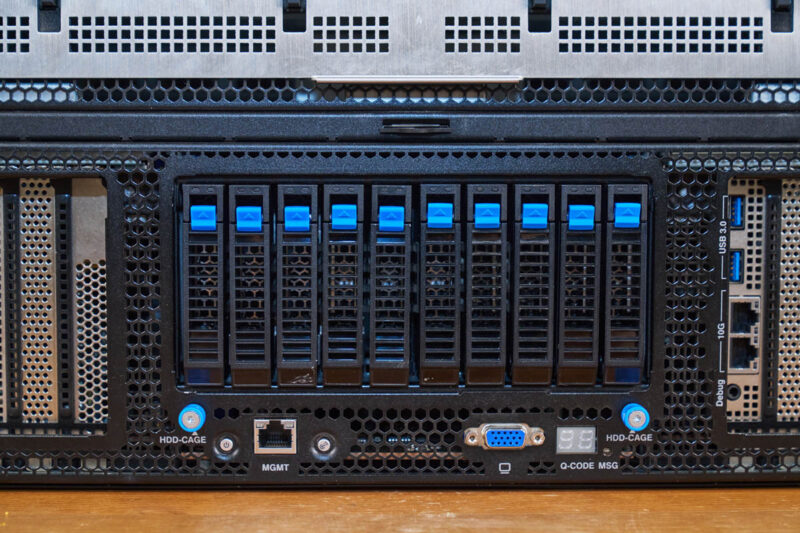
In the center section, we get U.2 NVMe drive bays. Each GPU generally gets its own NVMe SSD in this type of system.
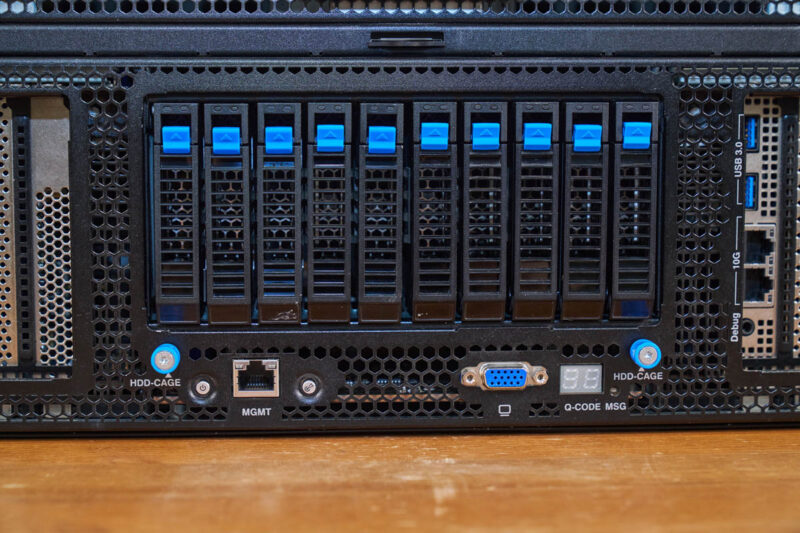
On the bottom, we get the IPMI management port and very tiny buttons. This is a big system, with a small power button.
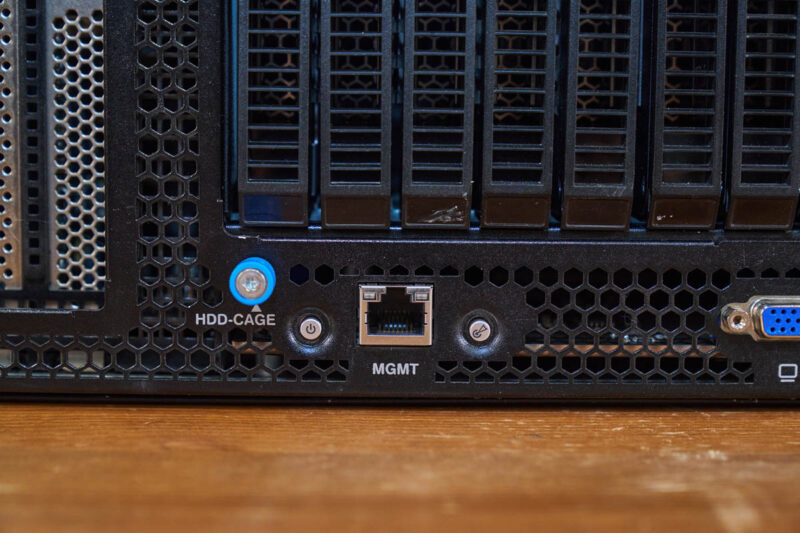
There is also a VGA port from the BMC’s onboard GPU. Then, there is the Q-CODE MSG. This is a neat feature that ASUS has had on its servers for many years. That display shows the POST codes. It may not seem exciting, but we once had a rack of 2U 4-node ASUS servers, and this display helped us quickly see which one had not booted.
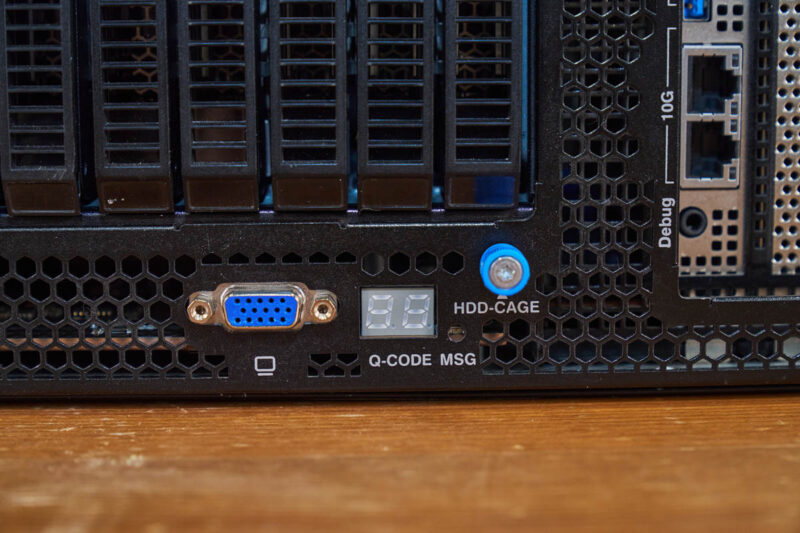
On the right side, there are additional PCIe slots, but one of the expansion slots also has USB ports and dual 10GbE NIC ports via an Intel X710-AT2 NIC.
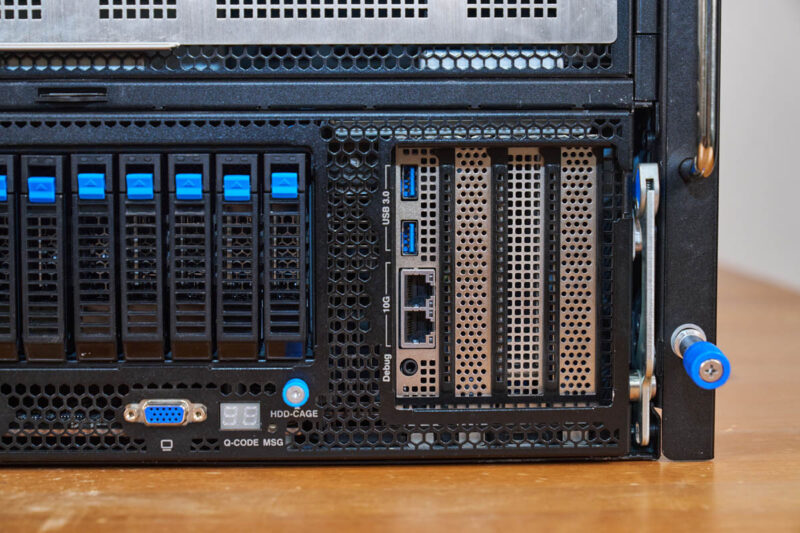
If you see those big levers on either side, that is actually a neat feature. The entire front section can be removed from the chassis to service.
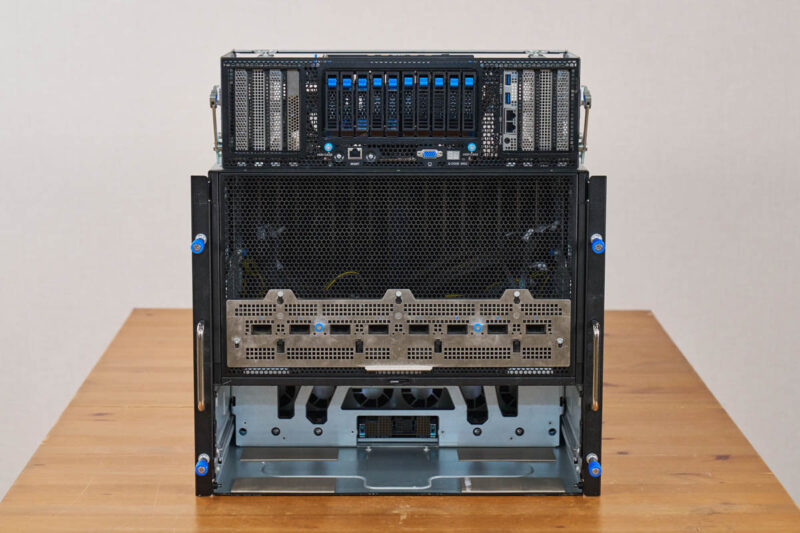
Here is what that cavern in the chassis looks like. You can see the connection to the CPU motherboard tray and also see the fans to keep the CPUs, memory, NICs, and storage cool.
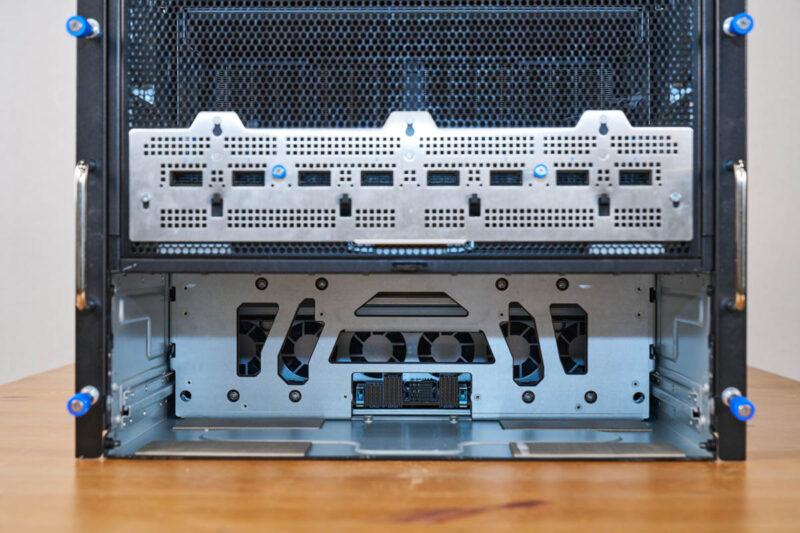
Since this is a fairly large assembly, there are rails inside the chassis for the assembly to slide on.
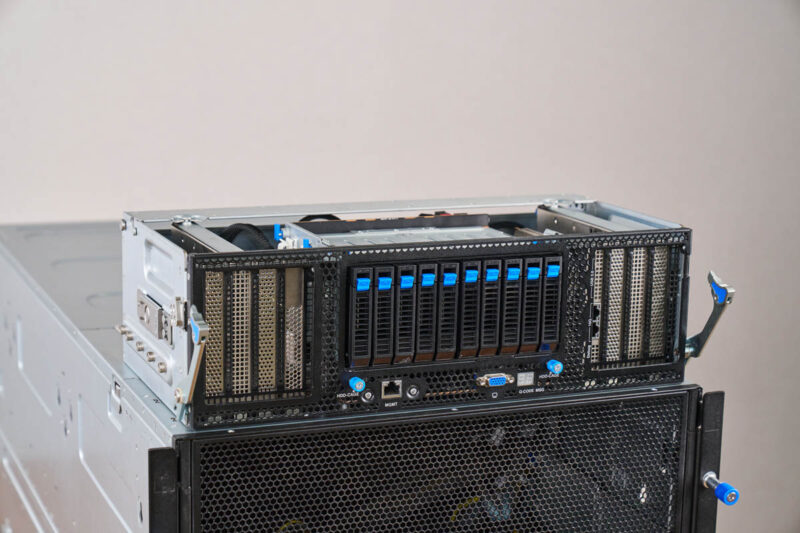
Taking a look at the top of this, you can see the big SSD cage flanked by the PCIe slots.
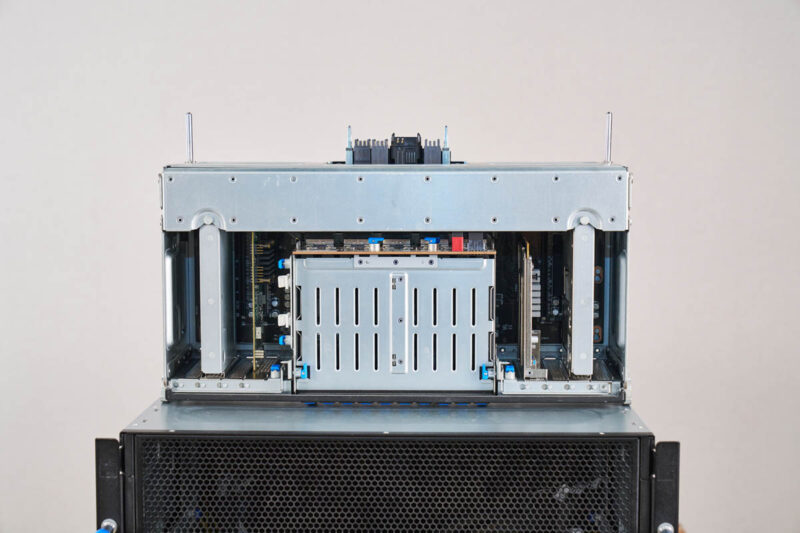
Here is the left side.
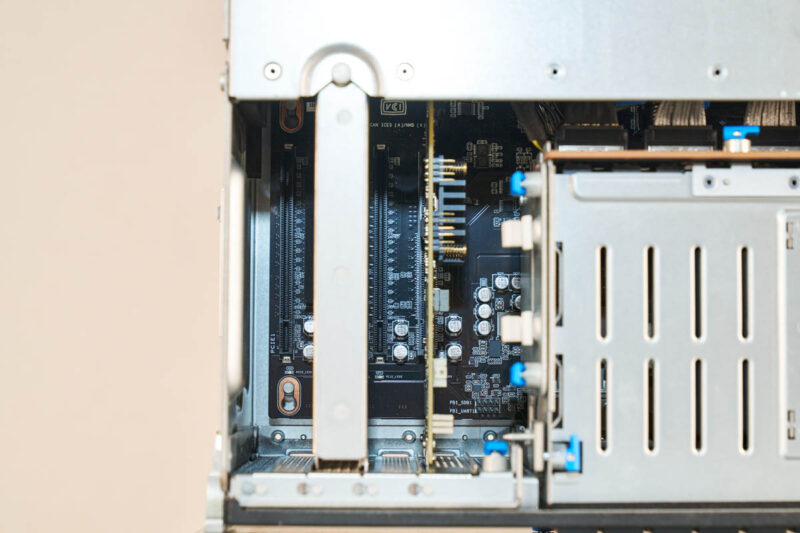
Here is the right side. Pulling these out makes it easier to replace PCIe cards in the system and that is part of the ASUS modular approach.
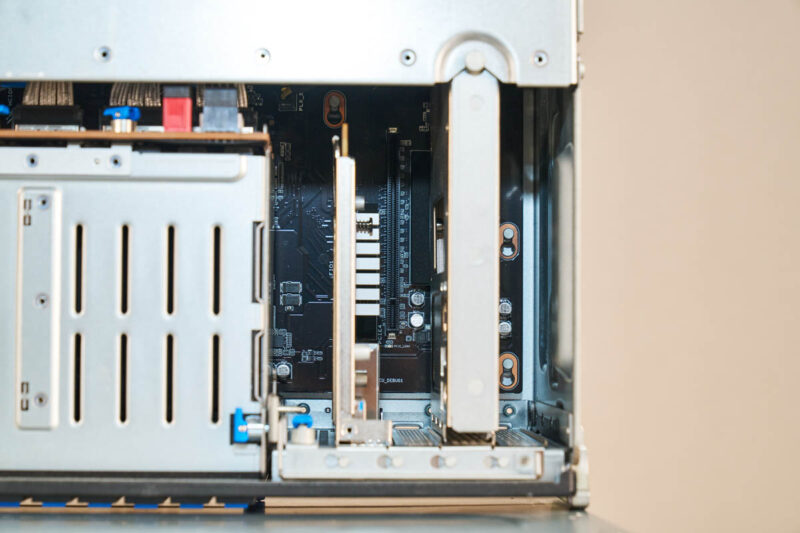
Here is the rear of the front assembly.
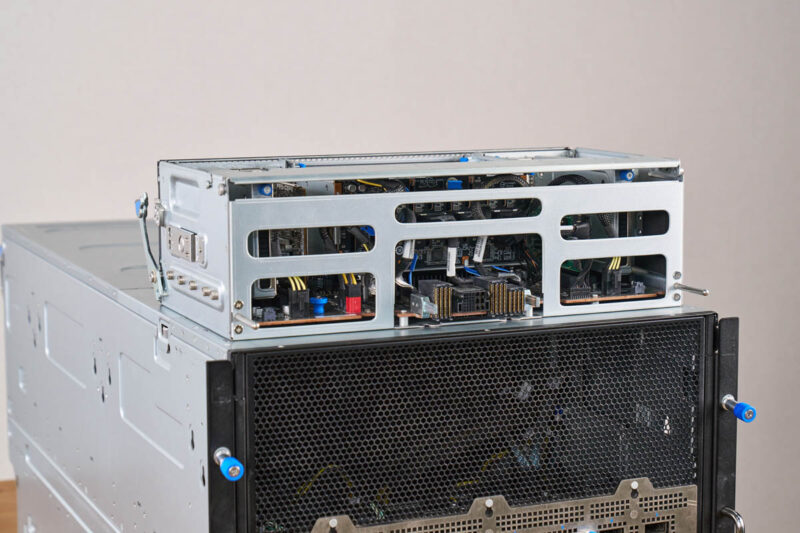
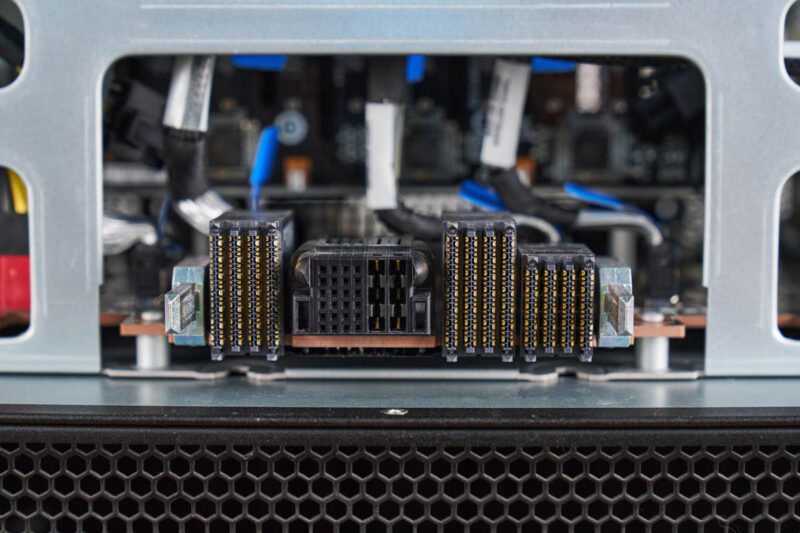
Since it is designed to slide in and out, there are high-density connectors so that this board can connect to the CPU tray.
With that, let us get to the CPU tray.

Deepseek v4 Pro numbers would have been interesting to see on that beast.
Also power per token would have been a very interesting benchmark to see, maybe one for future articles.
I swear whenever I see one of these GPU servers, all I can think about is how heavy they must be fully loaded with GPU’s, heat sinks, power supplys and etc…
My knees and back ache just thinking about it.
@mashie – I think we did the testing for this before Deepseek V4 Pro was out.
@MobileJAD – VERY HEAVY. “In the old days” I could solo lift the 80-100lb 8x GPU servers into a rack. Now, it takes 4 people to lift. A huge portion of the server is heatsink and steel.
@Patrick Kennedy, how about measuring energy per token on the various platforms you try out going forward? Fast and power hungry Vs slow but efficient would be a very interesting metric for comparison.
@MobileJAD: We use hydraulic scissor jack lift tables to rack these things up, like the guys in auto shops do to lift and drop engines and transmissions.