

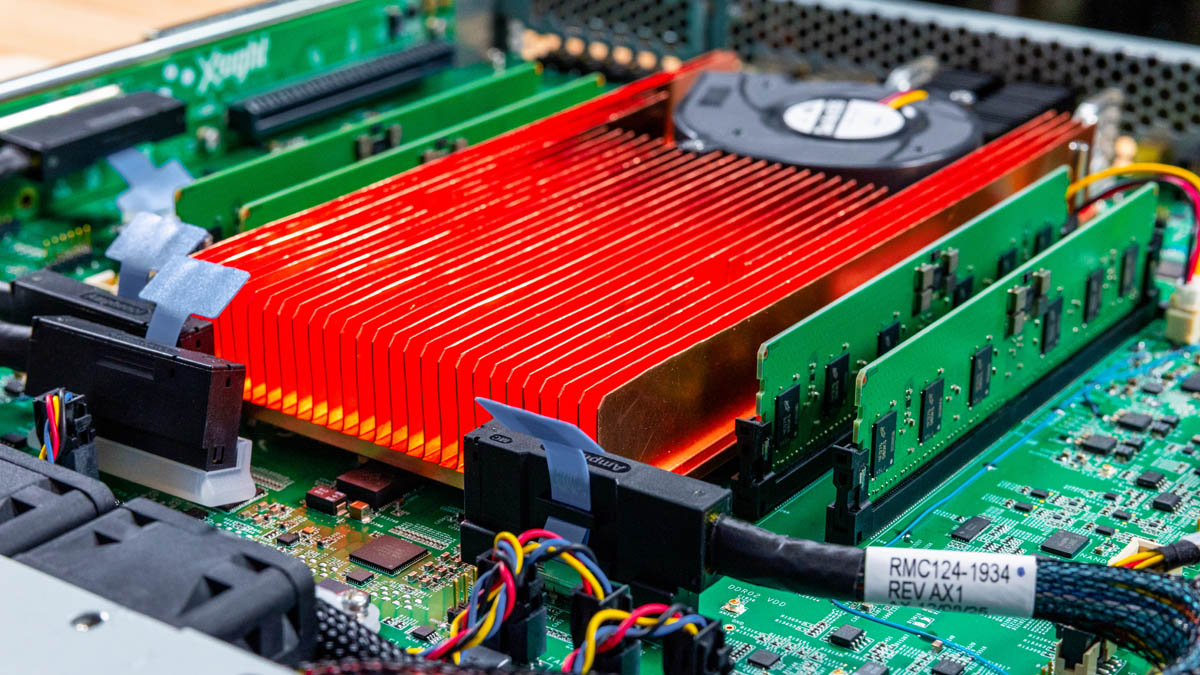
This is a fun one. A major challenge when we did old Arm servers was just getting OSes installed, with Ubuntu usually being the easiest. The Arm ecosystem has matured massively. To the point where I challenged the team at Xsight Labs to a simple task: “Can I try to install a vanilla Ubuntu LTS ISO on the DPU?” This may sound trivial, but this is not just an Arm system. The E1 is marketed as an 800Gbps DPU. This is actually installing Ubuntu directly onto an 800G generation DPU, which many other Linux-running DPUs cannot do (looking at you, Octeon 10).
Part of Xsight Labs’ value proposition is that they have many cores that can be used for general-purpose tasks beyond just moving data, such as running storage stacks. Installing and running Ubuntu LTS directly from ISO is perhaps the big test to see just how friendly a DPU or system is. Long-term, if a DPU requires special OS and image versions, you are at the vendor’s mercy for support. If you can use the device with just a vanilla installation, it has a longer useful life. With that, we got the hardware, and it was time to run the experiment.
What is the Xsight Labs E1 DPU?
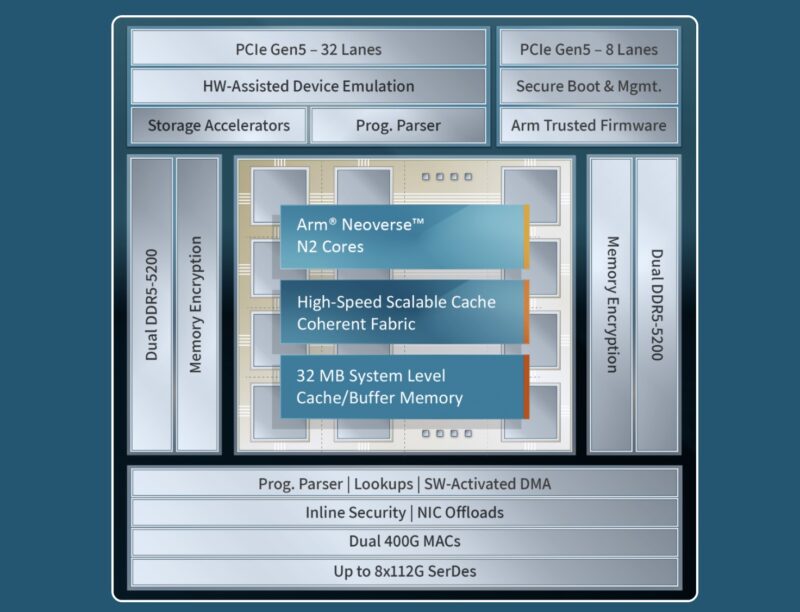
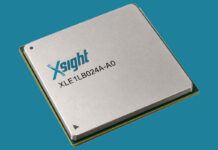
A quick reminder since we went into the chip Xsight Labs E1 DPU Offers Up to 64 Arm Neoverse N2 Cores and 2x 400Gbps Networking. The basic parts of the DPU are its 64x Arm Neoverse-N2 cores with DDR5-5200 controllers, 40 PCIe Gen5 lanes, and dual 400G MACs. For context, the Microsoft Azure Cobalt 100 has 128x Arm Neoverse-N2 cores, meaning this is roughly half the compute of a hyper-scale cloud Arm CPU.
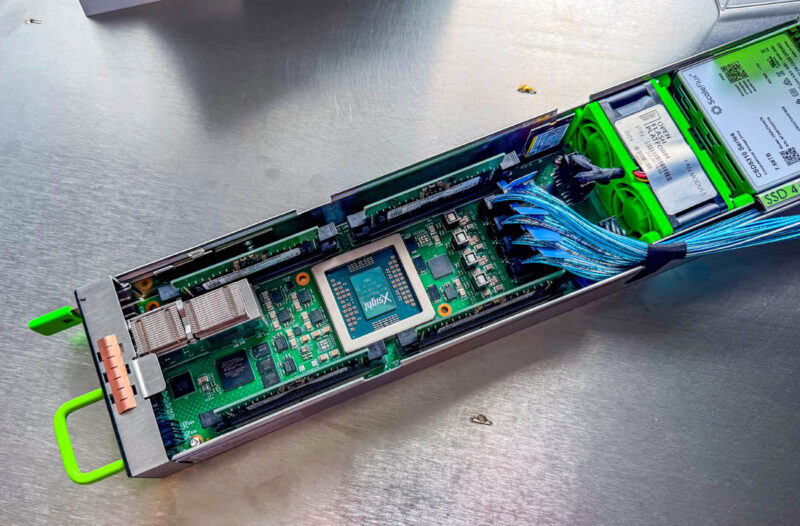
At OCP Summit 2025, we showed the Hammerspace AI storage solution, which used a chip in a sled with a bunch of SSDs for high-performance storage, since the 2x 400G network bandwidth roughly matched 8x PCIe Gen5 NVMe SSDs.
Earlier this year, we showed you the test system This is the Xsight Labs E1 DPU An 64-core Arm Neoverse N2 800G DPU.
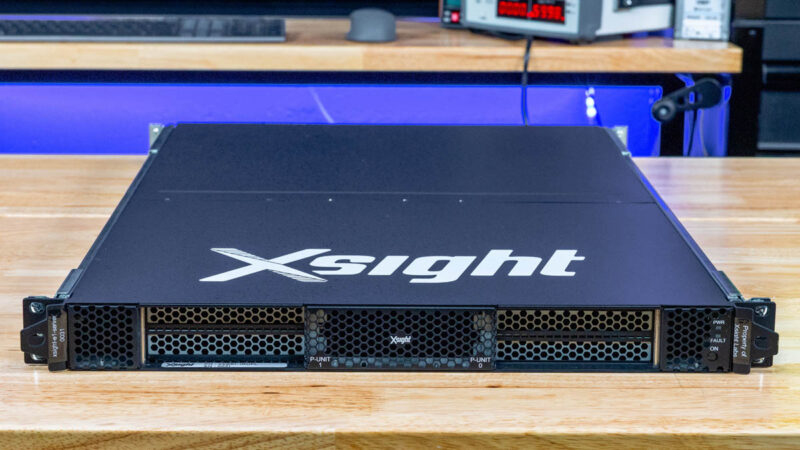
To be clear, this is not the PCIe version, nor the custom OCP sled, but it is a development platform that you can plug other cards and drives into.
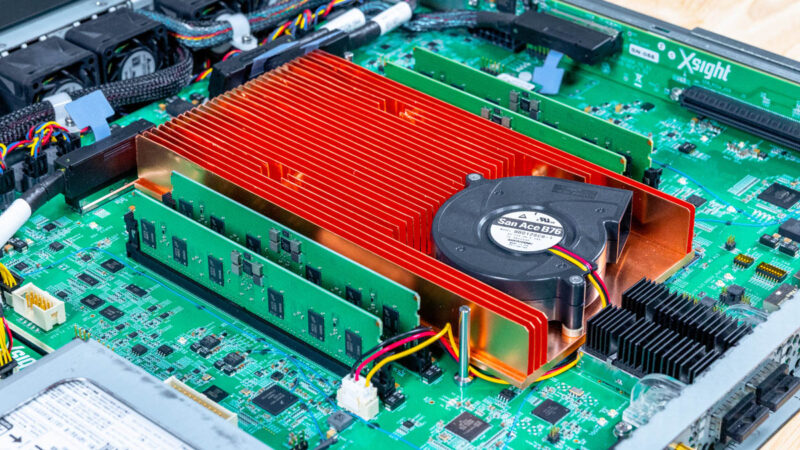
In case you were wondering, the entire setup pulls something like 100-104W at the wall and is quite loud. That is normal for a development system, but when you factor in four DDR5-5200 ECC RDIMMs, a dedicated power supply, and a bunch of fans, you can see how this can quite easily translate into a PCIe CEM card form factor and still be cooled. Other DPUs on the market that do not list their power specs use not only the 75W available from the PCIe slot, but also have auxiliary power inputs.
Getting Set Up to Do the Ubuntu Installation
Installing is probably very familiar to those who regularly work with preproduction hardware or edge boxes, but less so to many server admins today. Instead of using a BMC interface with a HTML5 iKVM, or hooking up an external KVM device, there was a clear challenge: we did not have a VGA port.
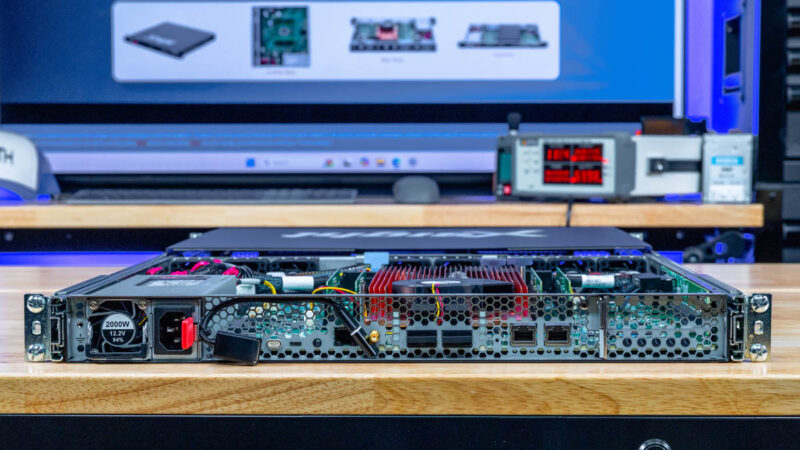
We also had a single USB port to work with and wanted to avoid any custom drivers. As a result, we used a USB hub to handle a USB flash drive with the Ubuntu 24.04 LTS arm64 edition, and a cheap Realtek 1GbE NIC. We then used a USB to audio jack serial console connection at 115200 baud rate and we were set. A serial console, a USB drive for loading the OS, and a NIC to update everything.
Installing Ubuntu 24.04 LTS
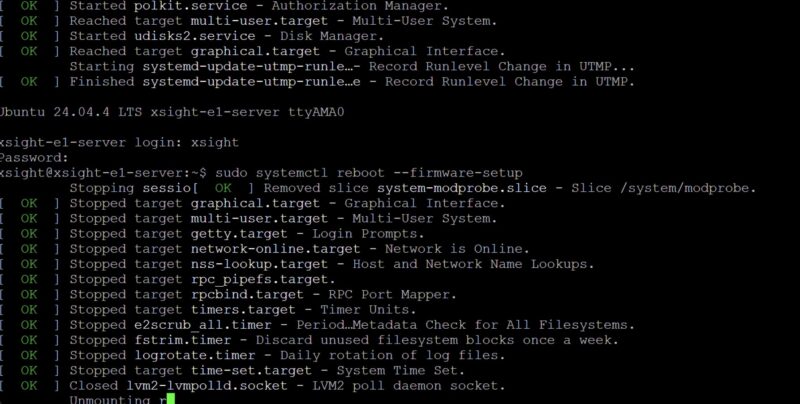
The first step is that we needed to take the machine and reboot it to the boot manager. I also wanted to see the BIOS, so we did a quick sudo systemctl reboot --firmware-setup so that the system would reboot to BIOS not to the currently installed OS.
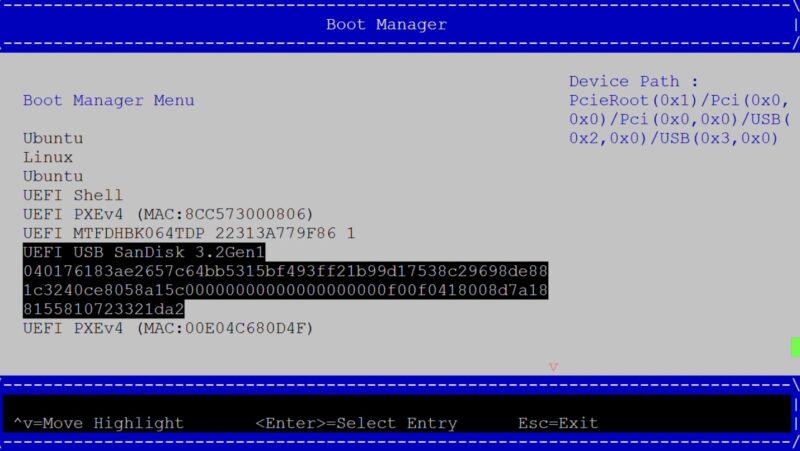
Next, we were in the BIOS via the serial console connection. This is a far cry from a gaming UEFI BIOS, or even many server BIOS in terms of options, but we really just needed to change the boot device.
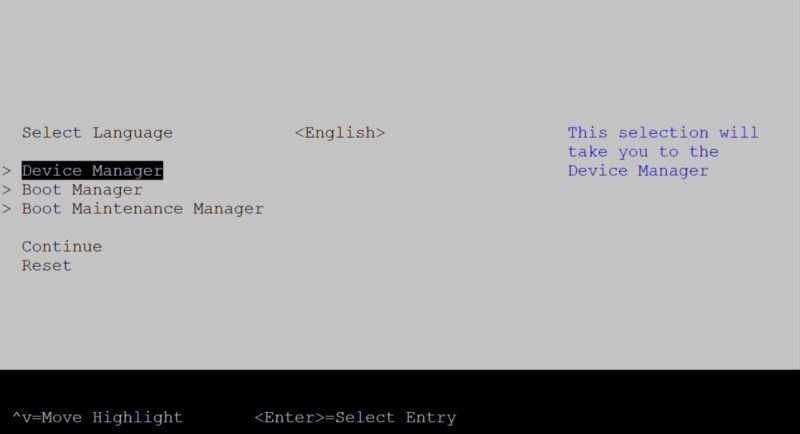
Here we are showing that we are selecting the Sandisk USB to boot from.
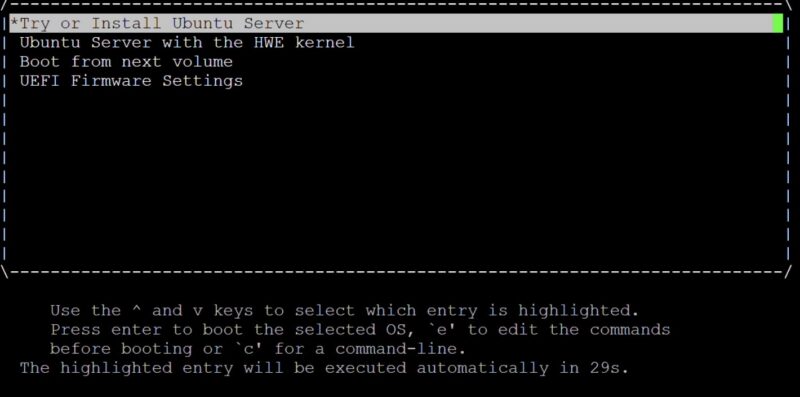
A few moments later, we were at the Try or Install Ubuntu Server screen.
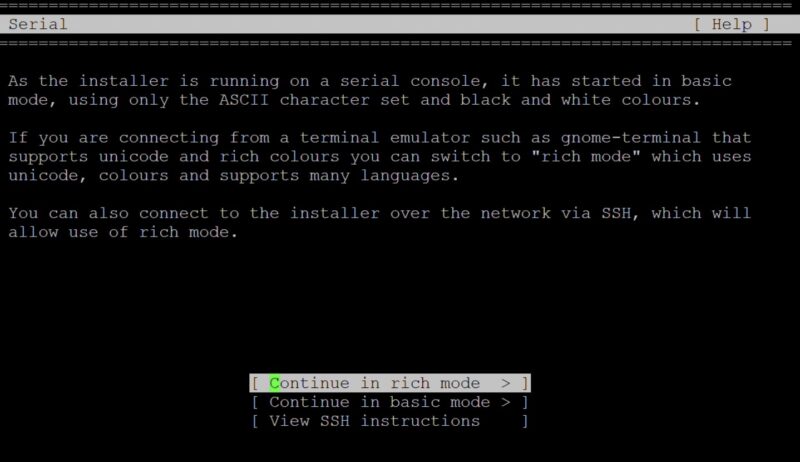
Since we are on a serial console, we got asked whether to use rich or basic mode. We are going to use rich, but we tried both.
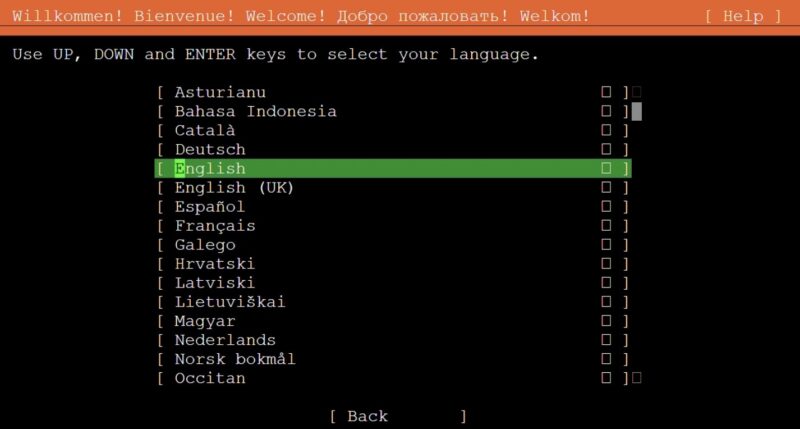
Then we have a standard language selection.
Storage configuration (we are skipping the networking and repo checks here.)
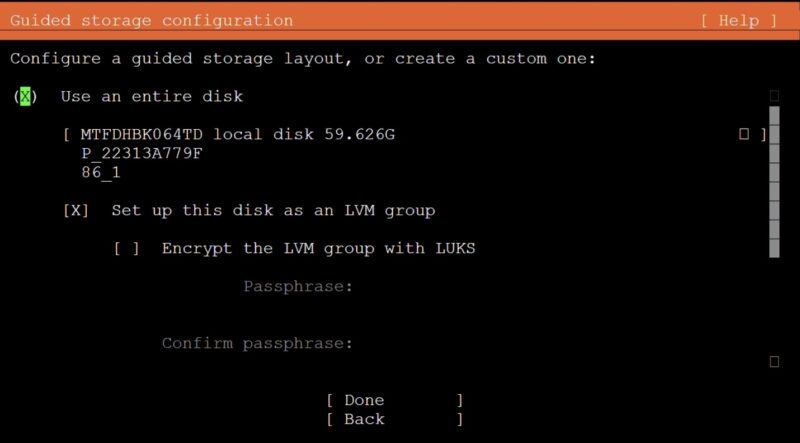
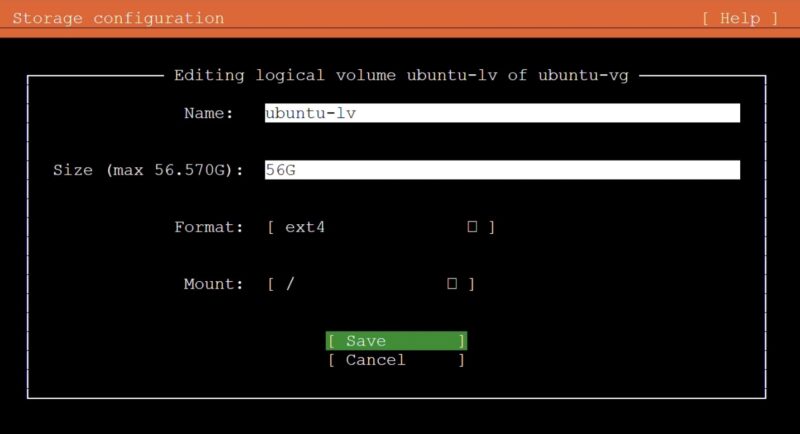
A quick edit to the storage config and we were ready to go.
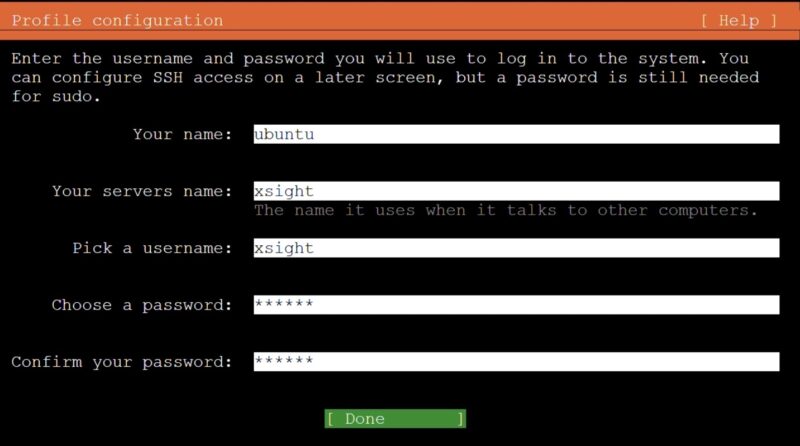
Then we needed a username and a password.
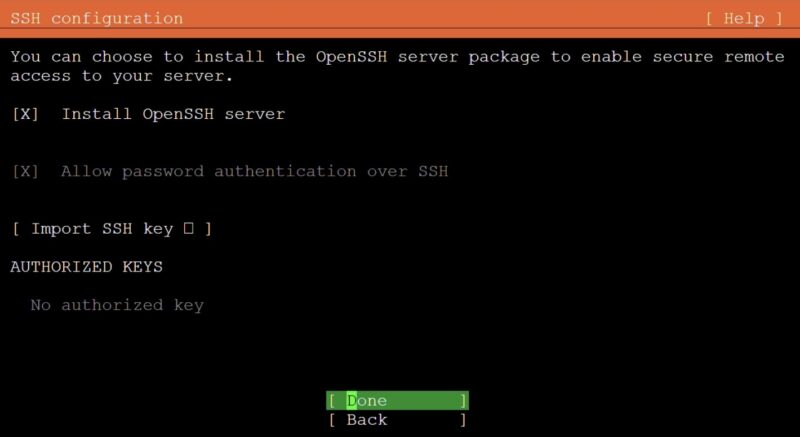
Here is the OpenSSH configuration.
A few minutes later, installation was complete, and we were ready to reboot.
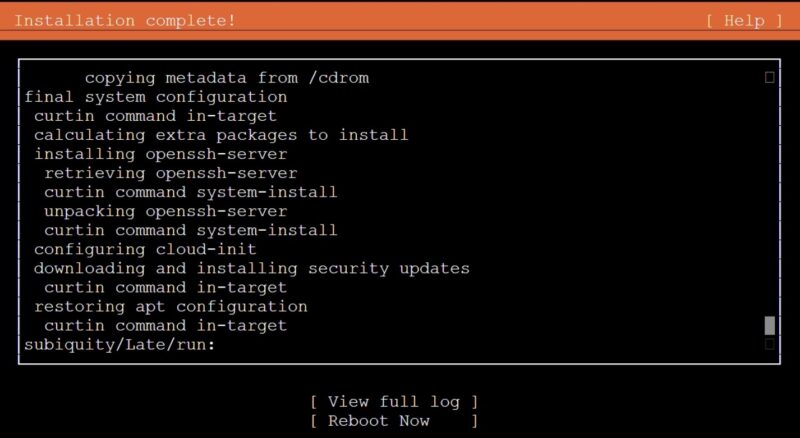
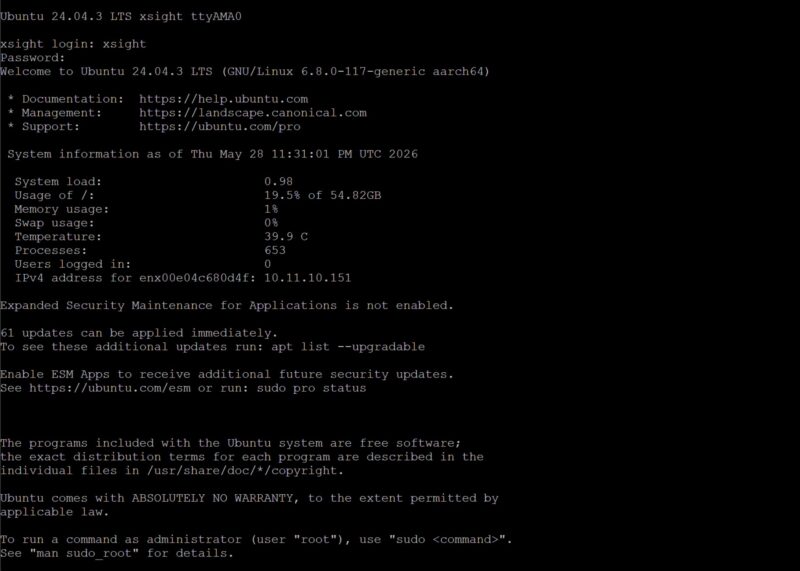
Not long after that, we were installed into a fresh Ubuntu 24.04 LTS installation.
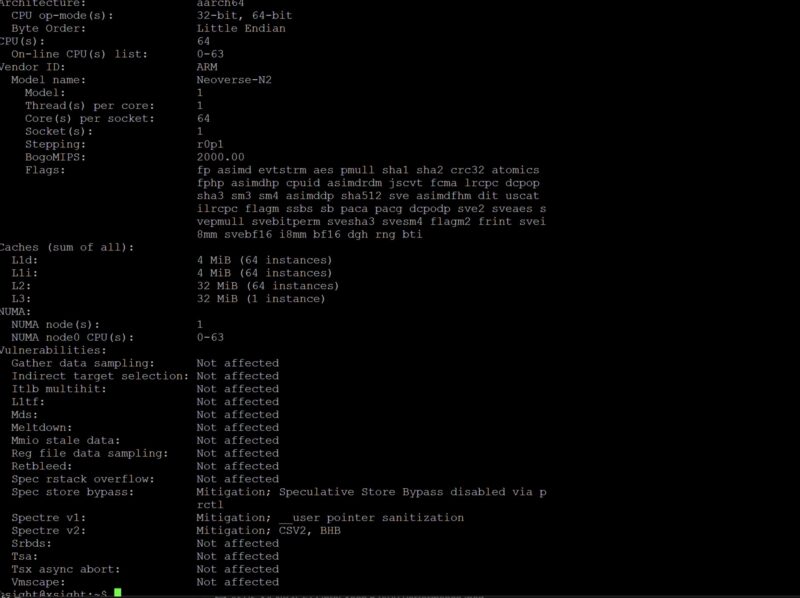
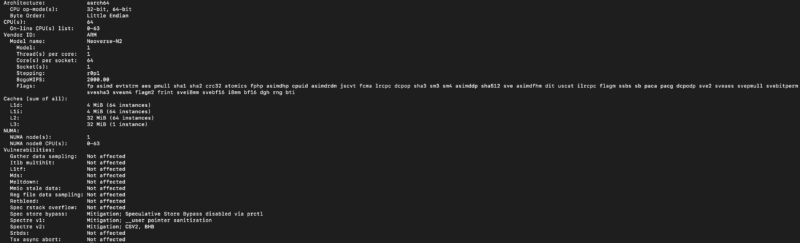
Here is the lscpu output.
We actually did this a few months ago, but someone we were trialing at a new role at STH deleted all of the screen recordings. Since we did it again, and Ubuntu 26.04 is now out, we wanted to see if we were limited to Ubuntu 24.04 or if 26.04 LTS would work on the machine.
Upgrading to Ubuntu 26.04 LTS
Ubuntu 24.04 was released around two years ago, but now we have Ubuntu 26.04 LTS. At STH, we re-tooled our benchmark platforms around 26.04, so having hardware that can run on Ubuntu 26.04 is a key need we have. Sometimes, with specialized Linux builds, they break on the do-release-upgrade -d path, so we wanted to verify that the E1 could do this.
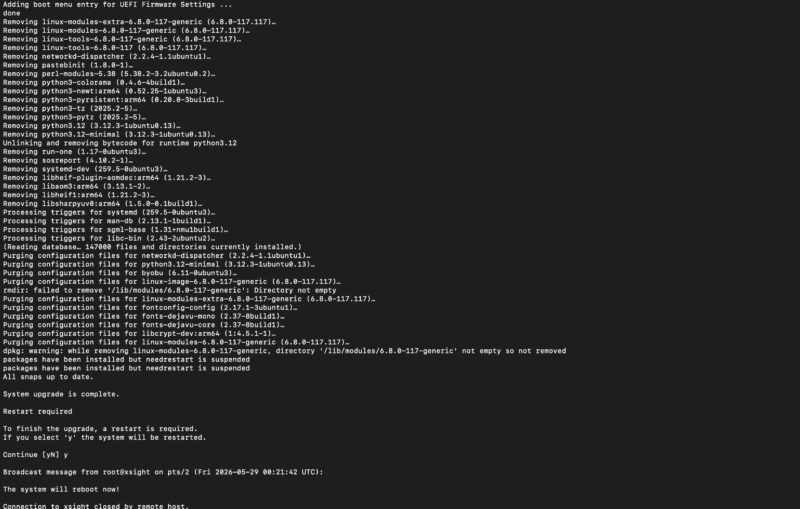
There was absolutely no drama. This is updated normally like a standard server and is ready to go with Ubuntu 26.04 LTS. Coincidentally, Ubuntu 26.04 is what our new AgentSTH CPU benchmark suite runs on, and what we are running our SPEC CPU 2026 runs on. More on that later.
It Worked, Here is Something Neat
At this point, you might be wondering if this is really that much faster than previous-generation DPUs. Apparently, our BlueField-3 DPU run is private, and we do not have it online while we are away from the studio, but we ran Geekbench 5 on the BlueField-2 DPUs that we have roughly a dozen of.
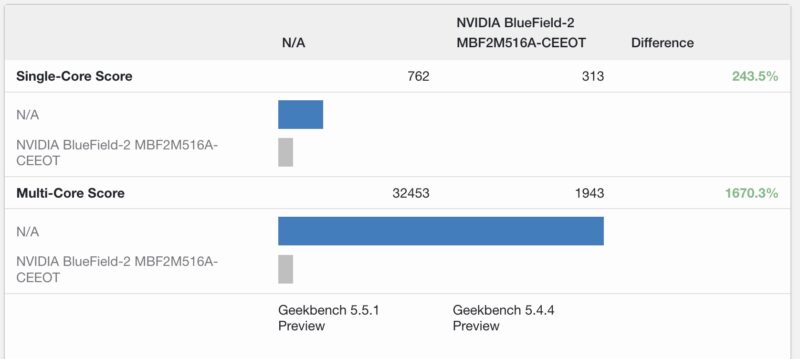
That is a 100G/200G BlueField-2 DPU versus an 800G generation XSight Labs E1 DPU, but you can clearly see the enormous benefits of the Neoverse-N2 cores.
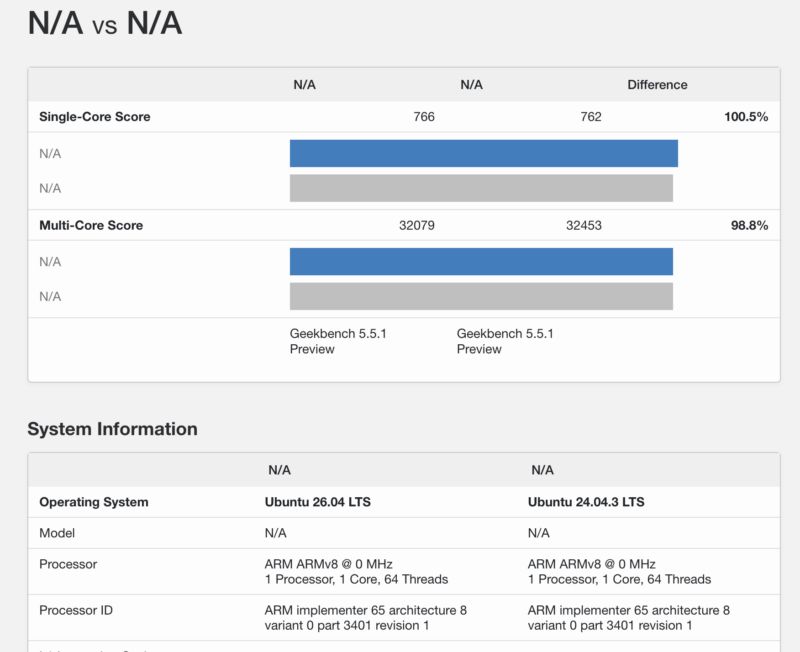
If you wanted to see both the Ubuntu 24.04 and 26.04 results, they were within a typical margin of error, but here you go:
We are going to have a lot more benchmarks of this system, but we need to swap out memory modules, and memory is a bit tight in the lab at the moment.
Final Words
Let us get really frank here, this is the way it should be. When we looked at the Lenovo ThinkCentre neo 50q Tiny QC, which is an Arm system, you could not install Ubuntu on it directly as easily as this. Likewise, many of the DPUs available have specialized Linux versions. Xsight Labs is putting this performance to good use. It can actually drive 800G out of its 2x 400G ports. This is also just one of the company’s products. We covered, for example, that the Xsight Labs X2 Switch will be powering SpaceX Starlink V3.

You should’ve led with world first benchmark even if it’s only Geekbench! Also it’s really good Geekbench since AmpereOne 192c is at 70-75k GB5
“We then used a USB to audio jack serial console connection at 115200 baud rate”
I am all too familiar with serial I/O on DB9s and DB25s but this is new to me (or possibly long since forgotten). What is this?
OK, sorry, nevermind, I did a little reading, and it’s not very different from stuff I would hack together back in the 80s. It’s both astonishing, and not, that this is still a thing in 2026.
32k GB5? So it’s a NIC that’s 25% faster than the gb10 and Strix halo? Jiggity
Wow, using a NIC/DPU thing as an ad hoc SBC for running regular Linux on like you’d do a Raspberry Pi. Call me impressed.
Needs the “DPU” tag.
Tangent: What’s up with like half the recent articles missing a bunch of tags.
It makes it really hard to pull up different articles to compare things without manually scrolling through a whole list of old articles and guessing.