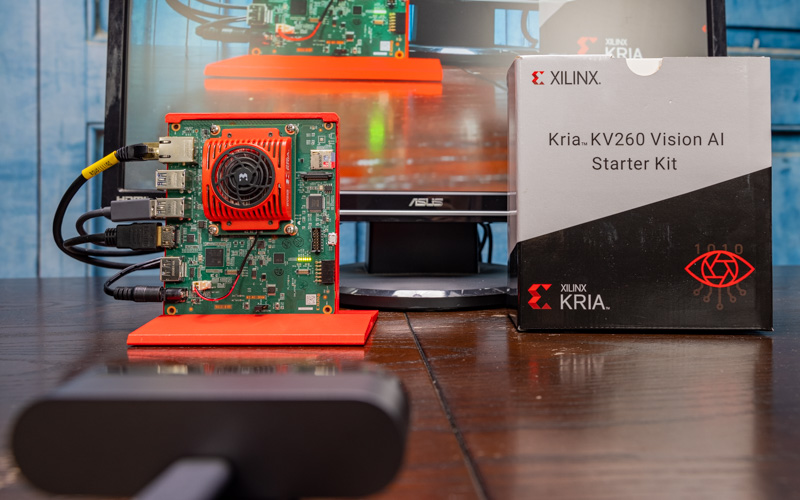
Getting Up and Running with the Xilinx Kria KV260 Kit
When it comes to getting started with programming for a FPGA, it has not been easy. Xilinx is set to change that. We covered the entire setup process in the video, but let us get to the basic guide.
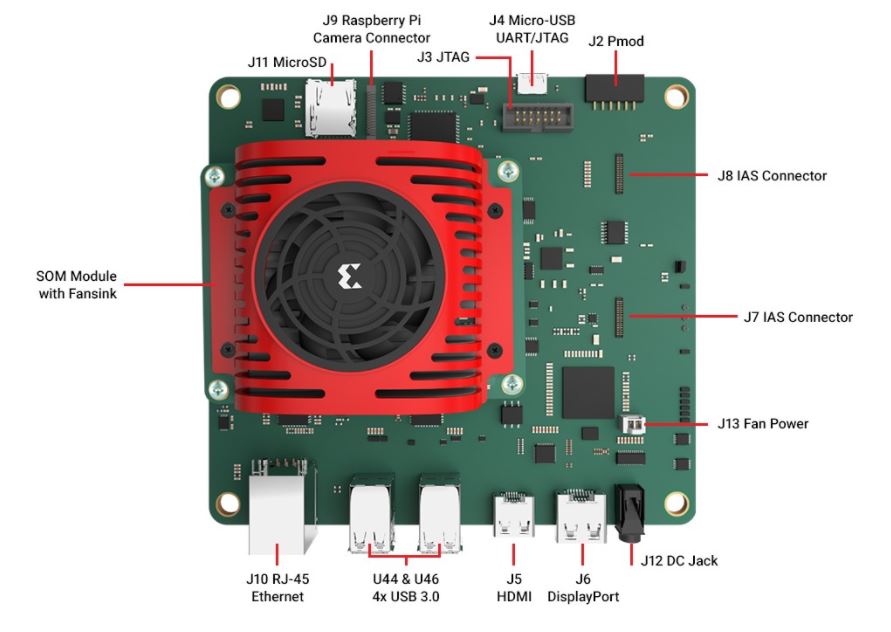
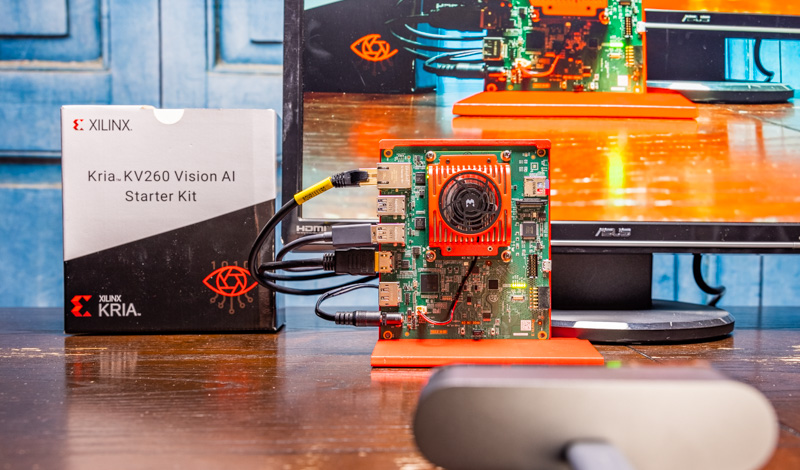
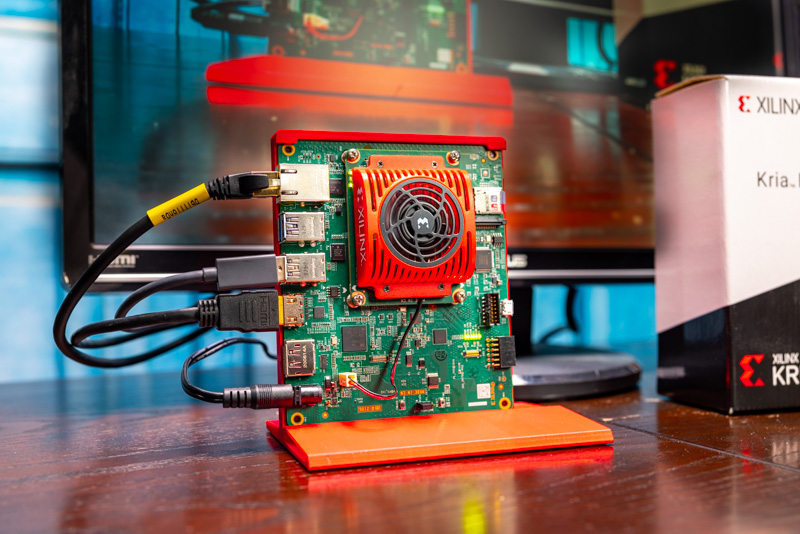
First, one needs to connect the console cable along with the Ethernet, a camera, and HDMI.
One then needs to download and image the SD card before installing it.
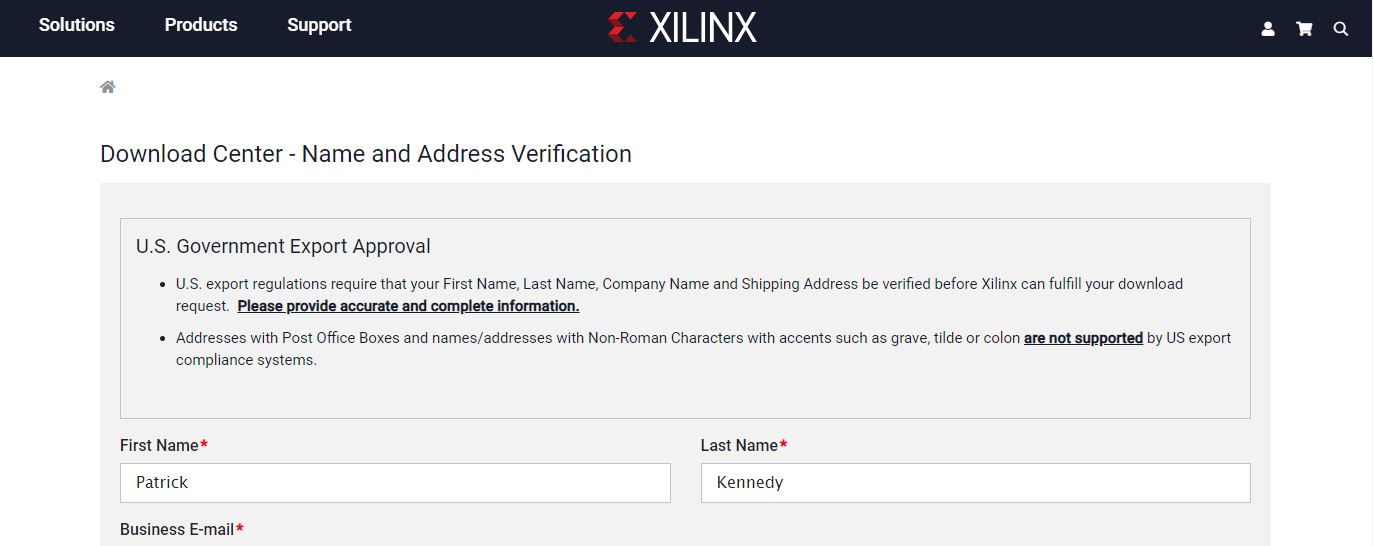
One item that we were not overly fond of is that to get the image, one needs to signup for a developer account, activate the account, then go through a name and address verification step. For those accustomed to Raspberry Pi’s or Ubuntu development, this is going to be a lot of steps. Compared to NVIDIA, we have had a NVIDIA developer account for some time, but this feels like it was an extra step. That may have changed since we signed up with NVIDIA.
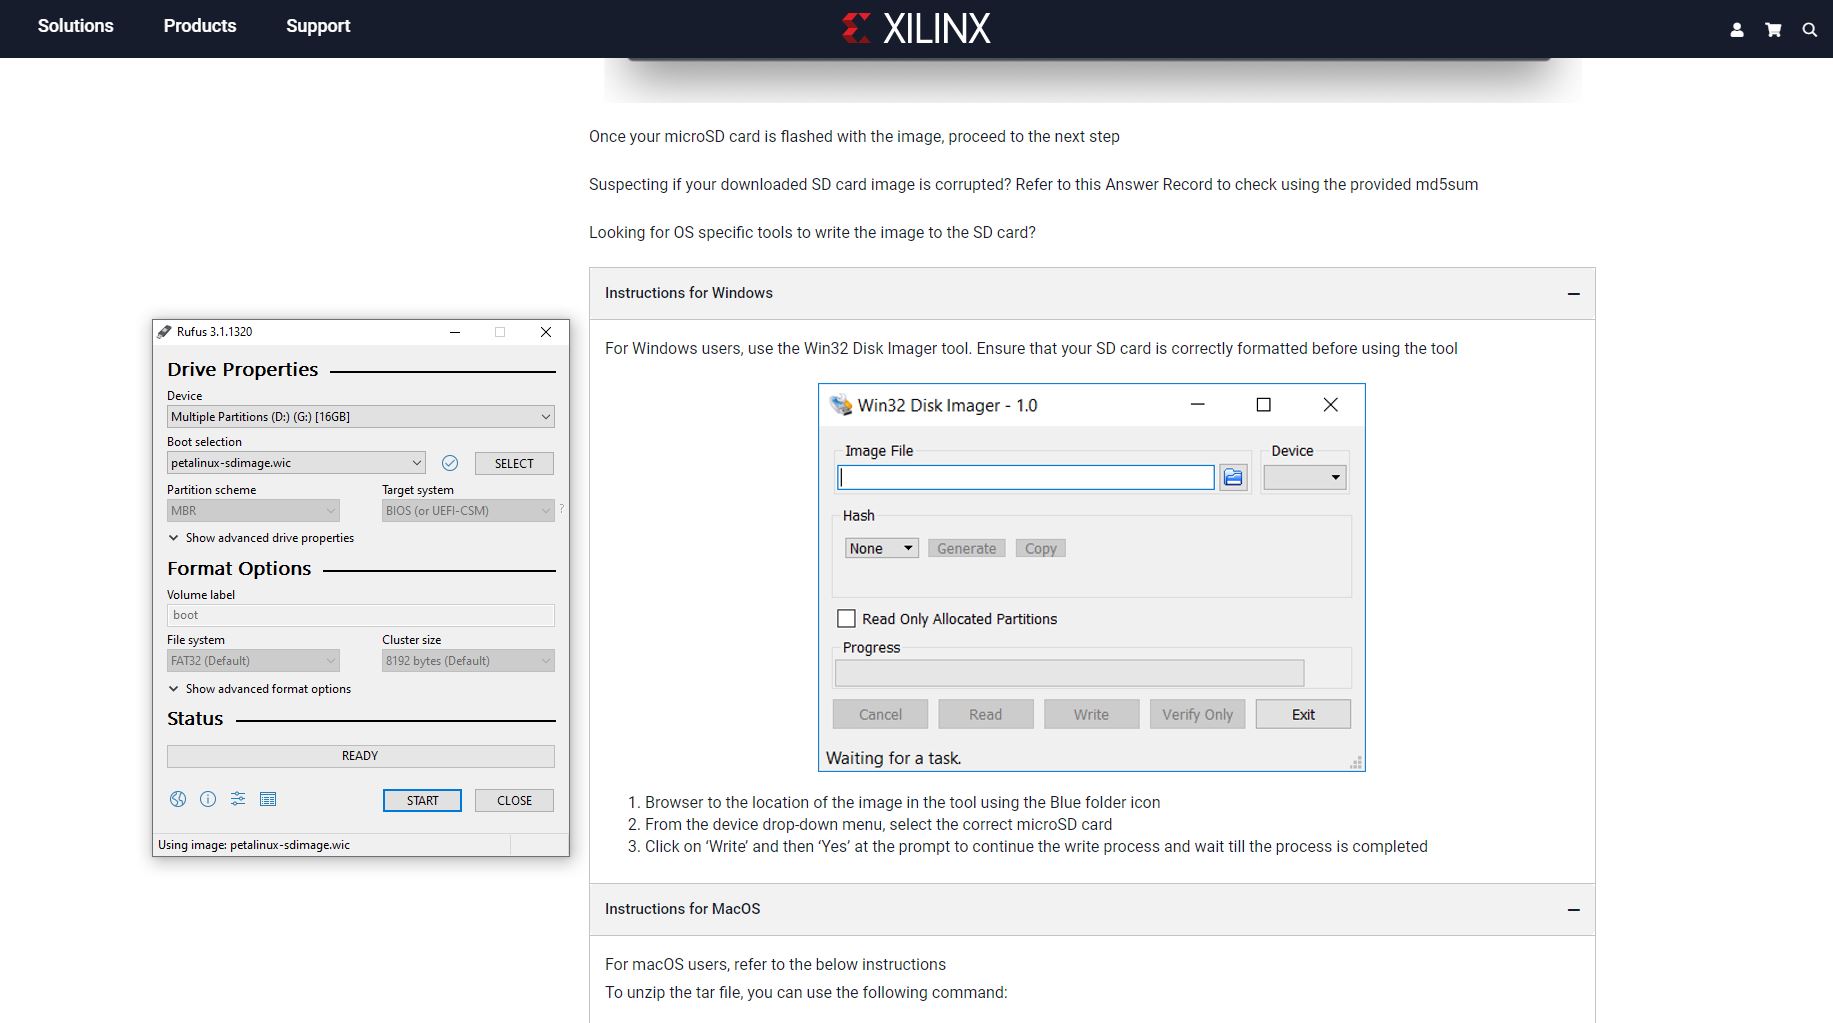
The one item that we found missing in the instructions was that the downloaded SD card image was a .gz file so we needed to unzip it (using 7zip.) That step is in the macOS and Linux versions so most will figure that out quickly.
Finally, power can be applied to the solution to turn it on. We will note, that the process went much smoother with everything plugged in versus trying to plug-in components later, so we suggest following the instructions closely.
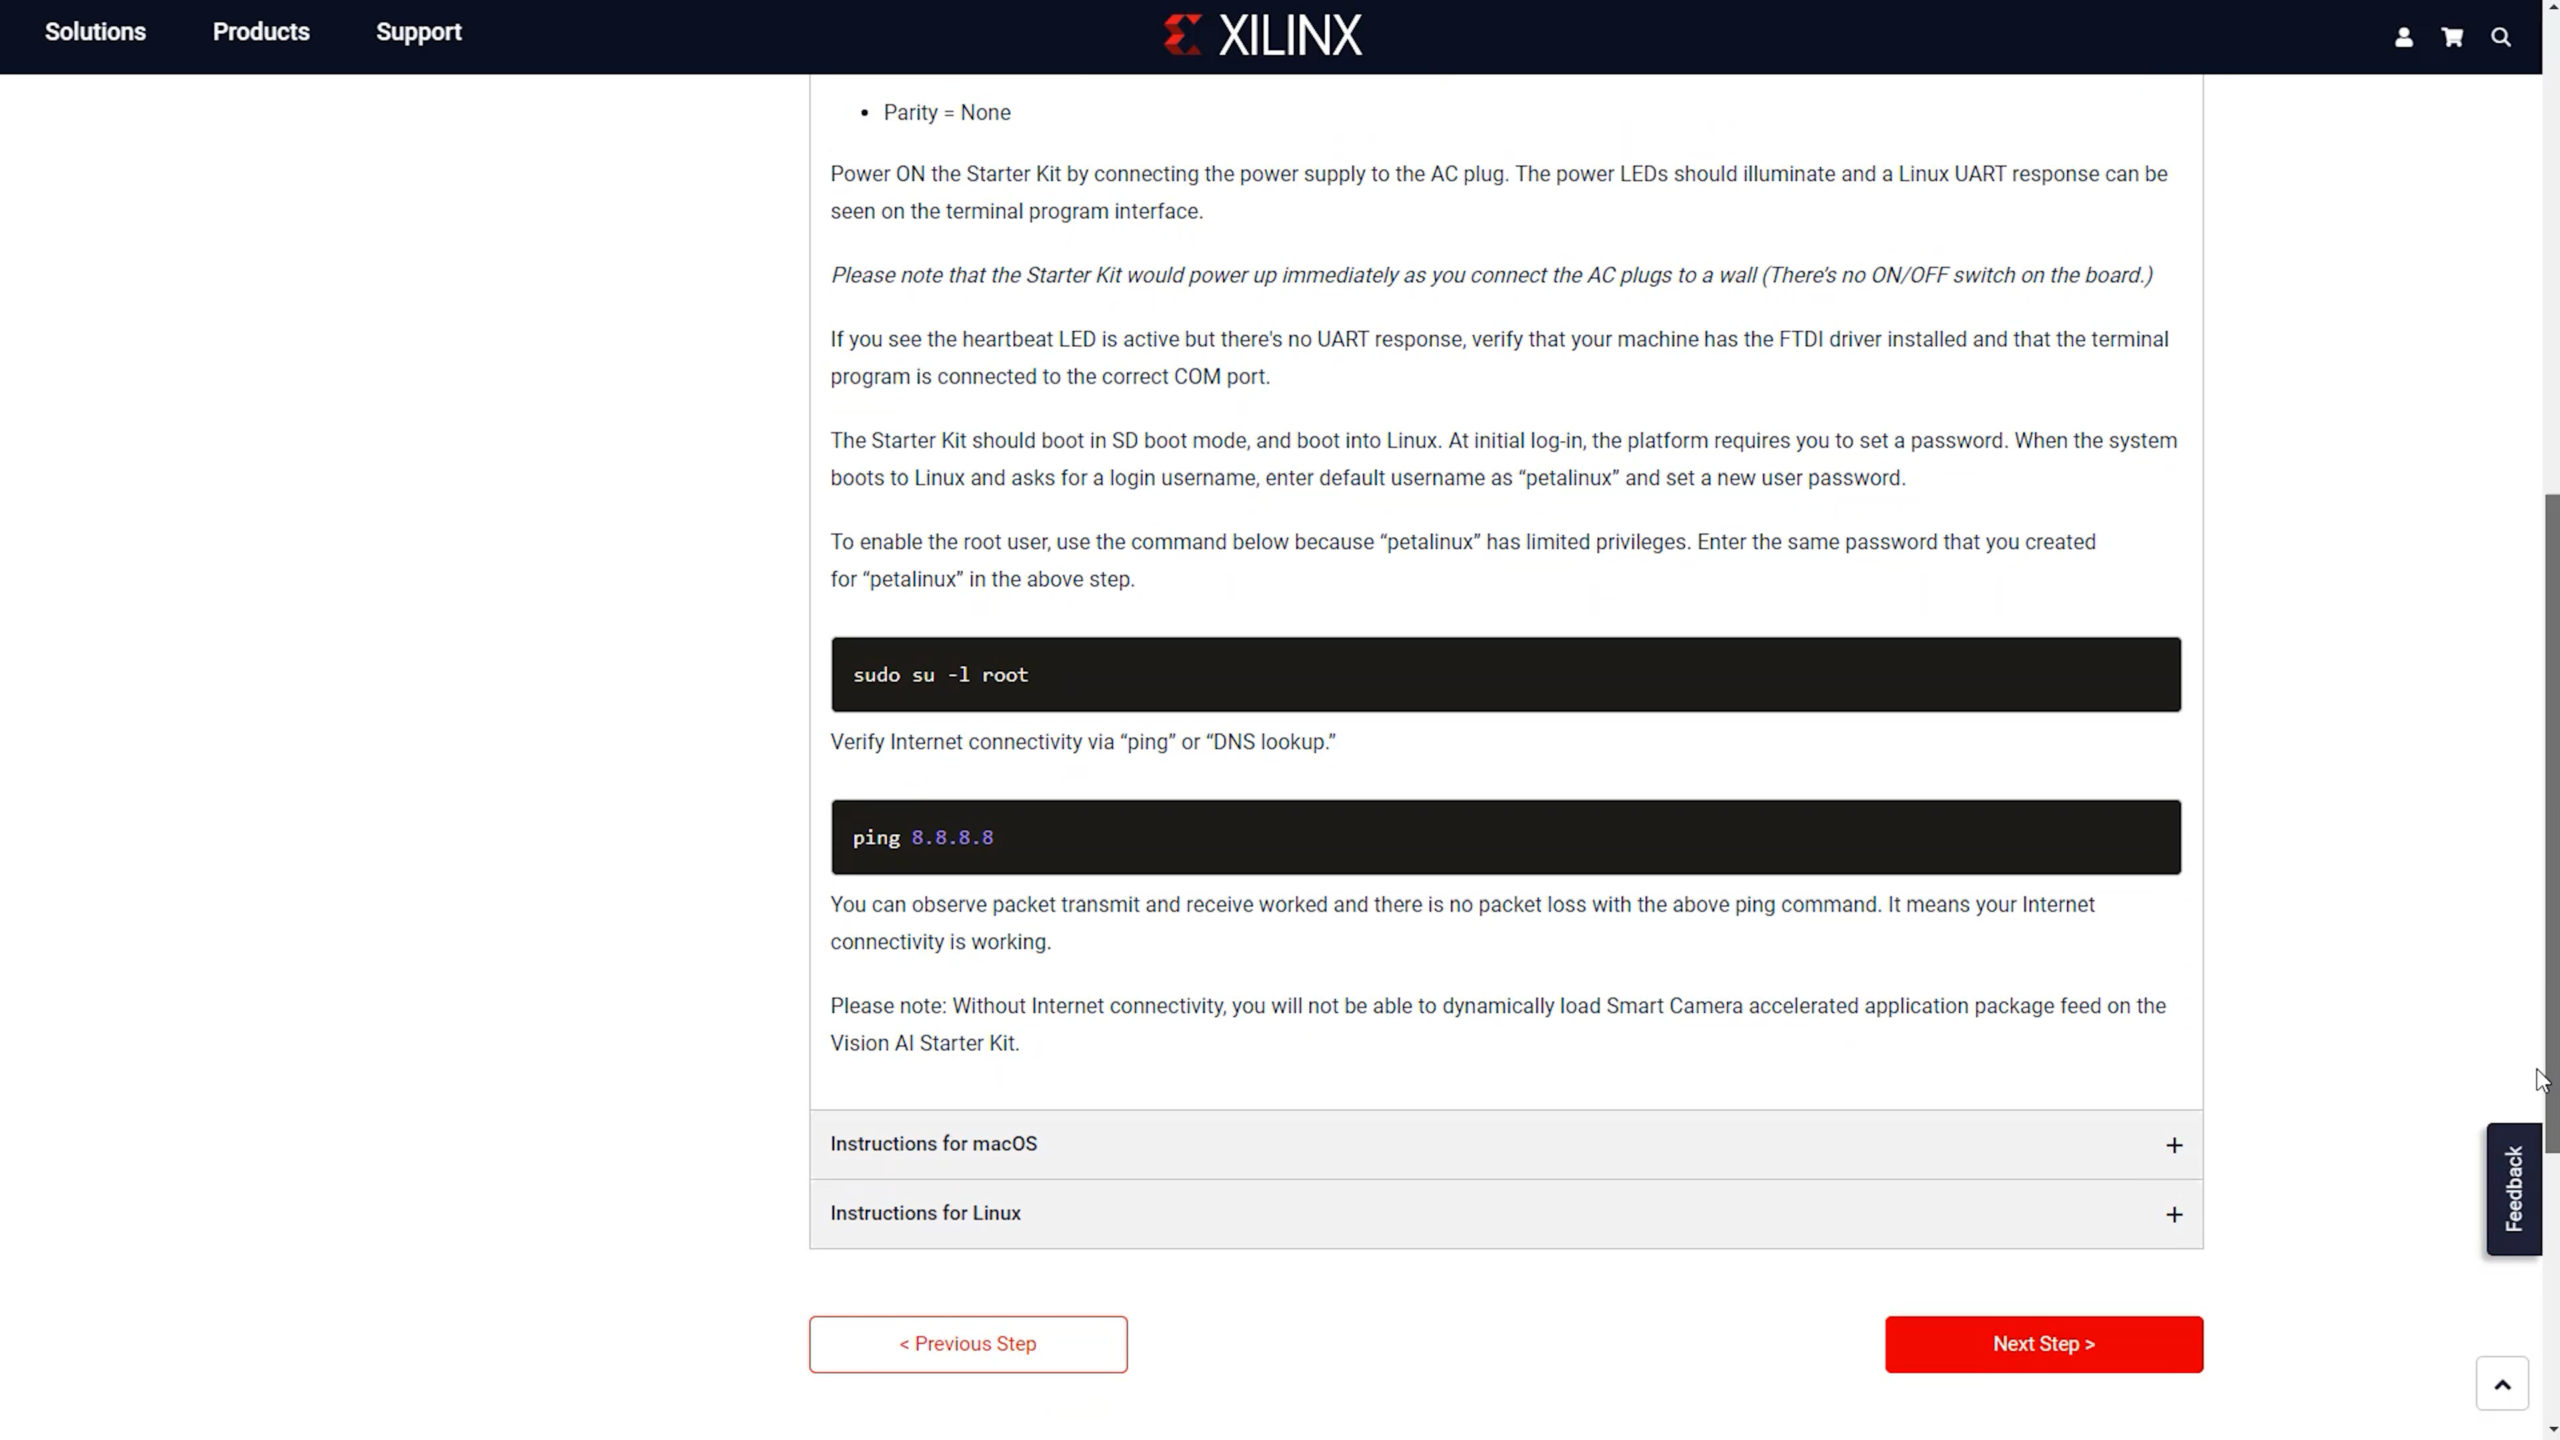
At this point, one can log in using a 115200 baud rate serial connection over the USB port. The default username and password is “petalinux” but one is immediately asked to change this immediately. Once this is done, one can login via SSH and elevate to root privileges.
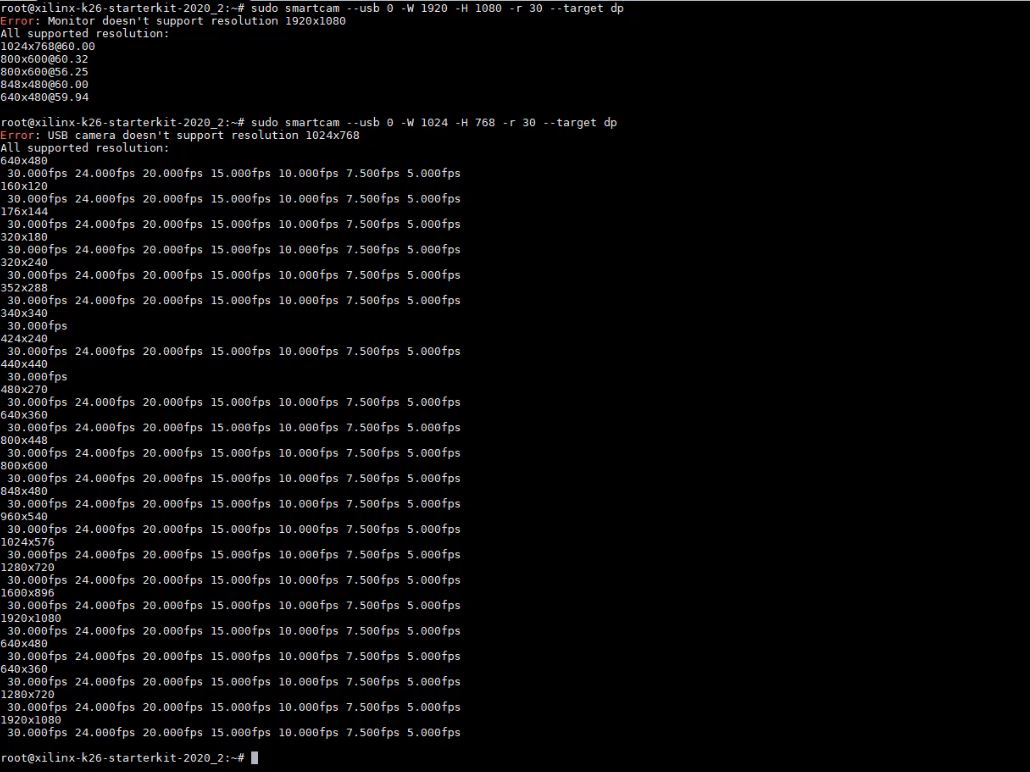
Once you are logged-in, getting started with the smartcam app that we are using only takes a few copy/ paste commands to unload previous modules, load the smartcam app, and then launch the smartcam app. One item we will note is that it is easier to follow instructions with a 1080 monitor and camera. We tried with different video in/out and it took a bit of customization.
One item we will note is that the Xilinx website has a simple getting started guide. The Github page has a more in-depth getting started guide along with how to manipulate streams with the smartcam app with such things as h264 video instead of live input/ output. Frankly, the Github page instructions are more in-depth and probably better for our readers to follow.
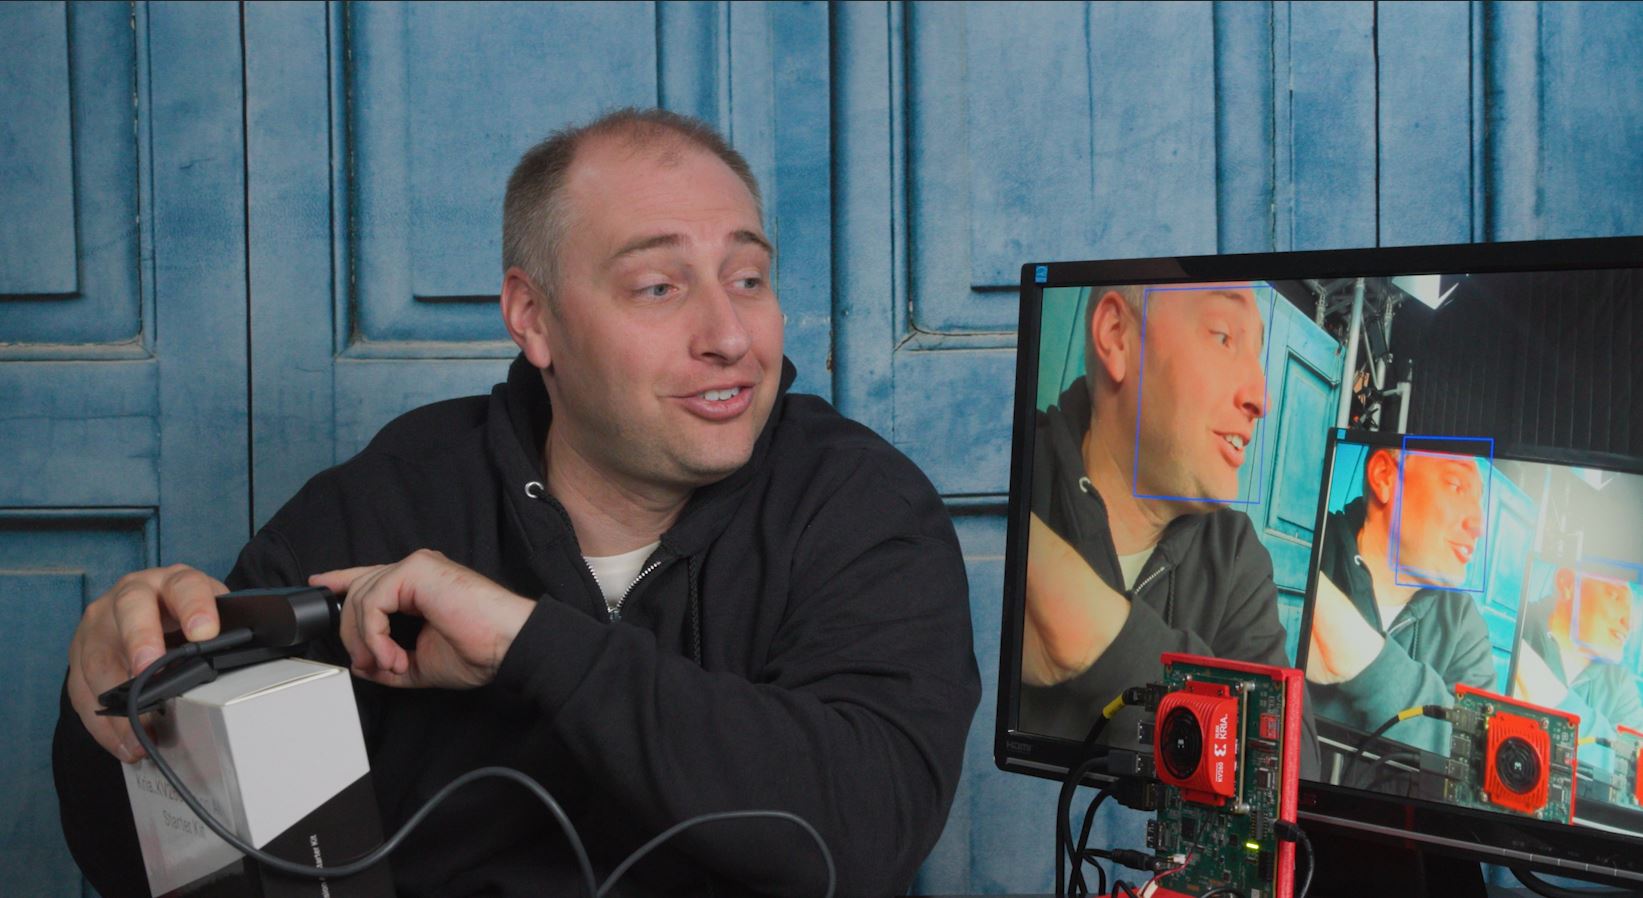
This is one where it is probably easier to see on the accompanying video but here is a screen capture showing the detection working, and even picking up faces on the screen that are being fed through the solution multiple times in the chain. One can also get a better sense of latency and just how fast this is in the video.
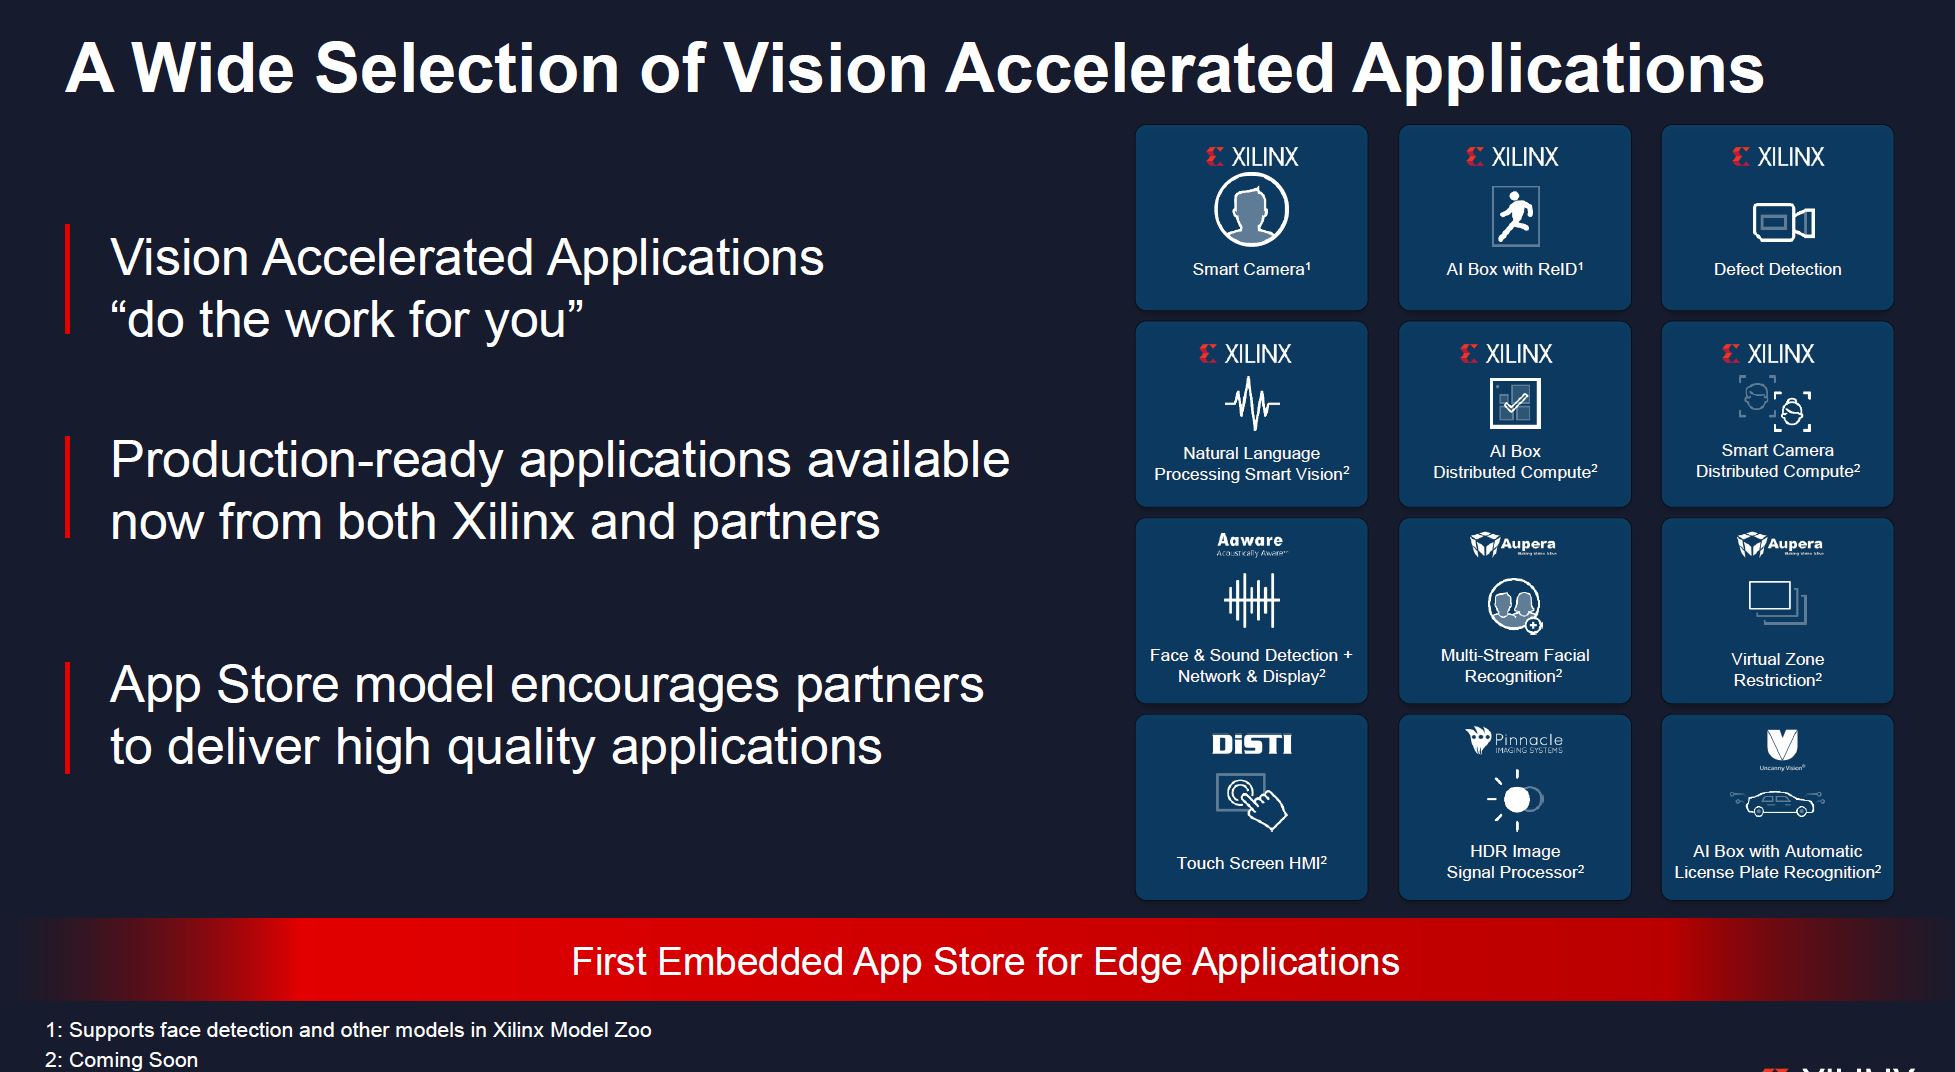
Beyond the Smart Camera (smartcam) app, Xilinx has four other applications already online including those such as the license plate number recognition from partners.
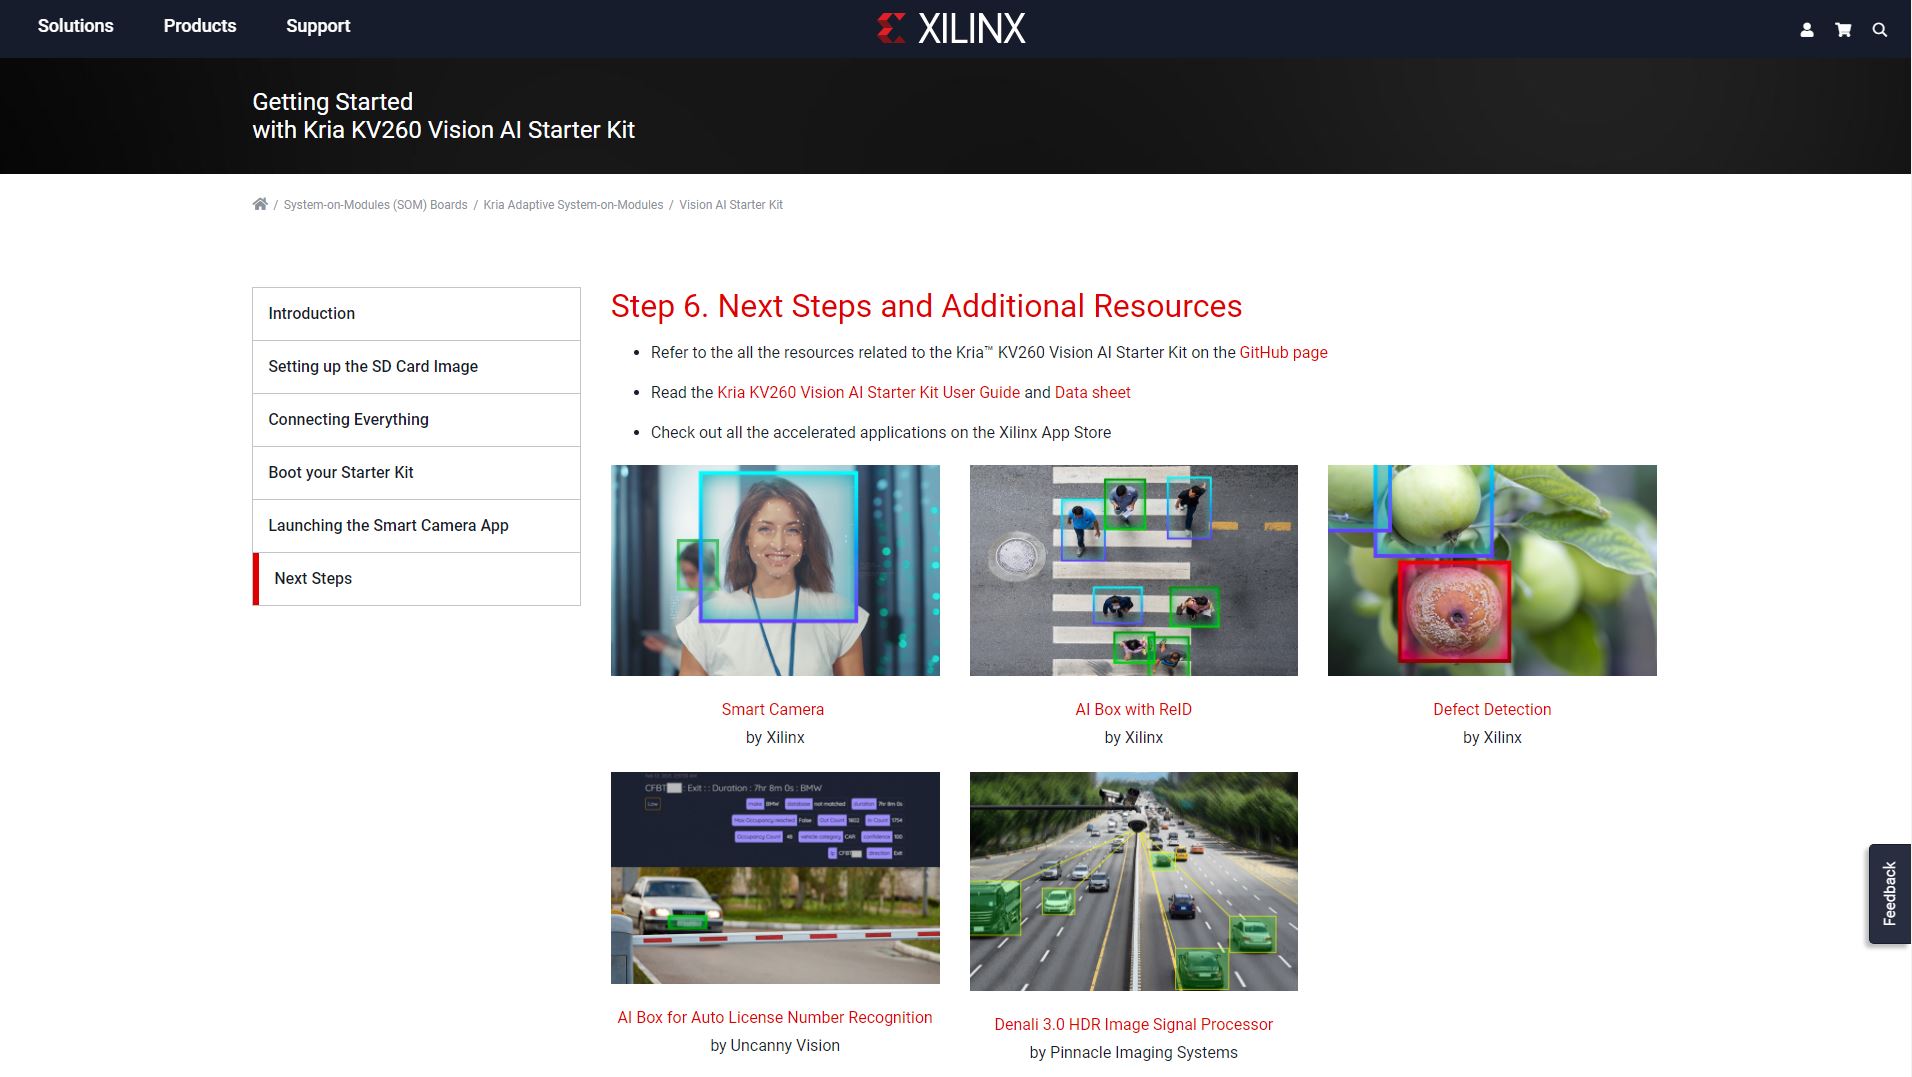
These are really the launch apps, but Xilinx and partners have more coming and so the app store concept is finally coming to FPGAs in a usable format.
Taking a moment at this point, we showed going from components to having the Kria SOM doing useful work in a matter of minutes (much less than the hour that Xilinx said it would take.) The majority of time was spent waiting for downloads/ package installs as well as image burning to the SD card slot. The process was very simple.
The so-what is really the next step. One can then run Jupyter Lab/ notebooks on the Xilinx Kria SOM, and start doing useful work.
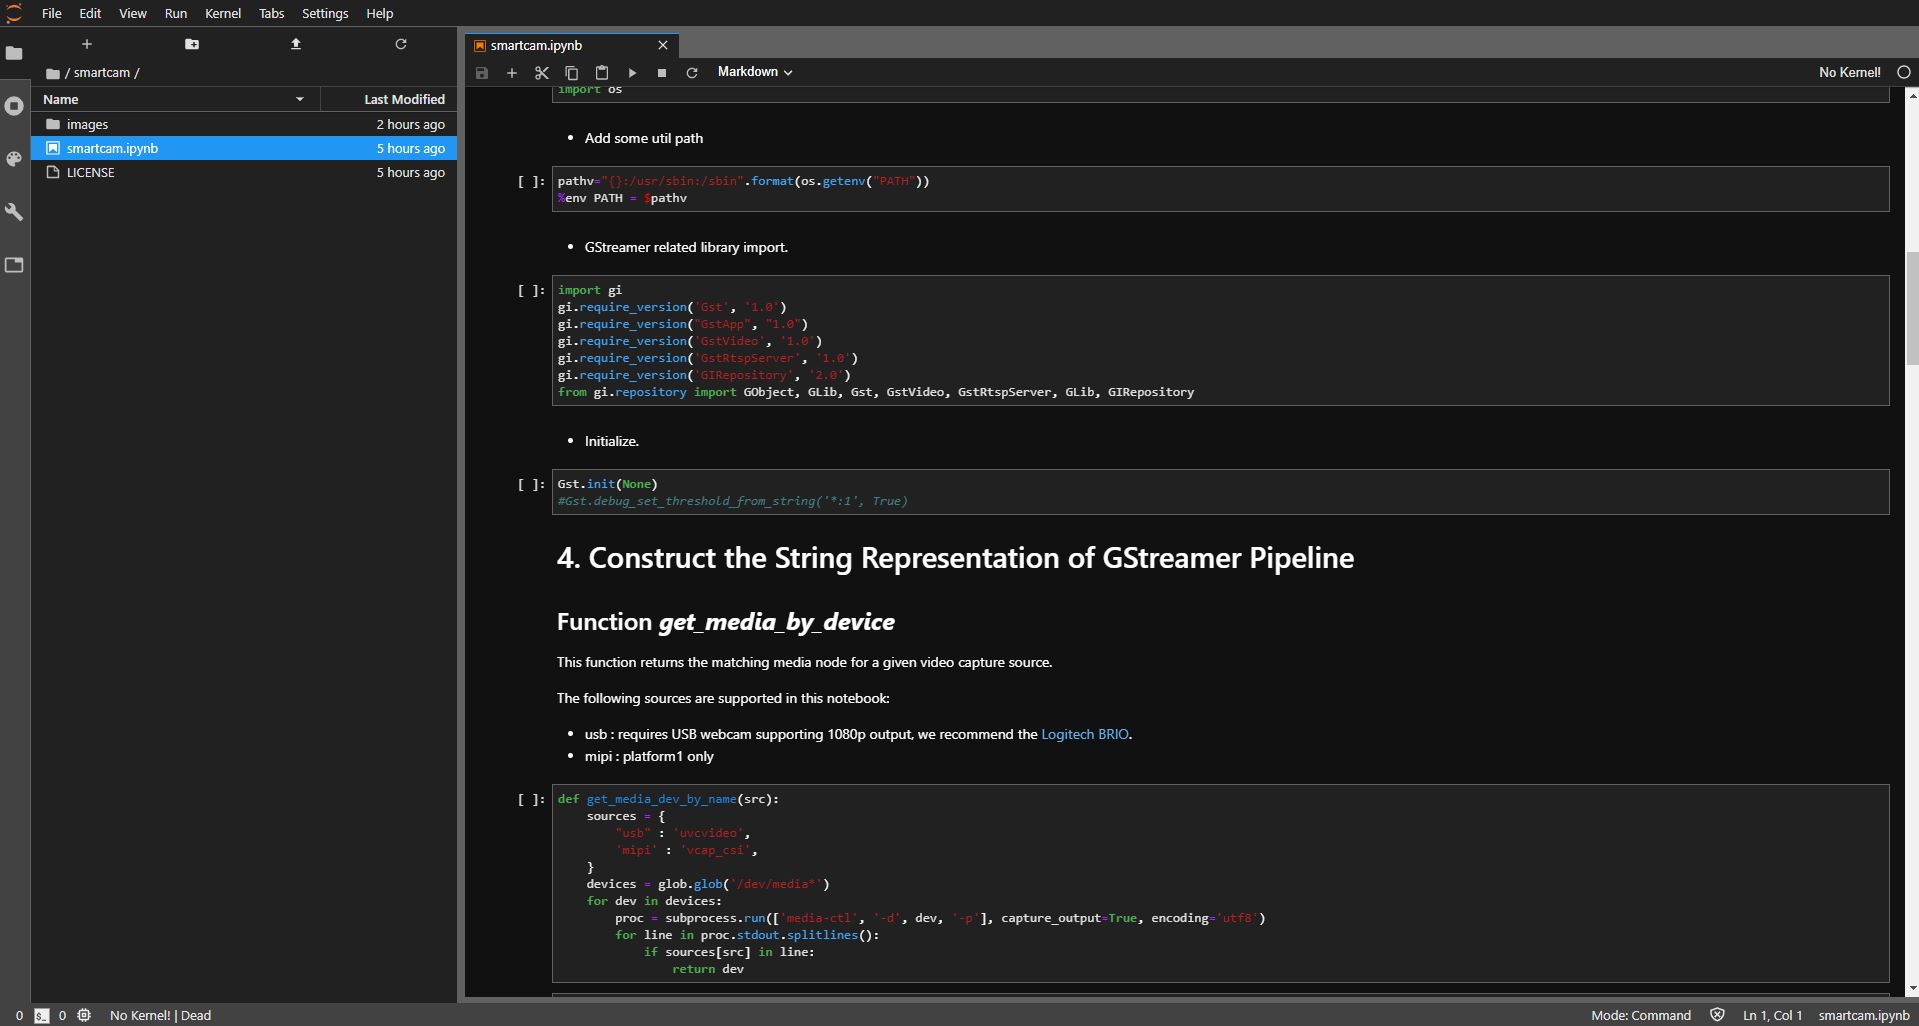
Xilinx has a number of examples and documentation on how to turn the output of the Smart Camera app into something useful. Effectively a developer can get the Kria FPGA solution up and running in a few minutes with AI video analysis. The developer can use that as a base in an application pipeline and develop tools atop of this functionality.
We will quickly note that if one wants to get Xilinx Vivado and go deep into programming, this is also a very low-cost option to get into a decent Xilinx FPGA solution. One may be less interested by the AI functionality and more interested in a $199 development platform and that is reasonable as well with Xilinx’s tooling. Still, the goal is to reach developers that operate with higher-level languages.
Final Words
To us, there are two major impacts to the Xilinx Kria line and development kits. First, one can get up and running with a low latency FPGA-based video AI platform very quickly. If one wants to build a product using the Xilinx Kria SOM line, this package takes care of a basic building block that can be re-used in designs. Hardware designers have a base that can be used and implemented in a number of form factors easily. That greatly reduces the time to market.
Perhaps the bigger implication is that Xilinx has come to the realization that it can reach more applications and developers by selling solutions instead of components. Most FPGAs historically have taken a lot of time and design effort just to get up and running. Xilinx has realized that instead of being an extreme DIY solution, offering a solution that can boot up, handle a SSH session, video in/ out, and having base applications running from an app store is much more user-friendly. This may seem obvious, but we should also remember that Xilinx built a large business without going down this path.
Overall, the Xilinx Kria KV260 development kit, even with its quad-core Arm processors, is not something that is going to replace the ubiquitous Raspberry Pi. What the KV260 will do is open up the possibilities of FPGAs with custom pipelines for lower latency inference to a wider community of developers. This is certainly not a perfect solution, and it is far from that Raspberry Pi experience, yet the KV260 is a gargantuan jump in terms of accessibility for FPGA-based AI inference.


Great job! its great these types of dev kits on STH!
Do you have any info about the other members of Kria family? I would love to see more info on the cost optimized version.
What are typical use cases for this kind of device?
Great article for a cool platform. FPGAs are hard, and accessible dev kits are needed. This is a big step in the right direction, and hopefully we’ll see a strong commitment from AMD toward building a mature software ecosystem. Intel’s experience with embedded shows that without a commitment to software and community-building, a platform can die on the vine. I hope Kria has a long life and this is the start of cheap FPGA development for the masses.
How did you get the USB camera to work? When I plug in a USB camera and run the camera app with the USB option, an error message says “ERROR: Device /dev/media0 is not a USB cam. I am using a Logitech Brio, which Xilinx says the KV260 supports. So how did you get your USB camera to work?
Comments are closed.