Gigabyte G242-P32 Internal Overview GPU Areas
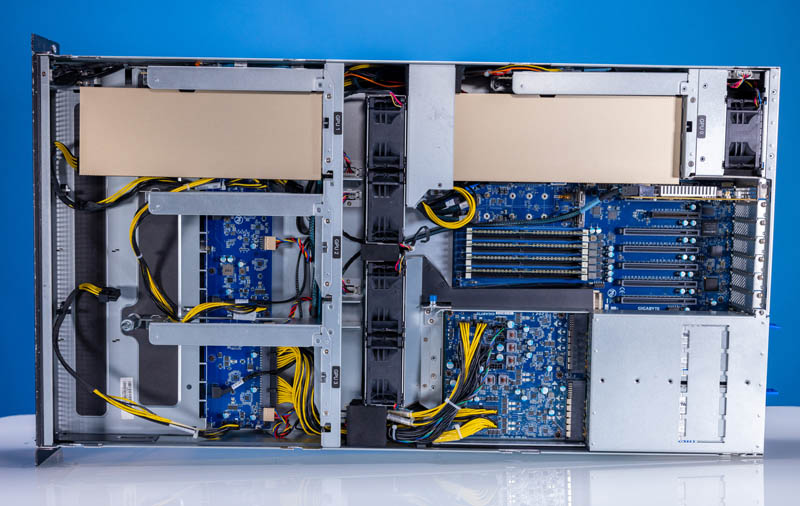
Here is the system overview with the lid off. There is a lot going on here. We are going to focus our initial efforts on the front of the system and the top rear of the system where the GPUs sit.
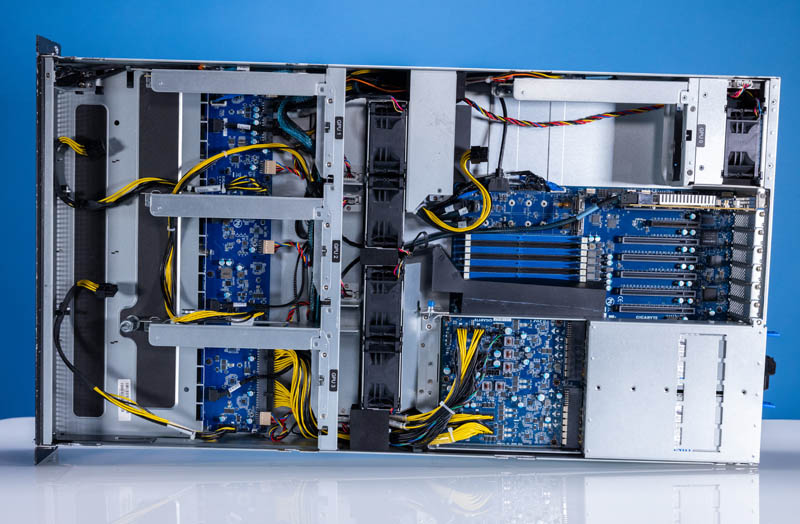
The G242 chassis has three front full-height GPU slots. In this system, given it is for the HPC development platform, only one is being used.
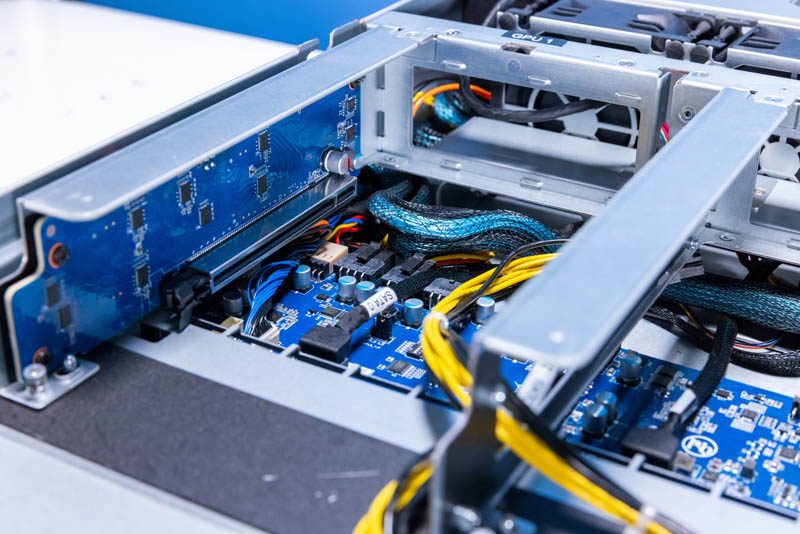
The top riser slot has a PCIe Gen4 x16 slot along with GPU power cabling. You can see the installation in the accompanying video.
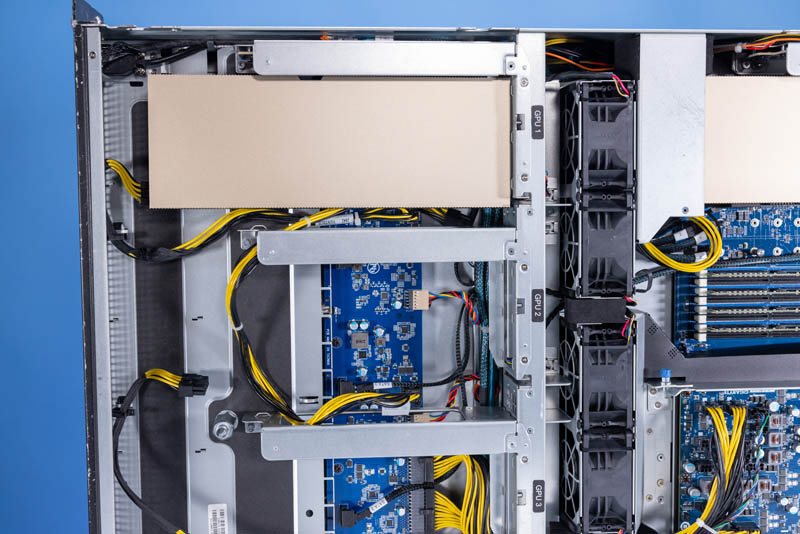
The other two slots in this system are simply the metal cages, without the PCIe risers.
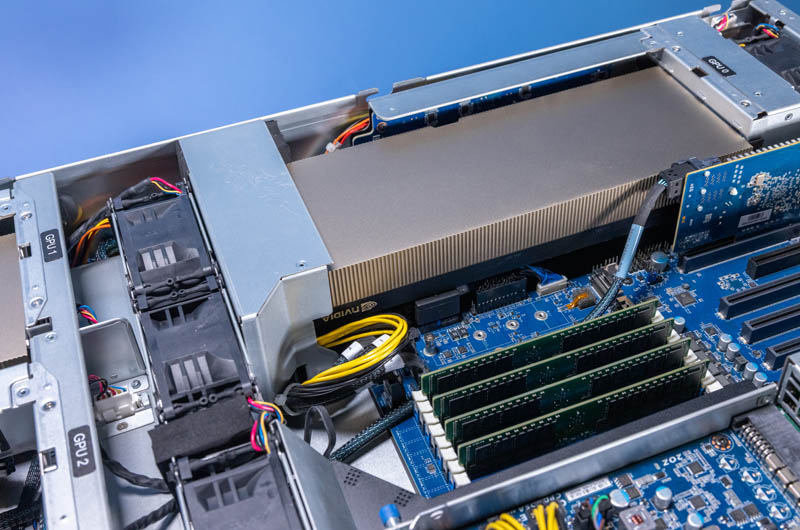
Here is a NVIDIA A100 80GB PCIe GPU in the front slot.
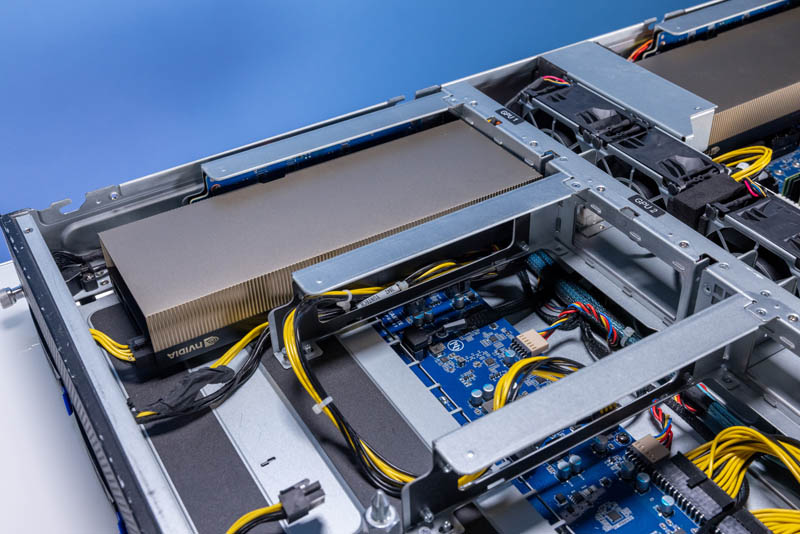
Here is another look. ONe can see that the fan for this one is in the middle of the chassis.
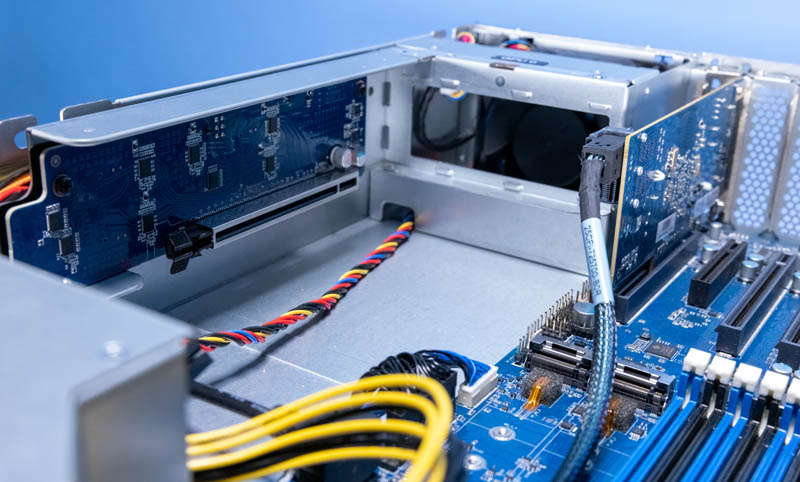
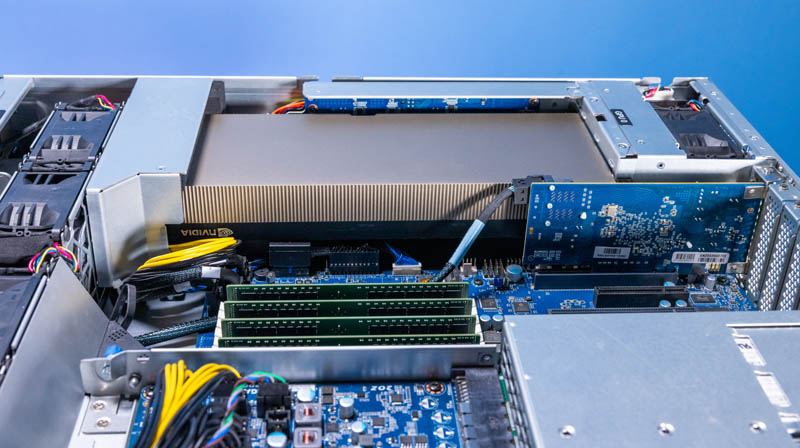
Here is a look at the rear slot that sits next to the motherboard. the GPU is mounted on a similar cabled setup, not a traditional riser.
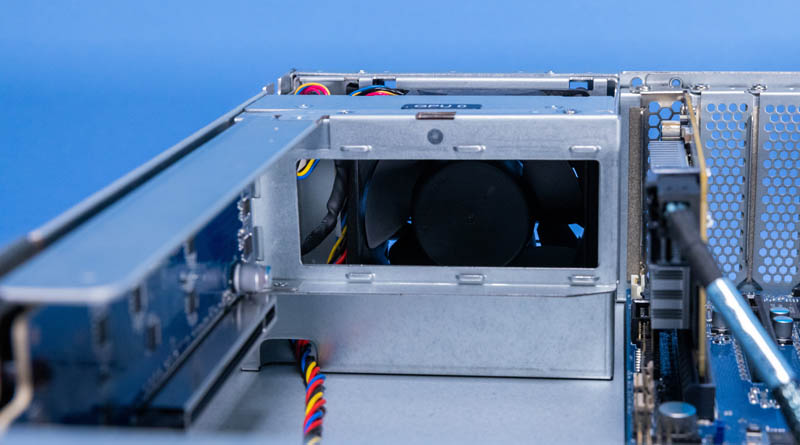
This is a look at the rear exhaust fan ducting at the rear of the system.
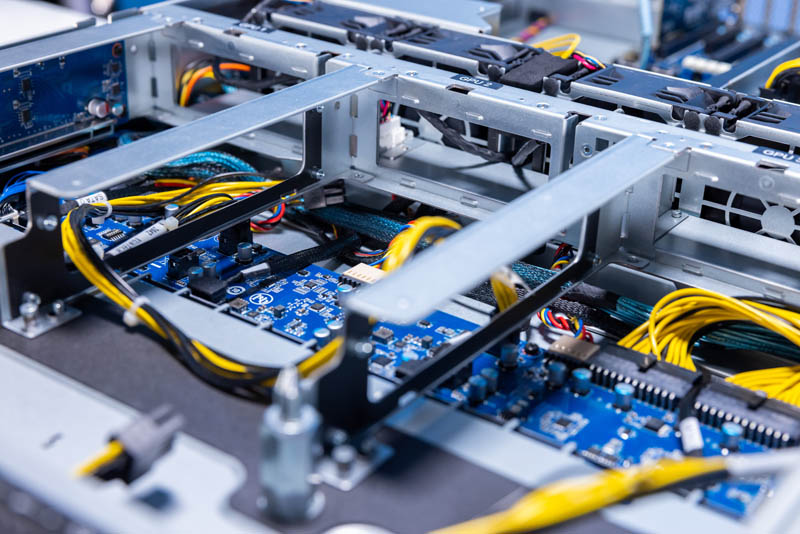
Here is a view of the duct between the midplane fans and the GPU area along with the GPU power connector.

Here is the rear GPU area with another NVIDIA A100 80GB installed.
This is a bonus photo. We had something like 150 edited photos to pick from for this review, so there are going to be a few bonus angles that we are showing in this article.
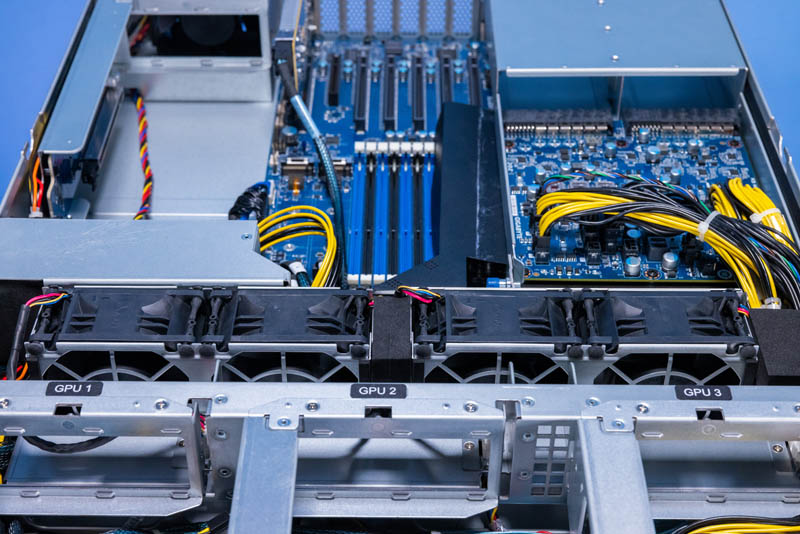
One of the interesting design choices is that the GPUs in the system are aligned fro an airflow perspective. In many servers, these would be offset to manage heat. That is why we get the extra fan at the rear, but it feels like the second GPU should go perhaps in the front middle slot instead.
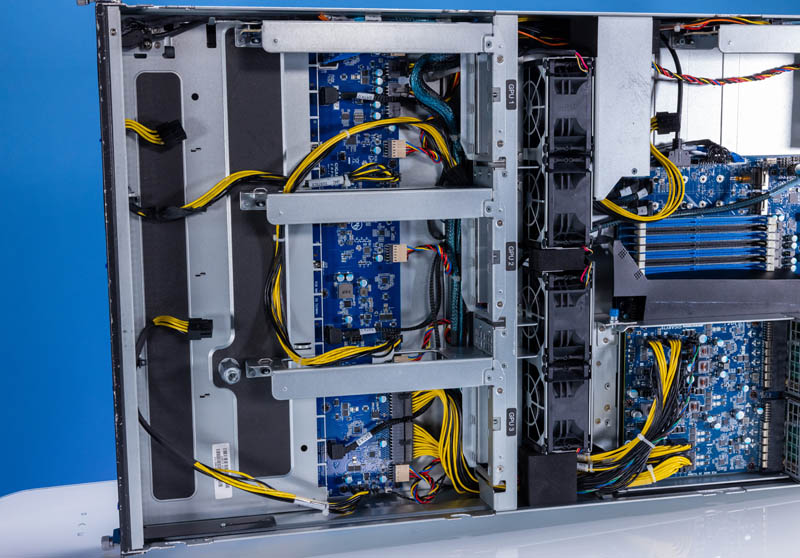
Here is a quick look at the center fan partition so you can see how these GPU slots align in the chassis with other components.
If you were wondering where the fan was, we are getting to that next as we get to the motherboard and CPU area.


I guess I’m curious as to what makes the Ampere Altra processor so “unpleasant” to install. Why would installing this chip be any different from installing any other, Patrick? Apart from the physical size, there doesn’t appear to be anything much different between this processor and all the other Intel, AMD and IBM chips I’ve seen.
Stephen, super easy to answer. AMD and Intel both use carriers. AMD SP3 uses the CPU carrier that you slide in, then it is lowered in place. On the Intel side, if you install the CPUs correctly, then you are not touching the CPU when it is lowered aligned into the socket. With Ampere, you need to align it by hand versus AMD and Intel both have mechanical alignment. Even with suction cups, the Ampere socket does not have the same level of mechanical alignment before it is lowred into the socket.
See how to install LGA4189 correctly Article and Video.
@Patrick Kennedy
Thanks for the very fast reply. Sounds like a possible engineering/design problem with the type of socket, maybe the ILM needs to be re-designed to allow for the alignment features you mention. Otherwise, I still don’t see how this is an absolute deal-breaker. The chip package itself should have keying notches in the edges that ought to provide enough positive feedback even when loaded by hand.
Believe it or not, I did see your LGA-4189 installation article when it came out. Very well done and very useful. Now, if only we could have some higher-resolution photos of the chips you feature. I noticed that the photos of the Ponte Vecchio chip you had earlier were only a mere 800×600-ish pixels. Seems we need an upgrade to at least 1920×1080 minimum. I have a hard time seeing much detail, specifically where contact pads are concerned. I like drawing pictures of these things and being able to see the pads well enough to count them is a must.
After all the recent coverage of the Altra and Altra Max, I’m kind of wishing someone on eBay would start selling used ones so I can buy one. CPU collecting is one of my hobbies and I’m longing to get my first LGA-4189 Xeon, LGA-4094 Threadripper/Epyc and one of these Altra chips. I can’t afford to buy these things when new and typically have to wait at least ten years before they’ll even show up in the used listings. Of course, somebody could donate one if they wanted to, though that’s probably asking too much of the Universe.
Comments are closed.