
In our previous series, we took a look at building a lab that was built in a more “traditional” sense. We had used TrueNAS to build a SAN and had our compute run through VMWare ESXi. This gave us a lot of powerful features but had some limitations baked into the model. Before we even started we talked about eliminating our single points of failure. In our networking article, we talked about some solutions to mitigate our single points of failure. We talked about the physical layer, switch stacking, and multipathing. In this article, we are going to plan a Proxmox VE Lab build that is more scalable.
High Availaibility and Hyperconverged
In our storage and compute pieces, we touched on the ability to do some high availability in VMWare by using vSphere. High availability is the technology by which you can lose a server without losing your user’s ability to access its services. In addition to the additional hardware requirement, this has an added licensing cost and represents a barrier to entry for some.
On the storage front, iXsystems does not have a solution for us currently in TrueNAS Core. TrueNAS proper, the enterprise version, can do high availability.
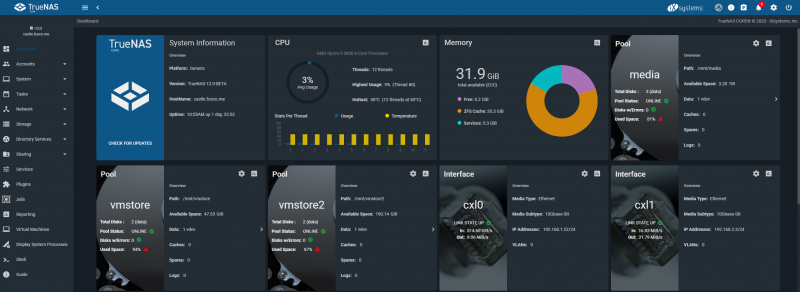
While there is some redundancy built-in with RAIDZ, if there was a problem with the server itself production would go down. Similarly, if we needed to update the OS of our TrueNAS Core box, we would need to shut down production. This leaves us a gap and at this time iXsystems does not have a “free” product that scales out to address this.
The company does have a new product that is coming later in the year that aims to address Proxmox VE’s offering head-on, called TrueNAS Scale. It takes the OpenZFS filesystem from CORE and builds it into Debian. More importantly, though, it includes GlusterFS. Gluster is a technology that allows you to do storage clustering. That means you can have redundancy across multiple systems, not just one.
TrueNAS Scale will also include KVM, which is a hypervisor. KVM, like VMWare’s ESXi, is what runs the compute elements for a virtualized infrastructure. The goal of TrueNAS Scale is to be the do-it-all solution with both storage and virtualization in one box. While TrueNAS CORE supports jails, plugins, and bhyve virtualization, KVM is an industry-standard that is deployed by most major cloud providers. At this point, KVM is likely running significantly more VMs than VMware and bhyve combined.
This product will attempt to be a hyper-converged platform. Hyperconverged is a term that describes the integration of many services into a single platform, in the case, storage and compute.
VMWare has been a leader in the hyper-converged infrastructure market. They saw the writing on the wall back in 2014 when they released a product to solve the problem of storage availability. This product is called VMWare vSAN. VSAN is powerful and easy to manage. Similar to ZFS, it gives us things like caching, and it offers the benefits of GlusterFS whereby it spans multiple systems.
This solution is fast, flexible, and is used widely in the enterprise. The problem is, however, it adds even more licensing costs to our deployments. For a home lab, VMUG Advantage covers this. The VMWare Usergroup sells a subscription you can purchase for a nominal yearly free. It gives a home user access to most of VMWare’s enterprise offerings. In a production environment, however, vSAN licensing increases costs quickly.
The Proxmox VE Lab
That brings us to Proxmox VE, the opensource KVM virtualization platform.
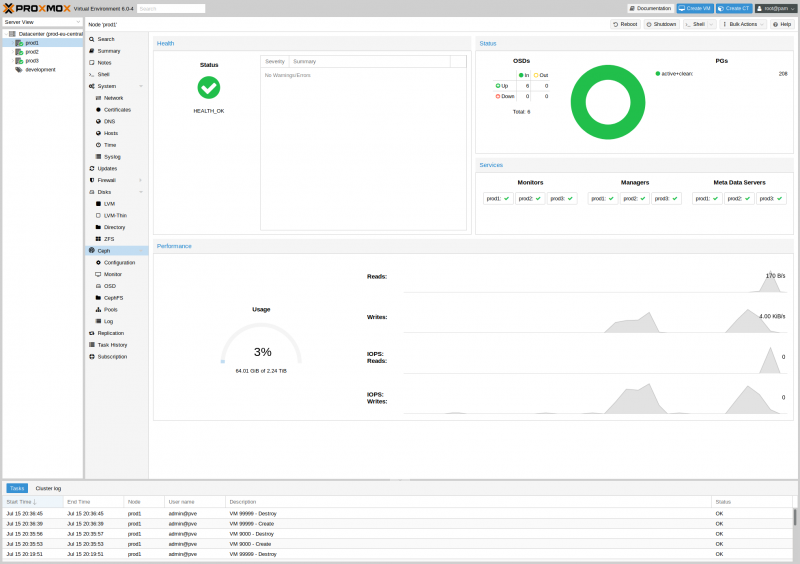
The Proxmox project is about 15 years old now. It set out to be the open-source and free alternative to the incumbent hypervisors on the market. KVM, or Kernel-Based Virtual Machine, is the virtualization technology Proxmox uses. For the past few years, Proxmox VE has been the gold-standard of lab hyper-converged open source virtualization, and it shows. As time has gone on, the Proxmox team has begun integrating features to go head-to-head with other products in the VMware stack. They have integrated clustering for compute, centralized management, Ceph for storage scalability, and more.
Just for some sense, STH has run on Proxmox VE clusters and serves millions of web pages per month using it. The STH DemoEval lab has Proxmox VE hyper-converged clusters with Ceph running object, file, and block storage services. STH retired Gluster years ago as Ceph is the more widely supported scale-out open source storage platform. Gluster is still widely used including in supercomputers such as NVIDIA Selene (currently #7 on the June 2020 Top500), but as Ceph started adding more file and block features, it made sense to transition.
In the future, we may use TrueNAS Scale and Gluster for this type of project. For now, Proxmox VE has a long track record and is deployed in production as a VMware replacement. Our hope is that TrueNAS Scale will bring those who are still using legacy storage such as FreeNAS/ TrueNAS Core to a more modern scale-out storage and hyper-converged approach.
For those wondering, one of the benefits of Proxmox VE being out for years is that there is even a 3rd party tool ecosystem. For example, you can use a Proxmox VE hyper-converged cluster and get plugins to automate a web hosting business.
Scalability
In our Of BBQ and Virtualization piece a few weeks back, we discussed some of the advantages of large compute servers. Sometimes our individual virtual servers have such a high demand for our resources, that they just will not “fit” in a low-end server. Having a cluster of small servers would not help us here. That is not always the case, and often times the load on our VMs remain mostly static. For this reason, it is important to identify your needs, specifically in CPU, RAM, and storage, before purchasing hardware.
One of the advantages those using scale-out Promxox VE labs have enjoyed for years is the ease of simply adding nodes to the cluster. One can add compute and memory and/or storage by simply adding additional nodes to the cluster. Since resources are balanced across the cluster, instead of having to plan for a large scale-up system as we previously did with ZFS taking into account say a 3-year system lifecycle, we can instead purchase systems and add them over that 3-year (or longer) lifecycle to meet capacity needs. That lets us, for example, take advantage of larger drives or less expensive memory over time.
This design surrounds multiple low-resource requirement applications. Things such as DNS, a small Active Directory, Line of Business applications, Docker, and etc. We are combining the power of multiple smaller nodes into one nimble datacenter.
A Bit About Clustering
For the purposes of this lab, we will have three similar servers. Each server will be part of a Proxmox Cluster. A cluster is a physical grouping of servers. Proxmox officially supports clustering up to 32 physical nodes. With their centralized management implementation and easy to use cluster tools, this process is very easy and takes only a few mouse clicks. Years ago this was a CLI task, but now, it is enabled via a simple web-interface.

After we create a Cluster, we will have the ability to do high-availability for compute resources. If one of the servers goes down, another one should be able to pick up the workload and keep going without the virtual machine even noticing.
In order for our servers to be able to accomplish high availability, they need to have access to shared storage. This could be accomplished in a similar fashion to what we did previously, with a separate storage system. However, that system was a single point of failure. In part one of that series, I pointed out the goal of a systems engineer is to eliminate single points of failure. That is why in this deployment, we are going to do things differently.
Our focus will be on what I consider to be the winning combination, the same combination iXsystems is trying to replicate: GlusterFS and ZFS for storage and KVM for virtualization. While we use Ceph heavily, we are going to use GlusterFS here to simplify a later comparison. We have already talked about how powerful the ZFS filesystem is in our previous series, and these articles will be focused on building another layer on top of it with Gluster.
GlusterFS Quick Primer
In a previous article, we discussed the individual components of a ZFS pool. To do that, we used plastic storage containers to help visualize what is going on. GlusterFS adds another layer to this model. Rather than throwing all of this into another, larger, physical container, let us make a diagram.

What you can see here are 3 independent nodes or bricks. The way I have depicted it above, each node is a mirror of the others. We could lose 2 of our 3 servers, and our users wouldn’t even notice. However, we are losing 2/3 of our storage to gain this benefit.
Gluster can run atop LVM or ZFS to enable features such as snapshots. This design is highly redundant, and our files (or, in this case, our virtual machines) are highly available. Let us imagine your company’s entire infrastructure is reliant on Active Directory and DNS. Those services are housed in bare-metal on a server which is a single point of failure. If all of a sudden that server goes down, so production is down. People cannot work. With a solution like the one we are proposing, that ceases to be a problem.
This is more of the way that a cloud provider looks at storage. While OpenStack private clouds traditionally used Ceph for this role, the idea is simple: remove single points of failure. If data is located in different racks on different servers, potentially different data centers, then a single machine is no longer the point of failure. With Gluster, that is a similar goal, place data on multiple systems simultaneously so that you do not need to worry about a single system failure.
While scale-out is great, in most real-world deployments there are a few big impacts. A system needs to know which set of nodes are online and are the right ones to pull from and not in a degraded state. Instead of monitoring a system, cluster monitoring is needed. Clustering mechanisms tend to work best at larger node counts which can cause trouble in 2-3 nodes found in many labs. You can search for “Split Brain” if you want to know more. Storage efficiency is often not as good as with traditional ZFS in replication mode. We also can have many more writes done on a Gluster server since data is replicated.
We will note that Gluster also has erasure coding which adds more compute requirements but gets better storage efficiency by effectively creating a “RAID” across multiple systems. Erasure coding refers to a parity system rather than deleting files. In Gluster terminology, these are dispersed volumes.
What is a Brick?
A brick represents the smallest unit of storage in GlusterFS. In that way, it is similar to a VDEV in ZFS. Our system will consist of 3 servers each with a ZFS pool. Each ZFS pool will have a single brick on top of it. Our Gluster Volume will be set up as a replicated volume.
Alternatively, you could create a dispersed volume. Rather than a simple mirror between our bricks, we can distribute stripes across more than one node and then build redundancy in. This can be considered similar in theory to RAID or RAIDZ for Gluster. A dispersed volume can have a configurable amount of parity. This configuration will give us more storage efficiency and speed but will reduce our redundancy from 3 systems to 2. Another drawback is that this configuration requires more computation to calculate erasure coding.
Why not Ceph?
Ceph might seem to be the obvious choice for a deployment like this. Since Proxmox VE 5.4, Ceph has been configurable via the GUI. This helps lower its steep learning curve. What differentiates Gluster and Ceph is that Ceph is an object-oriented file system, and it also acts as your LVM or Logical Volume Manager. This makes it largely incompatible with ZFS and we wanted to stick with that. Gluster on the other hand sits on top of an existing file system, it is file-oriented, so we can use it with ZFS.
In an object-oriented file system, an object contains the data itself along with metadata and a globally unique identified for the information. Ceph is a fantastic solution for backups, long-term storage, and frequently accessed files. Where it lacks is performance, in terms of throughput and IOPS, when compared to GlusterFS on smaller clusters. Ceph is used at very large AI clusters and even for LHC data collection at CERN.
We chose to use GlusterFS for that reason. Virtual machine workloads lend themselves to block-storage systems in terms of performance. ZFS does an amazing job scaling up in this way with the proper tuning. Building a system with GlusterFS on top of ZFS gives us the ability to scale up and scale-out. In performance and capacity, as well as reliability, this combination is a strong contender.
The Hardware
Much like before, we are using older Intel Xeon 1220/1225 V3-based Supermicro servers we had on hand. Each server has been equipped with a 10-gigabit Intel NIC and 16GB of RAM. What is cool about Gluster is that because it is a file-based system, it does not care about the underlying storage infrastructure. It builds its bricks in a folder, and it does not necessarily know what kind of disks or redundancy lies underneath. Also, since we are using Linux instead of FreeBSD, the hardware compatibility in Proxmox VE is generally excellent following the Debian mainline.
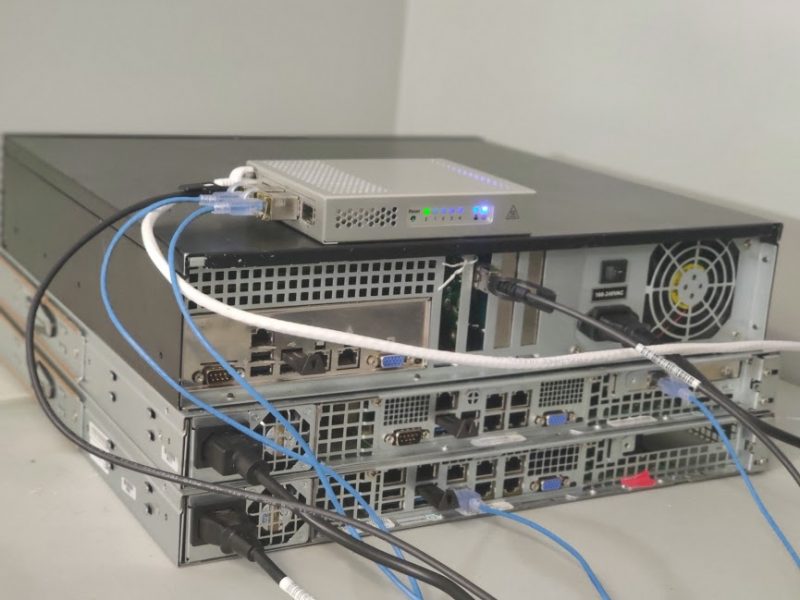
For this lab, each of our servers is a little bit different. One has 2x Samsung SM953 400GB NVMe drives in a ZFS mirror. The next one has 2x Intel S3700 400GB SATA drives in a ZFS mirror. Finally, the last server has 4x 120GB Intel S3500 120GB SATA SSDs in a RAIDZ1 configuration.
Because of unbalanced configuration, our Gluster cluster will be limited by the slowest and smallest of our ZPOOLs. This kind of hodge-podge is not recommended for production use but was done to illustrate what is possible on a budget with parts you may have lying around from other projects.
For networking, we are using the same Mikrotik CRS305 that we have been using for all of our testing. For reasons discussed prior, it would be better suited to perform this task with two of these switches or with enterprise switches in a stacked configuration.
Final Thoughts
The goal of this article was to expand upon the base of knowledge we set forth to disseminate in our Building a Lab series. We wanted to take it in another direction. Proxmox is an excellent operating system and is extremely powerful. As we go down the path of hyper-converged and highly-available systems, we chose to take a look a Proxmox. Proxmox is an industry leader in this space, especially among open-source enthusiasts. Additionally, this will give us the benchmark by which we can compare TrueNAS SCALE later this year.
In the next part, we will bring you through the configuration of a cluster, we will build our ZFS pool and we will build our GlusterFS bricks. If you want some additional information on Proxmox’s installation procedure in the meantime, please check this article from Eric Smith. At STH, we have had these quick copy/ paste guides for Proxmox for many years and they help you get started quickly.
Stay tuned to the next piece where we put this plan into action.


Someone needs a proof reader?
“Proxmox VE labs have enjoyed for years is the ease of simply adding nodes to the cluster.”
GlusterFS on top of ZFS just to satisfy usage with block devices seems to be a poor fit for most setups. You will want to use Proxmox with Ceph RBD on raw disks to achieve a performance level that is acceptable for most VM based workloads and not waste a large chunk of capacity like GlusterFS + ZFS will do.
Especially if you’re planning on using 3 hosts, utilize the built-in options for Ceph + RBD in Proxmox and when possible add a dedicated write-ahead-log and DB storage on flash to accellerate writes.
Comments are closed.