
At STH we cater to many individuals who are seeking knowledge surrounding getting started in their IT Careers. A lot of these folks gravitate to the open source, and rightfully so. This is largely because the barrier to entry in becoming a systems administrator can sometimes feel rather high. Software that you can freely download, use, and even dig into the code for has a lot of appeal. Many young enthusiasts have started down their career paths by learning Proxmox and TrueNAS CORE. We feel that these are fantastic starting points for any SysAdmin to be! In addition to the ease of access to those products, they are mature enough to be perfectly at home in the datacenter.
Additionally, we have many readers who are SysAdmins by trade but have never really ventured into the open source. Instead, these professionals have been reliant upon filling all their needs with ELAs with large organizations like VMWare. These views also have merit, sometimes the guarantee of traditional enterprise-level support is a requirement. However, budgets are a reality in this world. I am sure a lot of my peers would love to have the next-best-thing from one of the “Big Three” storage vendors, but they simply cannot afford them.
Ultimately, we like to think that when designing systems, it is not always a choice between the open source or the proprietary. A hybrid approach to your software and hardware choices are often the best approach. The goal of this guide is to help both the new and the seasoned IT professionals alike to see what is possible on a budget. I believe the combination of VMWare and TrueNAS Core would create the ultimate HomeLab or branch office deployment. This article’s goal is to begin the planning phase of such a deployment, and we will follow it up with a detailed guide on how to make it a reality.
Getting Started: The Planning Phase
When putting on our Systems Engineer’s hat, we need to think about all of our single points of failure. Ultimately, we need to endeavor to eliminate as many of them as possible while staying within our budget and scope of work. Once we have framed our plans with that goal, we also need to keep future growth and expansion in mind. We understand that there are many aspects of this lab that could be improved. Despite that, we feel it is a great starting point. Our design allows us room to grow and to scale outward in the future as demand increases.
This guide will operate under the premise that you already have the necessities to get started: power, internet access, and physical space. Next, we need to identify what we are trying to do before choosing any components. If we want to provide services in a branch office or in a home lab we need 3 things: networking, storage, and compute. It is actually possible to combine all of these things into one box. (See our review of the QNAP SwitchNAServer.)

However, it is considered leading practice to do this in 3 dedicated systems. We build systems in this way to eliminate single points of failure and so that we can build redundancy in as we scale. Additionally, dedicated hardware and specialized software components will always be the better choice than a do-it-all solution. Companies can only put so much engineering into something before releasing it as a product. The more they try to do in one area oftentimes means they can do less in others.
Building a Lab: Network Planning
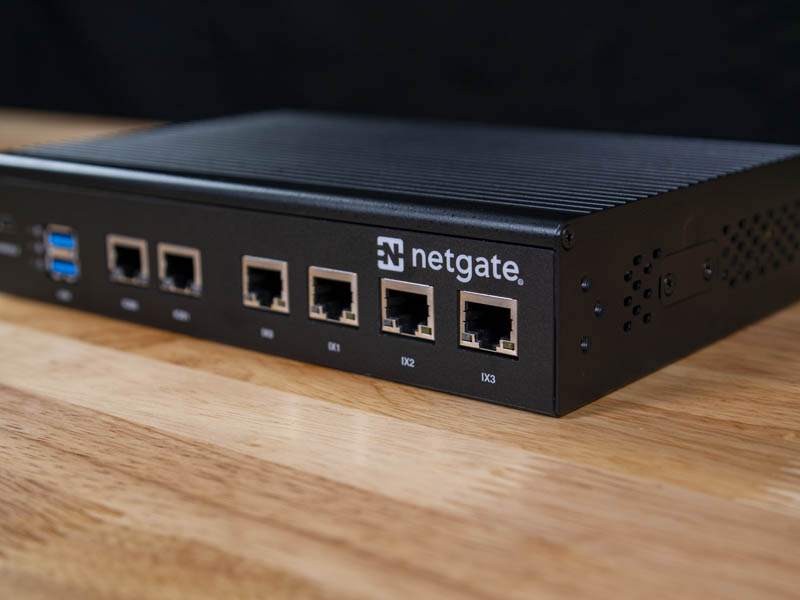
We already have a Netgate SG-5100 (see our review here) acting as our firewall for internet access at the location where we are building our lab. Additionally, we have 2 HPE ProCurve E3800 switches in a stacked configuration acting as a core and distribution switch. We have added two new independent runs of Cat6A to our new data center. For the purposes of redundancy, each of these is plugged into a different stack member in our MDF. To those just starting out building a home-lab, you could get away with just using your ISP provided gateway.
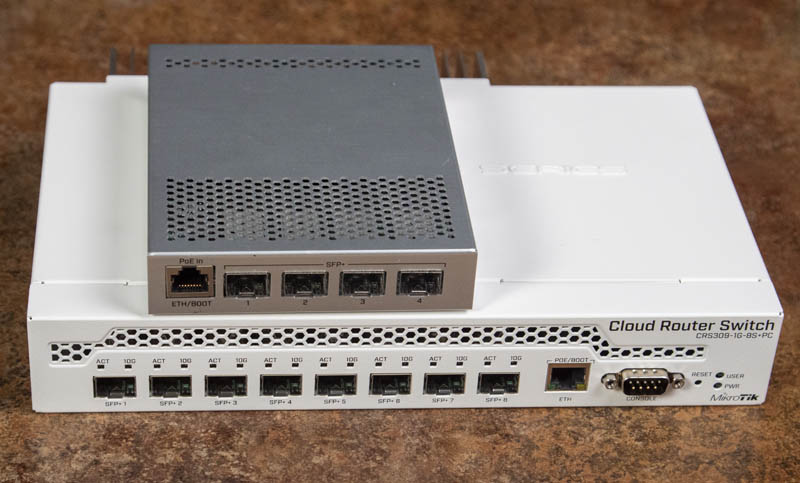
Now that we have figured out our plan on how to connect our data center to the outside world, we need to figure out how we are going to get our storage and compute servers to communicate. For this purpose, we have chosen the Mikrotik CRS305-1G-4S+IN (see our review here.) This is a 5 port managed switch, it has a gigabit port usually used for management and 4 SFP+ 10 gigabit ports. This switch received our Editor’s Choice Award, and at only $149 really fits into the inexpensive mini datacenter budget.
The CRS305 supports POE input from its management port so we will power the switch from HP core, which is running on protected power. This means we only have 1 gigabit to the rest of our network, but 10 gigabits within our datacenter. We will be using all 4 ports of this switch to provide 2 physical paths between our compute and storage servers using iSCSI Multipathing.

Putting the traffic over two separate paths protects us from a problem occurring in layer 1. Physical layer issues are oftentimes the hardest to identify and are sometimes the most common. I can personally attest to the sheer volume of things I have had to fix because someone unplugged something. Additionally, the CRS305 is a managed layer 2 switch. That gives us the ability to use VLANs to put our data center’s iSCSI traffic into two separate networks. This aligns with leading practices for creating SANs with high performance and reliability.
Down the road, if we wanted to add additional network redundancy in our datacenter, we could add a second CRS305 or a slightly larger switch. STH has a video review describing how the CRS305 is vulnerable to being replaced by its larger stablemates. Doing so would provide not just protection from a problem with the physical cabling between the nodes, but from a failure of the switch itself. It was, for this reason, we ran two independent runs between our MDF and our datacenter. Each CRS being uplinked over a separate cable would protect us from a failure of the cabling between our two locations.
Finally, as I am sure my SysAdmin friends are already thinking, what do we do about our virtual machine’s traffic? For home lab folks this is not really a concern and you can, if you want, safely skip this step. All of your virtual machine traffic will share one of the interfaces being used for iSCSI. For production use, however, this is a bad practice. You would want to pull additional copper to the MDF or install a distribution switch at the data center end. Then you would want to install a dedicated NIC in your compute server for guest traffic.
It is a leading practice to deploy a system in that way. Keeping virtual machine guest traffic off of the iSCSI network would also allow us to use the jumbo frames capability of our CRS305. Doing so will help lower the CPU utilization on our servers. Since this is a low power/ low budget build, that would be ideal. A similar story can be told for user data on SMB shares. For our home lab friends, riding SMB traffic to a user share would be perfectly acceptable over one of the interfaces being used for iSCSI. For a production system, however, you would really want to put user data over a LAG on dedicated NIC in your storage server.
Building a Lab: Compute Planning
For compute for this project we are looking to accomplish a very specific task: provide basic services. Examples of this would be Active Directory and filtered DNS. Our design below should be capable of providing 2-3 concurrent virtual machines and should be powerful enough to get you started.
For our hypervisor, we chose to use VMWare ESXI. VMWare has been a leader in this industry since the beginning and is simply the best choice for the job. Most companies are already running in vSphere environments. For those who are, adding a node at a remote site that can be managed in the same pane of glass as everything else is a must. To the uninitiated among us, this allows you to familiarize yourself with a platform that is ubiquitous across the industry. What makes this an easy recommendation is that VMWare provides ESXi for free to home users. Additionally, they offer a yearly subscription called VMUG Advantage which gives home users access to almost their entire suite of products for labs.
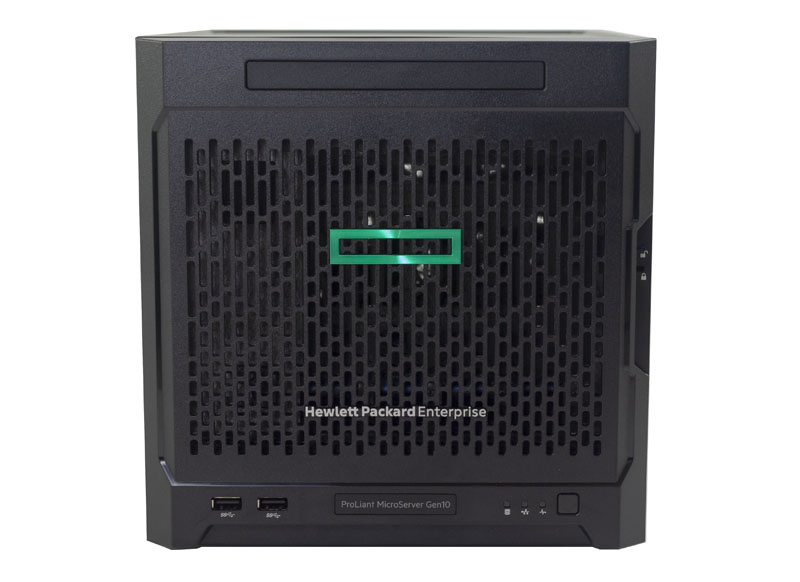
With that choice in mind, we have also opted to utilize an HP MicroServer Gen10 (our Review here.) I feel this solution, at its sub $400 price tag, makes it an ideal candidate for getting started in building a home lab. Plus, it was available on-hand. For the SysAdmins in the enterprise, however, this is not the best choice. Instead, you would want to look towards the HP MicroServer Gen10 Plus (our Review Here.) It is not only more powerful but has official support in VMware’s HCL which may be a requirement. HPE will also sunset the original MicroServer Gen10 so the Plus will be the company’s go-forward option. The only modification I have made to my system for this lab is installing a dual-port Intel X540 Ethernet card.
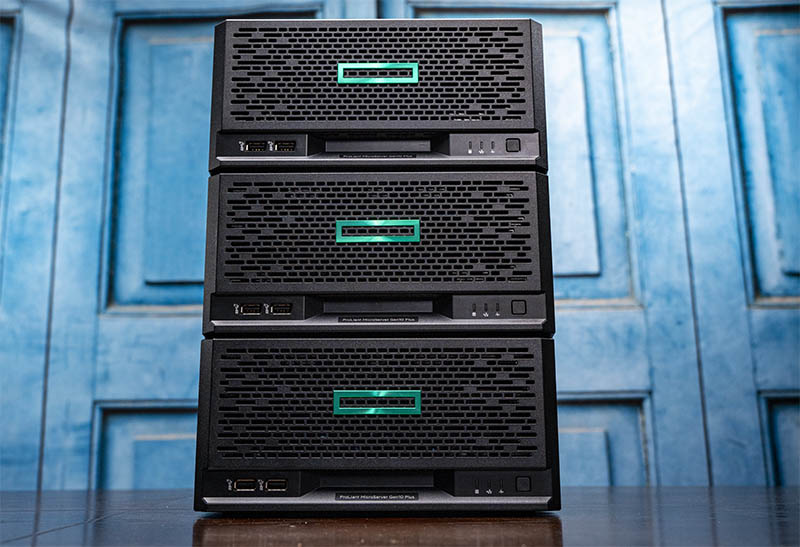
When we are planning out these deployments, there are a couple of factors we need to consider. You must always remember to keep your build in scope of the project at hand. It is easy to over/ under build systems. If our mission is to provide basic services on-prem and then offer extended services in the cloud, there really is not much of a reason to buy a full-on rack server. Dual socket servers loaded to the brim with memory are not really going to serve this mission any better. By lowering the cost of entry, we can scale out to multiple systems later if the need arises. Putting 3 MicroServer Gen 10 Plus servers into a cluster will almost certainly be less expensive than even a single HPE ProLiant DL380 Gen10.
Building a Lab: Storage Planning
Last but certainly not least, we need to plan our storage needs. For newcomers, storage is sometimes an afterthought. I cannot tell you how many times I have seen people using USB hard drives as their only repository for things important. Conversely in the enterprise, there are many out there who will not touch anything that is not NetApp or VMware vSAN.
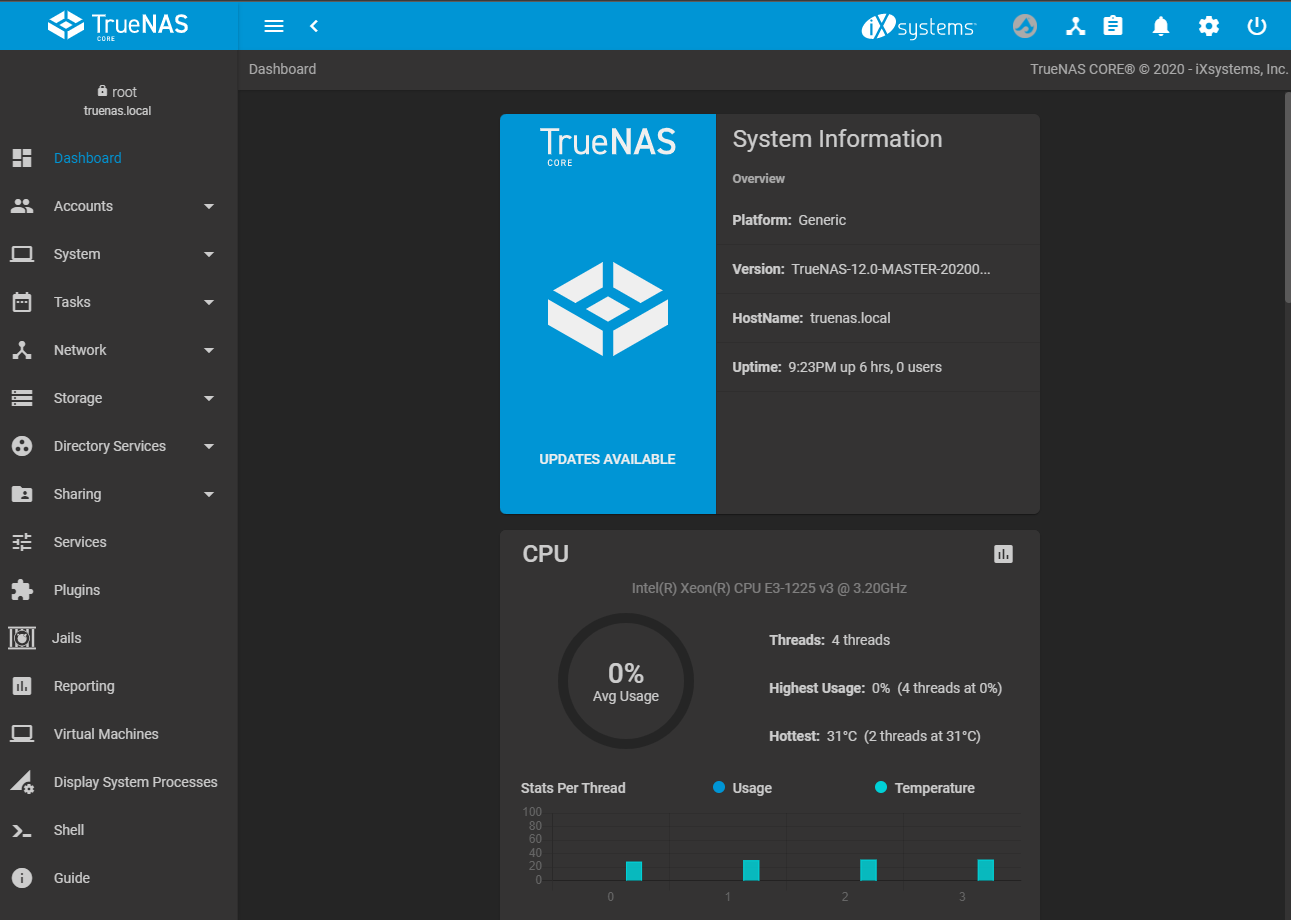
We chose to use TrueNAS Core, formally known as FreeNAS, for our build process. TrueNAS Core represents the combination of ZFS, the “billion dollar” file system and the spirit of the Open Source movement. TrueNAS Core is a storage-focused operating system based on FreeBSD 12. It has native support for iSCSI, NFS, SMB, AFP as well as a whole host of other features. Importantly, the move from FreeNAS to TrueNAS Core also brings us OpenZFS 2.0. This gives us access to many new features such as SPECIAL VDEVs and Fusion pools. All in all, this OS really fits the budget with it being free and open source.
Additionally, for our enterprise brethren, iXsystems offers enterprise-level 24×7 support with their TrueNAS branded hardware. First party TrueNAS servers unlock access to additional features such as high-availability and native fiber channel support. There is something for everyone here, and that is one of the things we love about this platform.
For the purposes of this lab, we are going the build-your-own route. Some important considerations have to be made when building your own server. FreeBSD (of which TrueNAS is based on) does not have the same level of driver support that Windows or Linux does. When choosing our components, we need to ensure their compatibility. We at STH recognize this and have created a hardware guide specifically for on our top-picks for FreeNAS/ TrueNAS Core. Please see our hardware guide here.
We have chosen to use a Supermicro X10SLL-F motherboard and an Intel Xeon E3-1225 v3 that we had it on hand. In this subculture, Supermicro boards have long been noted for their stability and excellent support in FreeBSD.
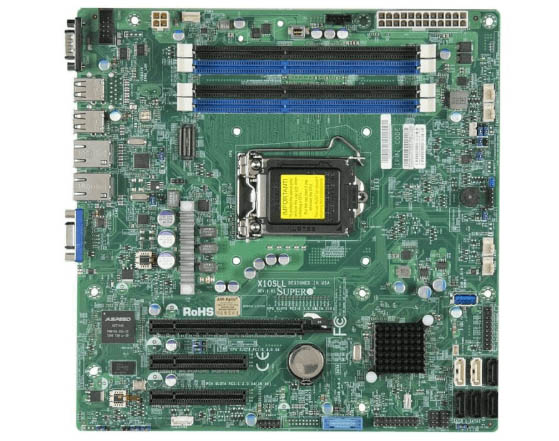
To go along with our system, we have opted to use 16GB of DDR3 ECC ram. It is well documented that ECC RAM is particularly important in ZFS due to how scrubs and the ZFS ARC work. For networking, we chose the Chelsio T520-CR NIC. This is because the Chelsio cxgbe driver has long been well-supported in FreeBSD. In fact, in the early days of FreeNAS, Chelsio was recommended even over Intel 10-gigabit cards. We recommend that if you follow our lead and do the build your own route, it is best to choose the most “orthodox” components possible. If instead, you want an out of the box solution, we can recommend the FreeNAS Mini E and FreeNAS Mini XL Plus.
Final Words
Given our mindful approach to the system architecture, we feel our system has a high probability for success. We have attempted to demonstrate why the software and hardware we have chosen are good matches for the use-case described. In the next piece, we will show you how to get started configuring your systems to do the job and do it as best we can within the alignment of leading practices.


Good first article, Nick. A nice high-level overview. The Chelsio NIC fun fact is news to me.
I would have liked to see a few paragraphs on security and best practices for these low-budget setups.
I appreciate the feedback! You will definitely see a little bit of that when the next couple of parts are released. I will walk you through the enitre setup process and key in on some important security stuff :)
These are the kind of articles that lead me to STH in the first place. The chances of me buying a $$$ server are pretty small as I am a DIY home user. But it is nice to see STH come back to this segment. A suggestion, you use several abbreviations, but never explain what they mean, i.e. MDF. I also second the need for inclusion of security practices in any future articles.
Good job and thank you again.
Excellent Article! This is the information I need to build on a budget, I wonder what the future holds for TrueNAS vs FreeNAS though? ZFS is the best and I truat it with my data, Nice work! TJP
“VMWare has been a leader in this industry since the beginning and is simply the best choice for the job”
Market-Leaders in the IT-Industry tends to be getting more and more worse.
Great article Nick! Looking forward to the next part, I’m subscribing right now!
Wilfried,
While generally I agree, in the case of VMware my only (personal) problem with their direction has been their relentless monetization. Their software has remained excellent and some of the features added have been great, but a lot of them are locked behind a subscription or usage based pay barrier that just feels icky to use.
I have had good luck with Solarflare 10Gb NICS as well and they can be found for quite cheap. I use them in my ESX and Freenas box. Though I had to load the driver VIB package for ESX.
I’m a little disappointed to see that a 7 year old process is still being recommended. Are there no lower powered Intel or AMD offerings that would fit the bill better? I haven’t done any research but I would be interested in using AMD Ryzen (low budget) for a storage solution. Has anyone tried it?
Great article, thanks.
Is it possible to see the final cabling setup. Including the IP addresses that each would be communicating to.
Also could some of the data traffic segregation done within the VMware virtual networking configuration as oppose to having physical switches?
So are you saying it is more manageable to build a NAS machine and build a separate machine for ESXi? This makes sense but I can’t find part 2.
Please provide a link to Part 2 so it is easy to read the entire build instead of searching for each individual build part.
Comments are closed.