In previous articles we have shown how to set up a basic Hyper-V virtual machine that works with FreeBSD and FreeNAS as well as how to configure the Hyper-V VM and boot FreeNAS in it. The next step of course is to install FreeNAS to a vhd, so it no longer needs to run off of the LiveCD. This is primarily important so you can configure FreeNAS and save that configuration through reboots. Also, as FreeNAS seems to only work with drives attached to the IDE controllers, installing FreeNAS to a vhd allows one to free up one IDE channel for another drive (by removing the default DVD drive).
First off, as with any good article the test configuration. As a note from my previous experience running FreeNAS in Hyper-V, CPU utilization tends to be pretty low. The more memory you can give the VM the better (FreeNAS caches data in RAM). With all that said, multiple drives is a bit of a waste with FreeNAS since it does not seem to work with the default Hyper-V SCSI adapter. Here’s the configuration, and much more than you need to run Hyper-V Server R2 and FreeNAS:
- CPU: Intel Core i7 920
- Motherboard: Supermicro X8ST3-F
- Memory: Patriot Viper 12GB DDR3 1600
- Case (1): Norco RPC-4020
- Case (2): Norco RPC-4220
- Drives: Seagate 7200rpm 1.5TB, Hitachi 7200rpm 2TB and 1TB, Western Digital Green 1.5TB
- Controller: Areca ARC-1680LP
- SAS Expanders: 2x HP SAS Expander
- NIC (additional): Intel Pro/1000 PT Quad
- Host OS: Windows Server 2008 R2 with Hyper-V installed
For this guide I am assuming that you already have completed the previously linked steps and you have booted into a FreeNAS LiveCD environment. From here, we will install FreeNAS into a vhd so it can run off of a “disk” in Hyper-V. This guide will cover installing FreeNAS from a LiveCD boot to a local VHD installation in Hyper-V. At the conclusion, you will be in the FreeNAS administrative WebGUI.
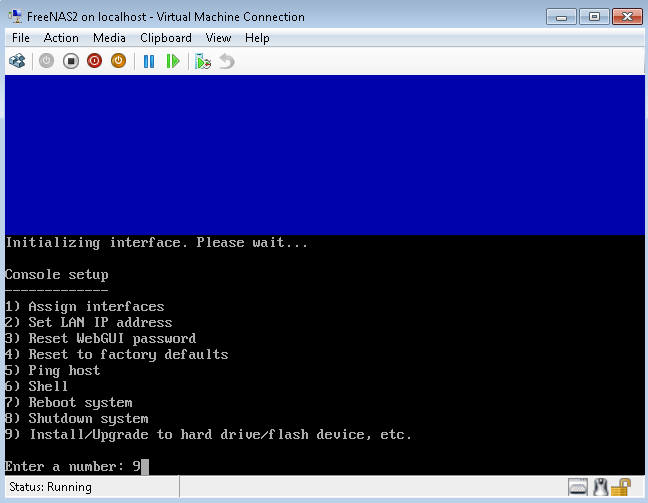
First, with an already booted VM from Part 1, select option 9 and hit enter.
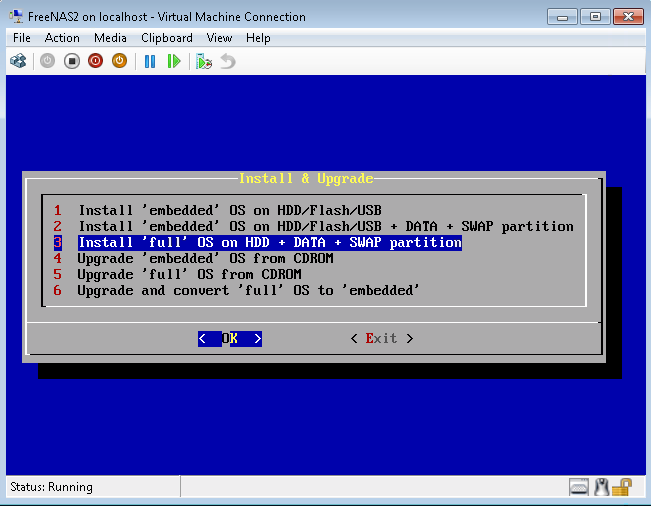
Second, I like to use option 3 here. Ideally, if FreeNAS worked with Hyper-V’s SCSI controller, we wouldn’t necessarily want to use option 1, however, since FreeNAS can only use Hyper-V IDE disks, you have to make the best of the disk you have. It should be noted, a 120GB SSD would be great here since it is under the IDE drive capacity limit, and would make a cool swapfile.
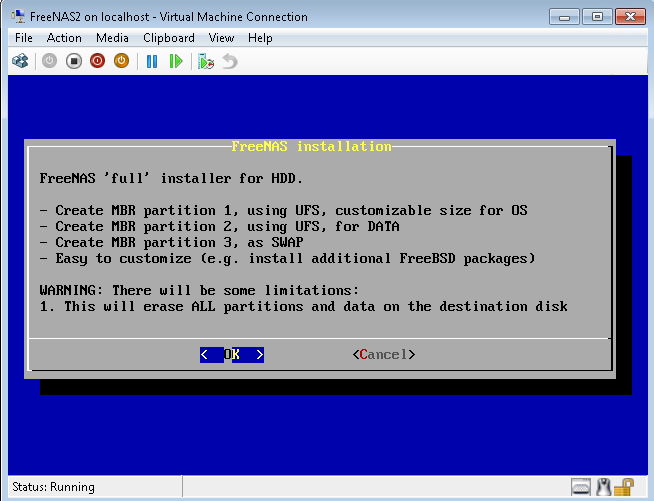
Third, click OK after minding the warnings that all partitions and data will be erased, assuming of course that you don’t have any data on the vhd.
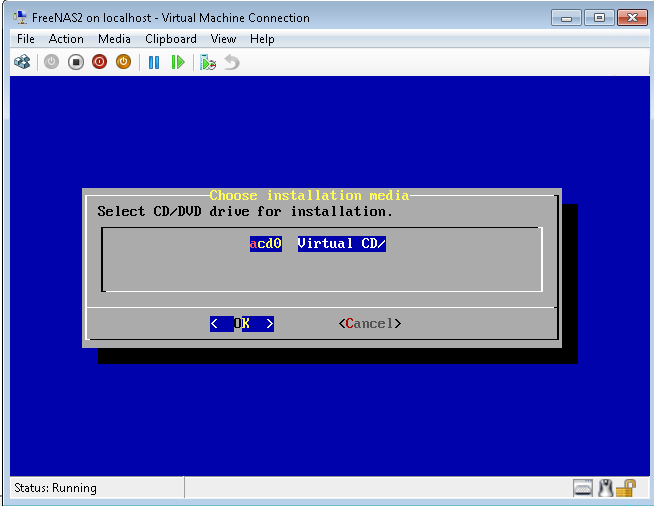
Fourth, Hyper-V makes it easy to select the CD/ DVD drive for the installation media… there’s only one option here so click OK.
Fifth, install the FreeNAS OS to your Virtual HD (vhd). You will see in this example I’m using a 2GB drive. FreeNAS has a fairly small footprint.
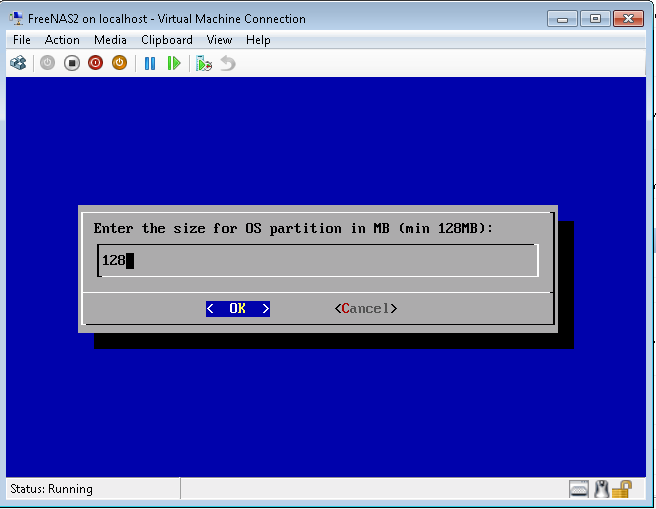
Sixth, chose and OS partition size. The minimum is 128MB for FreeNAS. For the sake of the guide I just used the minimum but feel free to make it larger if you desire.
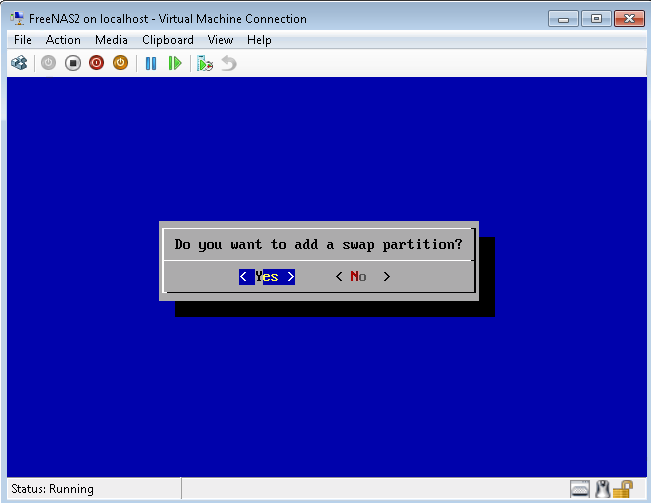
Next, (the seventh step in the guide) click yes to the swap partition.
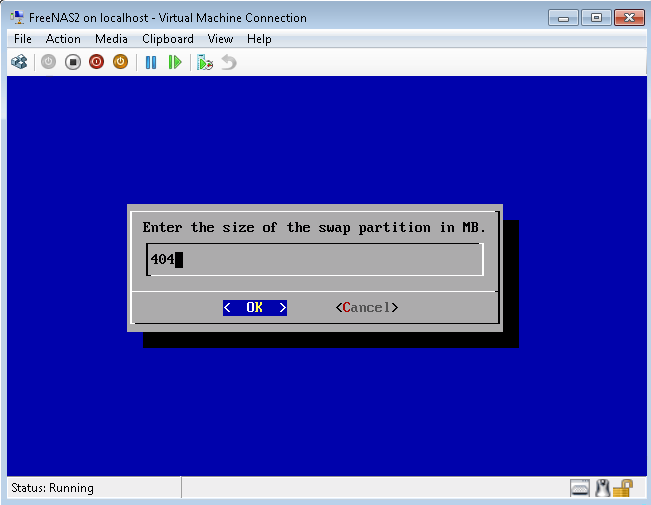
Eighth, give the swap partition some disk space.
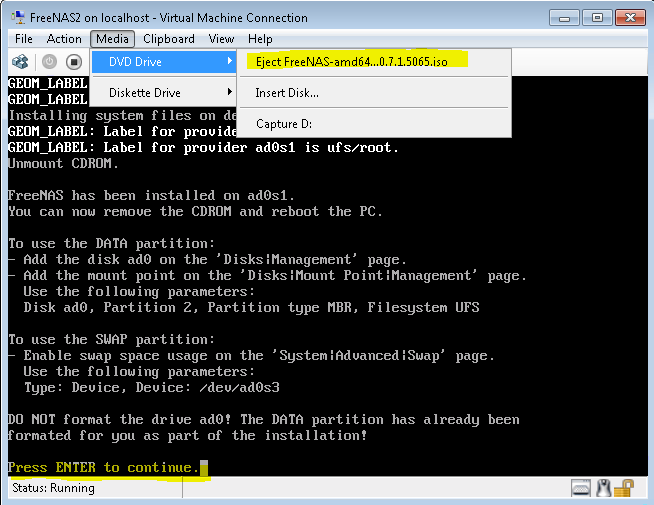
The next step I am combining a few to make everything easy. First, you need to eject the FreeNAS installation ISO from the Hyper-V Virtual Machine. Click on Media – > DVD Drive – Eject FreeNAS. It is highlighted in the screen shot below. Then hit Enter.
Tenth, assuming your Hyper-V VM does not actually reboot (mine doesn’t for some reason) you can use the Control Alt Delete (or Ctrl-Alt-Del if you prefer) button to restart the VM.

Now it is time to set up basic networking to get the FreeNAS VM operational. The next step is important since I have yet to see a FreeNAS Hyper-V VM networking work out of the box.
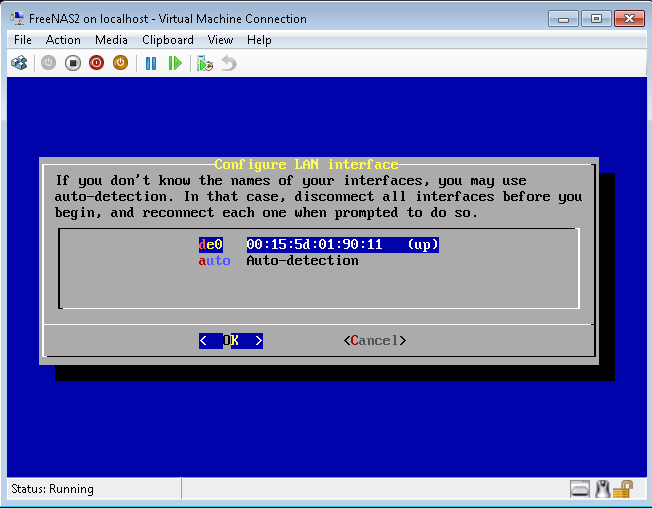
In your newly install VM, you should see a familiar menu. Select option 1, “Assign interfaces”. I am going to assume for the remainder of the guide that you are using FreeNAS with a DHCP server since this is only a quick start guide. To save bandwidth I am reusing the picture from Step 1.

You should see something similar to this screen next. I just hit OK.
Next, assuming you followed the previous guides so you only have one VM, click none Finish and exit configuration:
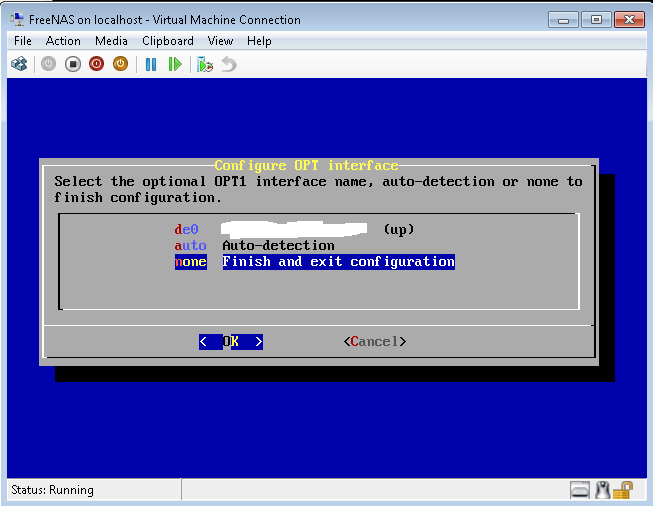
If you get another screen after hitting OK there, just say yes and you should be back at the main menu. Now select option 2 Set LAN IP Address:

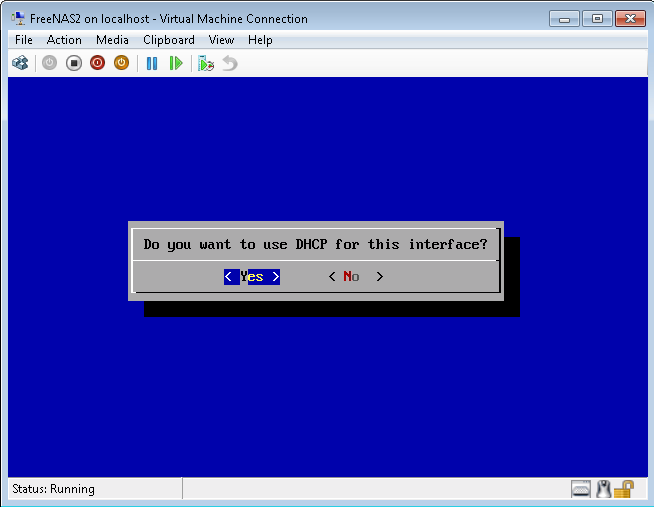
For the purpose of this guide, we will be using DHCP so click Yes.
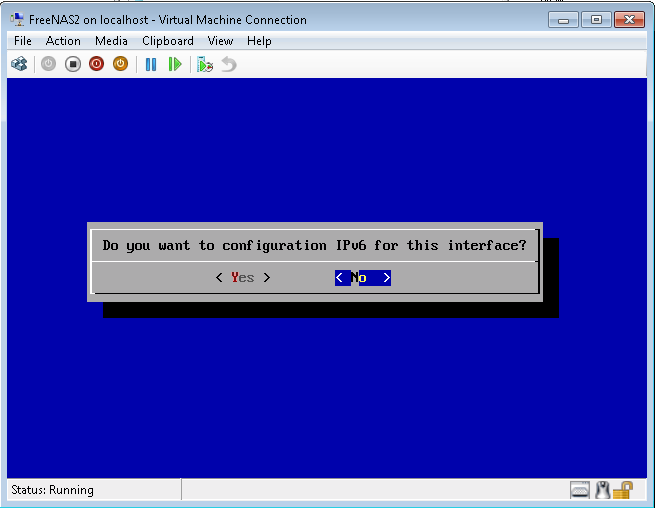
The next screen allows you to use IPv6. Enable if you want, but I am selecting No.
Ok, enough of the Hyper-V GUI. Time to login to FreeNAS’s WebGUI! If everything worked, you should be able to go to http://freenas/login.php

When your browser loads, you should now see the FreeNAS administrative WebGUI. Hello FreeNAS Part 2!
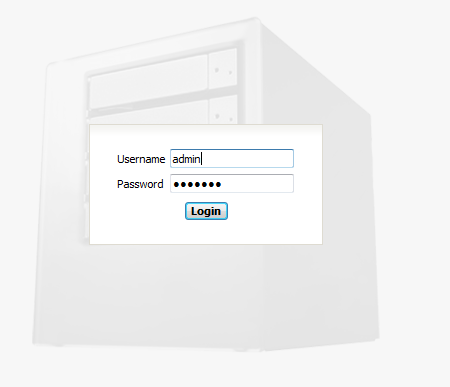
Congratulations, you now have FreeNAS working in Hyper-V! Next steps would be to add additional pass-through disks and then configure the virtual machine. If you were wondering, the FreeNAS default login is:
- Login name: admin
- Login password: freenas
Next up for Hyper-V installation guides will be OpenFiler. I will say, I’ve been playing quite a bit with OpenSolaris, and I have a few flavors “working” (as in they boot) in Hyper-V but none are ready for prime time at the moment. Hopefully one of these days, all of these OSes will come with compiled Hyper-V integration components, but alas, that’s another story altogether.
If there is anything I missed, feel free to leave a comment.

Surprisingly easy – Thanks!
There is a how-to for install Openfiler on Hyper-V Virtual Machine
Hi.
I installed the FreeNAS on a hyper-v server, I set up a network for it.
But it cant find a DHCP and when i enter an IP manually it wont work on the network either (yes i use the correct range and mask).
When i boot a windows client on the same network interface that i use on the freeNAS, that client works with dynamic and static IP.
Any ide?