

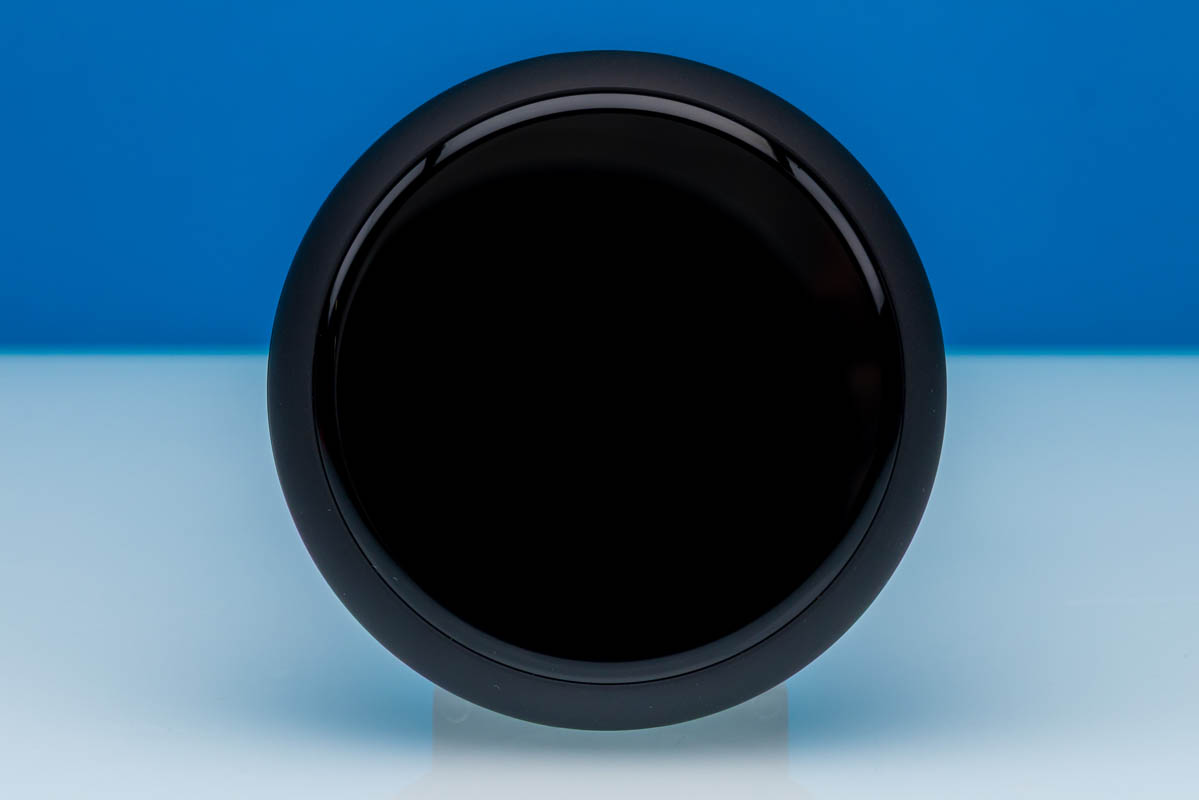
The GL.iNet Comet Q GL-RMQ1 is a new class of remote KVM devices, and it has something really neat. It is designed to be a single-cable solution. Plug a USB Type-C cable into a device with a Type-C port that supports video, and that is the only cable you need. WiFi handles network connectivity, and the built-in Type-C cable powers the unit, carries the video feed, and sends keyboard, mouse, and remote media to the remote system. One of the neat functions is that, along with being able to control many PCs, you can also connect phones and tablets using this solution.
Here is an Amazon affiliate link to where we bought ours.
GL.iNet Comet Q GL-RMQ1 Hardware Overview
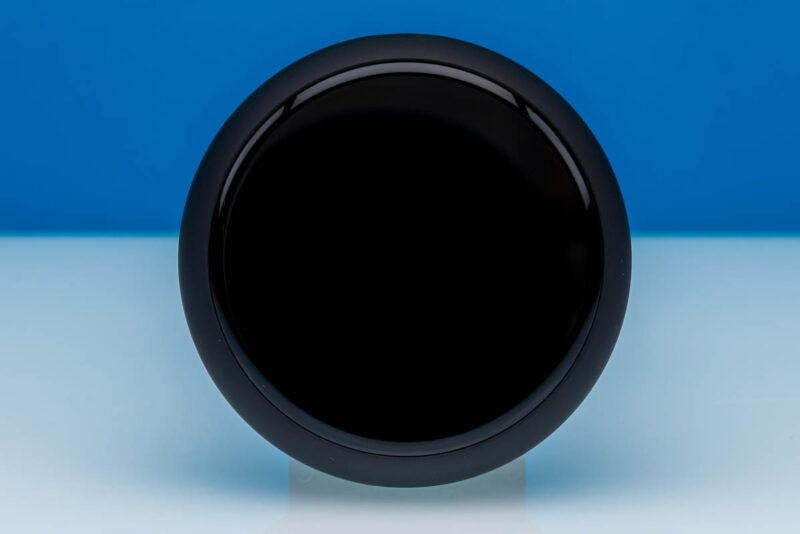
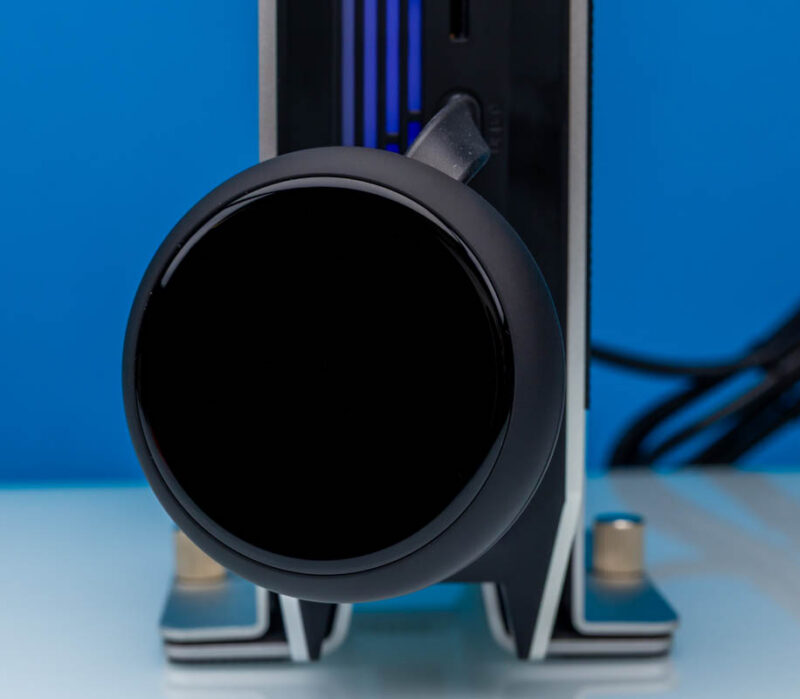
The unit itself has a large 1.8″ touchscreen on its face, but it is like a puck design rather than many of the KVM units that are very boxy. What it is not, however, is small.
On the rear of the unit, you can see cooling vents, rubber feet, and an integrated USB Type-C cable.
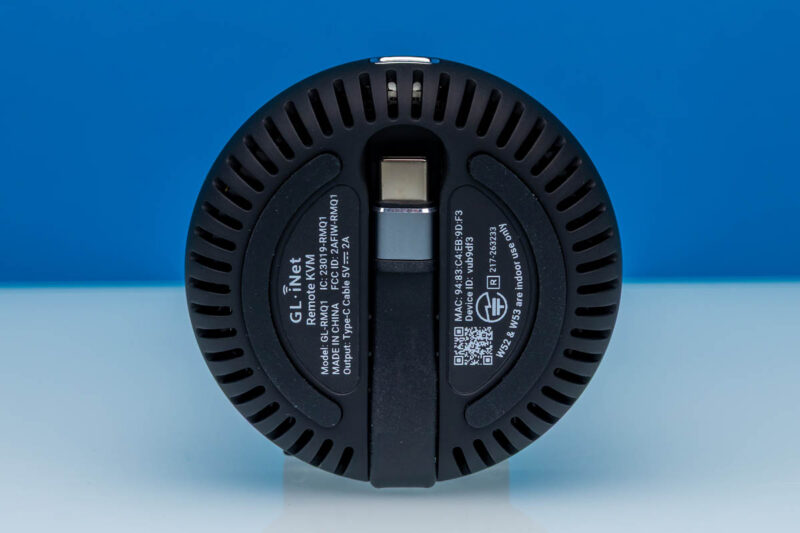
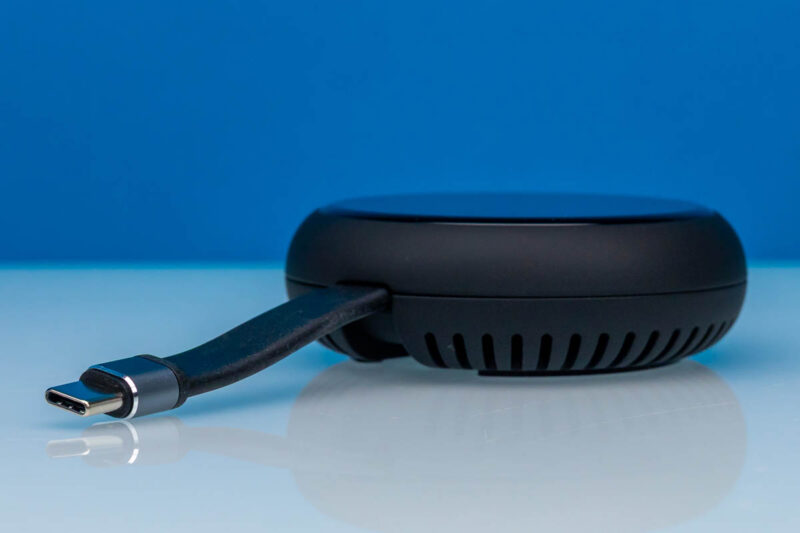
That integrated Type-C cable is not huge, but it is nice to grab the unit and have the cable ready. It does, however, mean that if you wanted a Type-A connection, or a Type-A and HDMI, for example, the convenience is not there.
We plugged it into the Bosgame M5 since that was next to the step, and it is something you can see that is really important here. If you plug it into a system, then it has to boot. If you go from off to on, some systems boot faster than the GL-RMQ1, so that makes it hard to get into the BIOS.
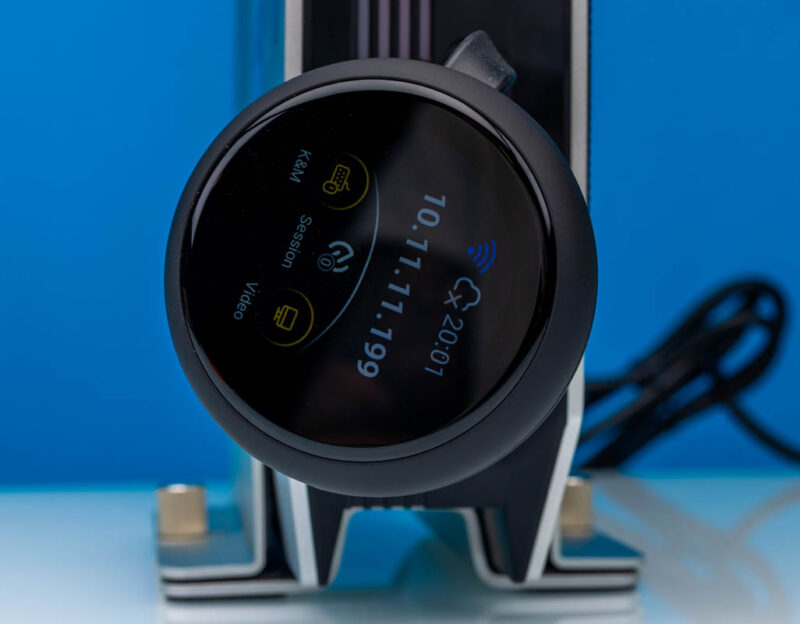
Once it boots, the little touchscreen is very useful. You can see the IP address, along with the KVM and video connectivity status. You can also set up the unit, for example, by selecting a WiFi SSID and entering a password. Once the initial setup is done, you can then manage it via a browser.
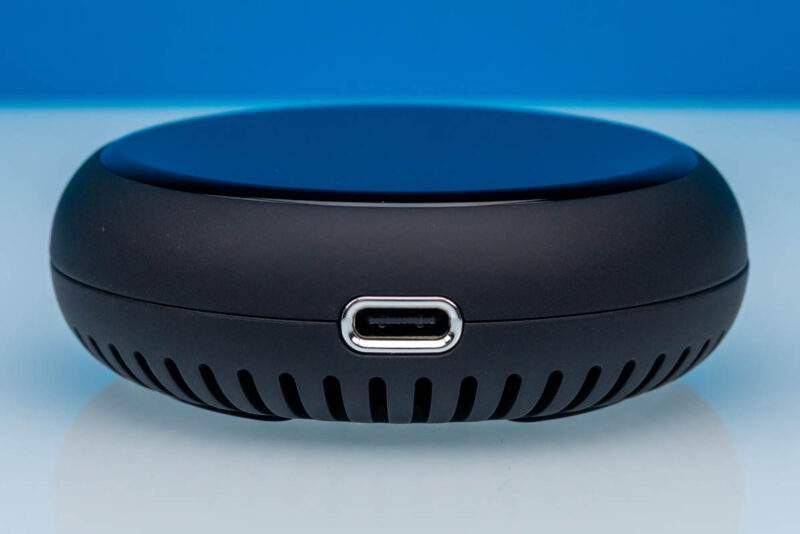
Something important is that there is another Type-C port. This is a power input, which makes sense since many devices you connect to only have a single Type-C port.
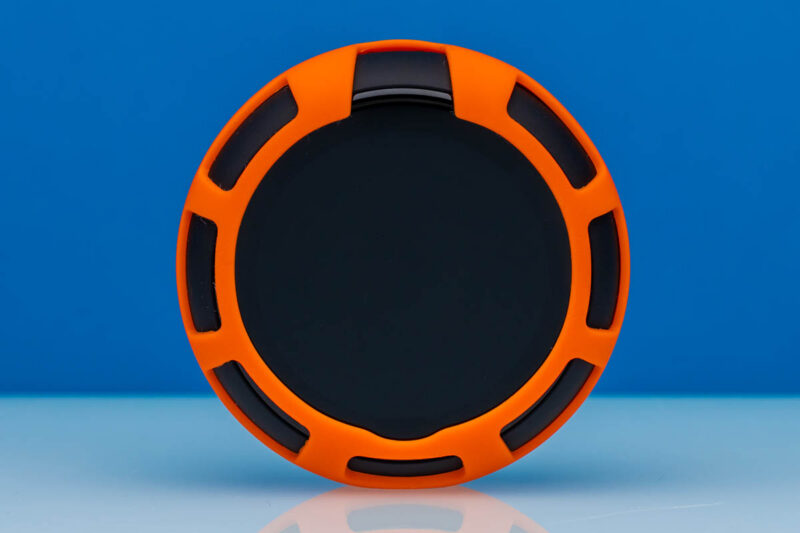
Then there is one more accessory in the box, a little protector that is bright orange. We bought two of these and got the same color. Our guess is that this will eventually get a Sharpie marker on it to help quickly label these with a hostname so we know which is which.
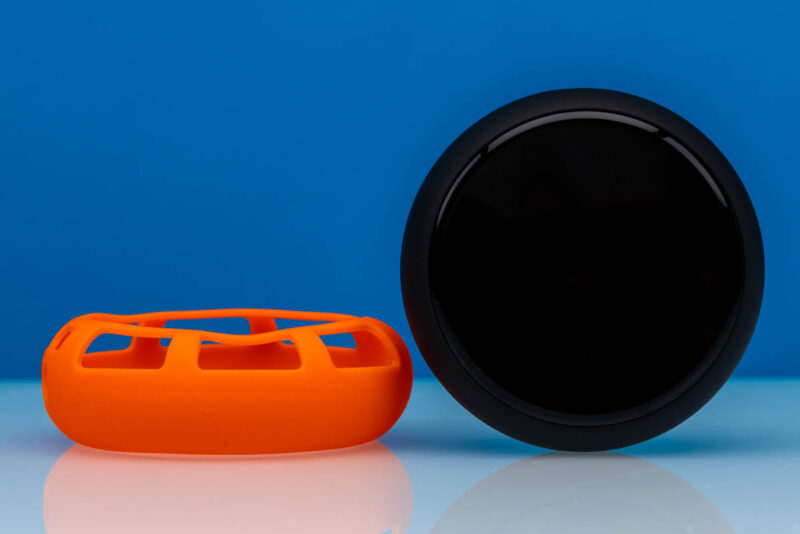
Here is the protector installed.
Next, let us get to using the GL.iNet Comet Q.
 review, we see how this USB Type-C remote KVM device with Tailscale makes connectivity easy)