GL.iNet Comet GL-RM1 KVM Interface
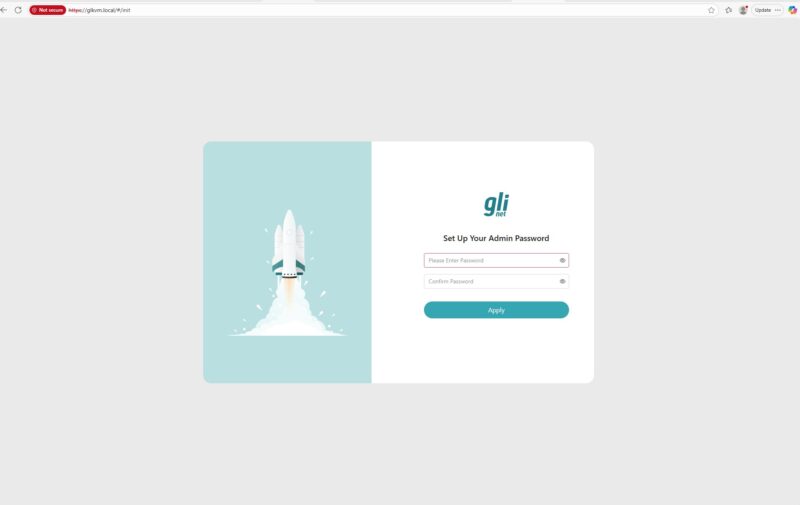
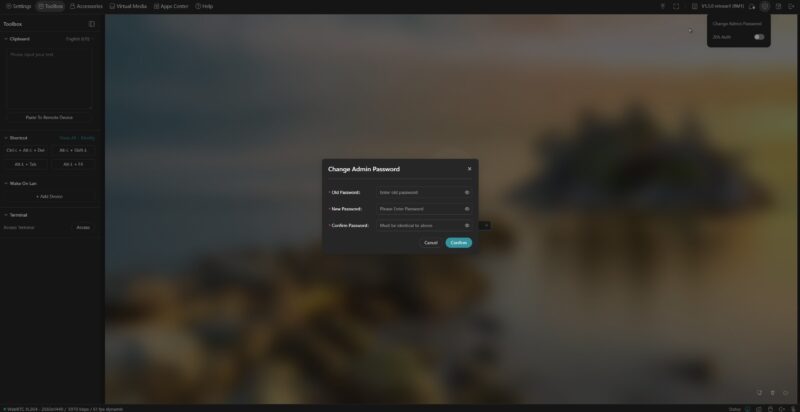
After a few seconds of this being powered on and connected to the network, it picked up a DHCP address and we could access it a glkvm.local. It immediately asked us to change the Admin password.
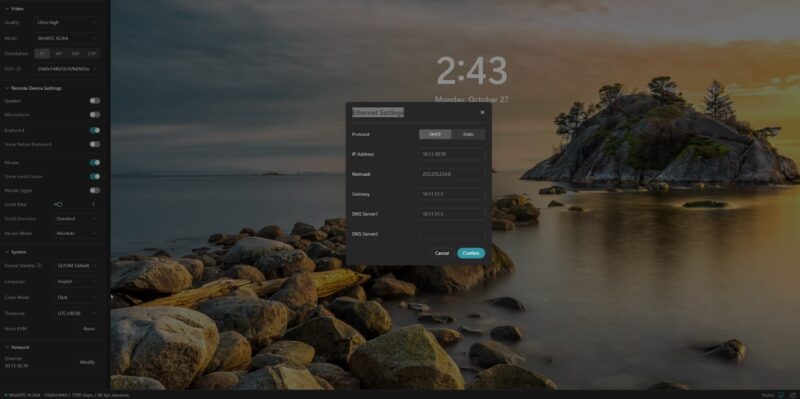
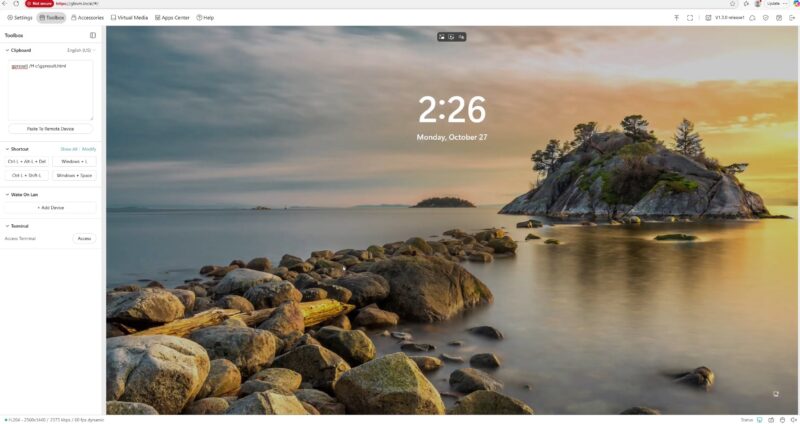
Once we were in, we were in, we were immediately connected to a system. I think this was connected to a Minisforum MS-S1 Max which has Windows 11 Pro installed. It is a neat system, but it does not have a BMC. This gives us remote access. Something to note is that you can change video settings depending on your network speed, and also change the resultion that you want up to 4K 30fps. You can also change the type of monitor and keyboard that is being emulated.

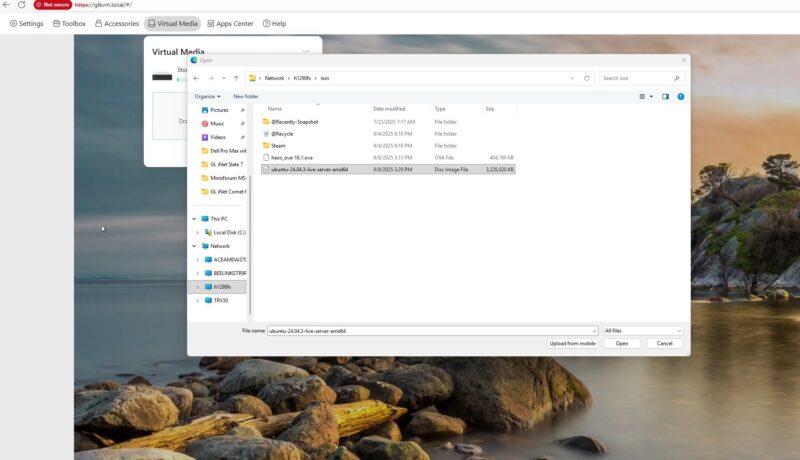
There is a remote media function, but there is only 5.7GB onboard for storage. You can also point it to a URL, but if you wanted a device that you can plug into systems and install different Windows, Linux, and other distributions, you probably are going to want more local storage.
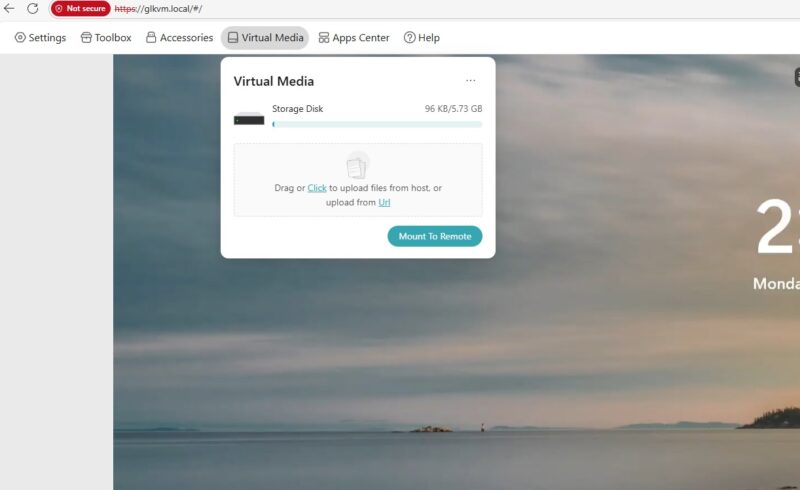
Still, it was very easy to select an image and upload it for use.
There is both a light and a dark UI. You can also change the network settings from DHCP to static. The documentation says that you can change the hostname here, but we have not seen that option in the UI. This is a bummer since if you have more than one of these devices, then it would be nice to have an easy way to change the hostname without going into the CLI. More on that in a moment.
There are a few login features like you can add authentication and change the admin password. We did not see an option to add additional users.
If you have used Microsoft RDP and some VNC sessions, and are accustomed to doing copy/ paste, it is a bit different here. So GL.iNet has a box where you can paste from your local machine to a clipboard that you can load into the remote session.
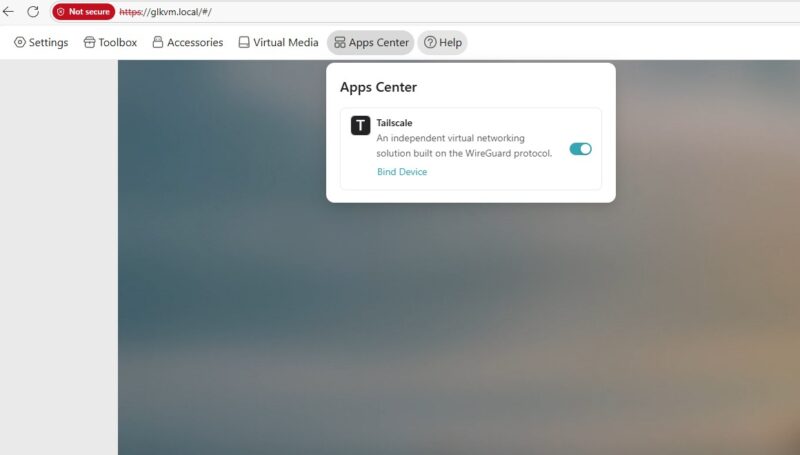
Another feature is Tailscale. You can bind the device and get remote access using Tailscale which is great. GL.iNet has its own remote login web service that we did not use because it seems like a better idea just to use Tailscale.
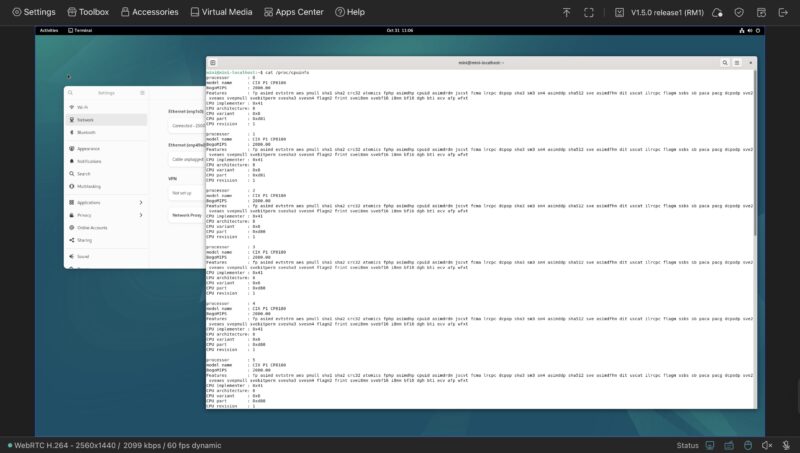
There is also a terminal.
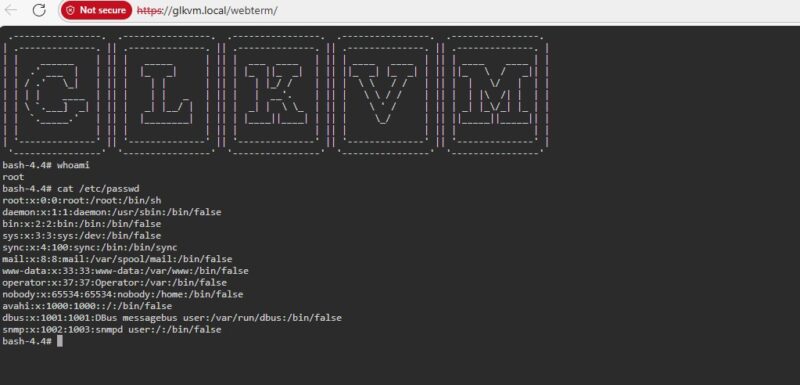
Here is the quad core ARMv7 CPU.
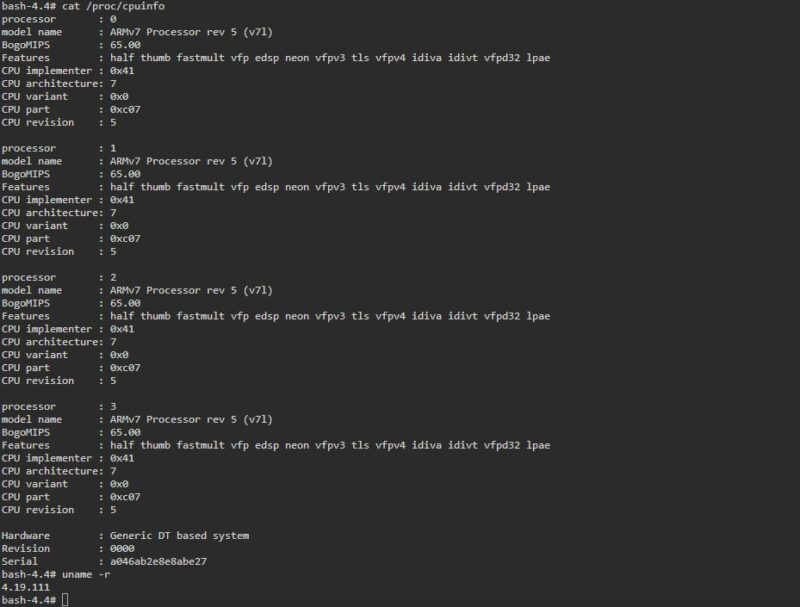
That CLI is also a way you can change the hostname for the unit, but we wish we had the capability in the WebUI like we see in the documentation.
Powering the GL.iNet Comet GL-RM1
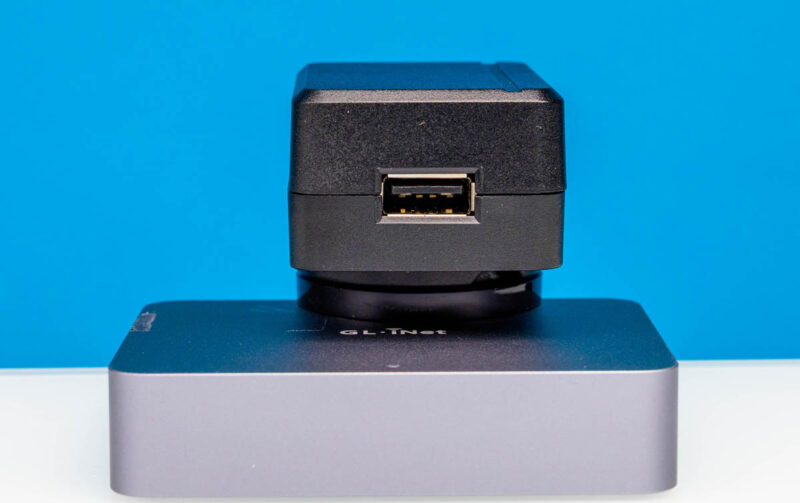
On the power side, we actually got two different power adapters. The other one is in use, but here is one that we got two of. It is a 5V 2A (10W) power input.
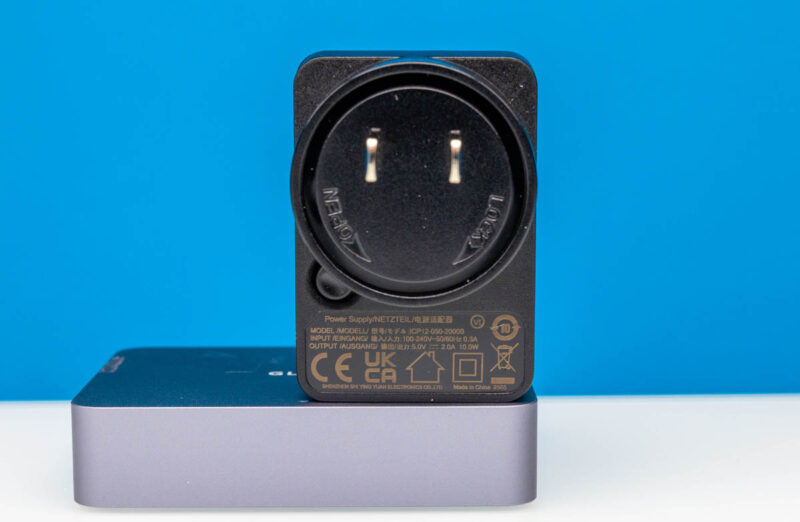
In operation, we would budget 1.0-1.6W. That is not too bad for a device like this.
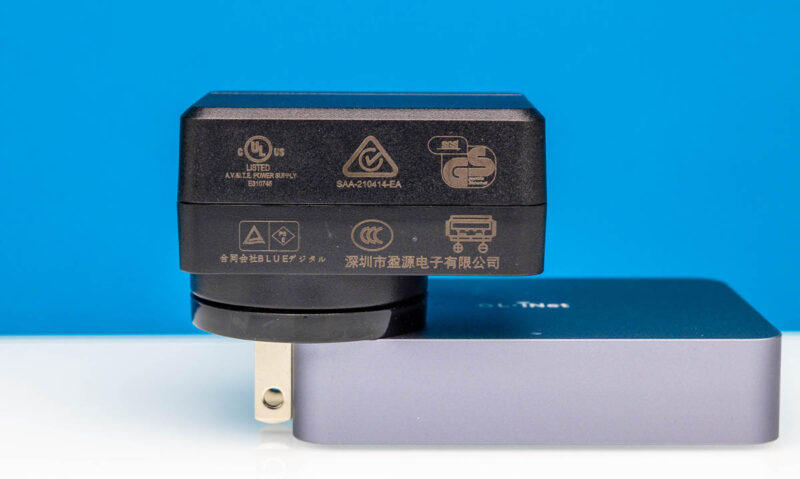
You can often find 5V USB power supplies in power strips, battery backup units, and so forth these days. At low single digit wattage, it is easy to power, you just cannot use power delivery power supplies.
Worth noting, however, is that there is a PoE version of this which costs $20 more or so. That is the GL-RM1PE which we purchased as well for another review (Amazon affiliate.) PoE is handy if you have available PoE where you need devices and you just want to save a cable. With a HDMI cable, a USB cable, a USB power input, and an Ethernet cable, that is quite a bit coming out of this little box.
Also worth noting is that there is an ATX power board for if you have a desktop and you want to add power control (Amazon affiliate link.) There is also a “Fingerbot” which allows you to remotely trigger physical buttons. (Amazon affiliate link.)
Final Words
Unlike when we started reviewing these devices with the TinyPilot Voyager and Lantronix Spider years ago, there are many options the market these days. At $89 this is a decent little box, although the $109 for the PoE version feels like it will be worth it for folks who want PoE instead. Still, this feels near the top of what we would spend for a device like this.
To us, the JetKVM let us down in terms of US availability for a long time which is why we got this. The JetKVM’s local display is a great feature. On the other hand, this worked well. That included picky systems like the Minisforum MS-R1 which is neat. It is a CIX P1 CP8180 Arm-based system (perhaps the best out there) with three different types of Arm cores, and some non-upstreamed drivers which makes it a spicy system to use. This KVM box allowed us to both use that system remotely, as well as fixed some compatibility challenges we had with the MS-R1. Stay tuned for that review.
If you just want a box to plug in, login to a web page, and start using a system remotely, then this worked really well. I still prefer having an easy way to see the IP address and hostname of each of these since once you scale to more than one you will need those features. Overall, this worked well for us so we now have a few of them. It is very cool that there are so many of these little boxes out there.
Where to Buy
We purchased our units on Amazon. You can find an Amazon affiliate link to the listing here.


What does it look like inside?
No need for fingerbot if you have smart power outlet controlled from the app via wifi. My experience with Tapo P100 was great. As long as you remember to set Restore Power State in BIOS settings to Always On.
can you KVM more than 1 computer with this device?
connecting ethernet port to switch and many computers to the same switch?
Apologies if this was mentioned and I missed it, but can you add USB storage for ISOs?
Wait, MS-*R*1? There is/was an ARM flavor for the Minisforum MS series? How did I miss that?
If it supports Tailscale does it also do plain WireGuard?
Two security-related items to check.
1) When the device starts up and is running but you don’t login to the device, where on the internet does it try to go? I’ve seen a few devices similar to this with hard-coded configurations trying to reach back to China.
2) Have the case been opened to check for “extras” on the logic board? There was a number cheap KVM from China on Amazon that had a small microphone loaded on the logic board.
How does this device compare to the JetKVM? Availability notwithstanding, which devices is better/more polished/better featured?
I sure hope they have two big improvements coming for their next versions: USB PD, and even cooler would be 2.5g ethernet with passthrough on the PoE version. That would be killer for rackmounting minipcs and having a single cable to the unit.
For those asking, this does NOT work with an actual KVM to control multiple devices. I reached out to them about it, they blew me off simply saying it’s not supported.
STH can you please do an article and bring some attention to what this KVM tries to connect to? Log it’s traffic through a firewall and you’ll see.
So far I’ve seen mine:
1) Pings multiple public DNS servers multiple times a second CONSTANTLY to simply update the status of its LED light to show it has a working connection. If the pings fail the front light flashes. The developers said on the forum that this is unfortunate but it is the only way to do it. Anything else would mean the LED light would take too long to update. Come on now…. if you had dozens of these on a network your public IP would be pounding public DNS servers with hundreds of pings a second, that’s simply not acceptable.
2) Connects to STUN servers constantly even if no cloud or remote services are being used. The developers blame PiKVM for this. Why would it need to know it’s public IP if it’s only being used locally?
3) It is hard coded to used public NTP servers with no option in the UI to configure it. While it can be overridden in the terminal (until a firmware update puts it back ) the response on the forum from the developers was that being able to set your ntp server is unnecessary as a configuration option and would confuse users. Ridiculous…. Set a reasonable default of pool.ntp.org and then give people the option to change it if they want.
I’ve never had any of their products before but these are some really bad takes from the dev team, hopefully not a sign of things to come.
I wound up blocking all access to the Internet from mine as I just use it locally (or through a VPN) and it constantly pounding public servers with pings is unacceptable.
Officially, glinet does not support Linux. I bought this because of price. I’ve found their support rather marginal and avoids really helping customers. I’ve found that if you have TrueNAS or Proxmox, without a graphical desktop, a CLI console will not display. I fiddled with the EDID code and was able to get the console display, but after an update it no longer displays. At best, when it would display, the text would overflow at the bottom of the display window to where you couldn’t see it.
Is it worth ditching a decades old Lanteonix Spider for one of these?
I bought one of these after this review. I’m happy with it so far but what you’ve failed to highlight is that you aren’t stuck to 1080p. There’s 4k30 and 1440p60 options for displays in that dropdown.
Matt B I looked that up since I was worried too and someone did a look at it that I read thru on Medium https://medium.com/engineering-iot/remote-control-done-right-reviewing-the-comet-pro-remote-kvm-b3f2141fb84a
PiKVMs are better IMO. I use them with Cloudflare tunnels and they are very expandable devices. You can add their 4 port switch which allows you to move between endpoints within the same UI. Very regularly updated by the devs too. Yes, a bit more expensive than the competition but worth it to me at least. And a hell of a lot cheaper than an Avocent.
Based on some of their developers comment is sounds like a lot of this was a fork of PiKVM. Also they have a known hardware issue with their ATX controller board, its not a big problem but its been reported to them for months, allegedly they have a fix in the works but it took me joining their recent kickstarter and asking them there to get a solid answer on that.
https://forum.gl-inet.com/t/gl-atxpc-may-have-a-design-issue/64693
https://forum.gl-inet.com/t/power-led-passthrough-from-atx-board-doesnt-work-quite-right/59809/2
https://www.kickstarter.com/projects/glinet/comet-pro/comments?comment=Q29tbWVudC00NjA0MTg0MA%3D%3D&reply=Q29tbWVudC00NjA0ODc3Ng%3D%3D
i got a pre-order one of these before the usb-pd warning was added.
warning id one to take very serious, one of my units ended up needing to be RMA’d after connecting to an anker usb-c pd charger!