
Not long ago we looked at the Synology DS216j 2-bay NAS unit which we found to be a robust storage option earning top marks in our recent 2-Bay NAS roundup. Let us now take a look at a higher capacity solution from the company called the Synology DiskStation DS916+ which offers four drive bays and an expanded feature set.
The Synology DiskStation DS916+ offers double the number of drives and more options for data protection than our DS216j. Moving into larger storage solutions data protection is a must as you have increased chances of a hard drive failing as you use more drives. Luckily, 4-bay NAS units such as the Synology DS916+ have additional methods for keeping data safe. The Synology DS916+ uses the same operating system we found in the DS216j, called DiskStation Manager. Synology regularly updates its DSM software offering new features.
The Synology DiskStation DS916+ is scalable if your storage needs grow. Using the 5-bay Synology DX513 expansion box can give a user a total of 9 drives and 72TB of storage using lower priced 8TB drives. That should be more than enough for most SMB and home applications.
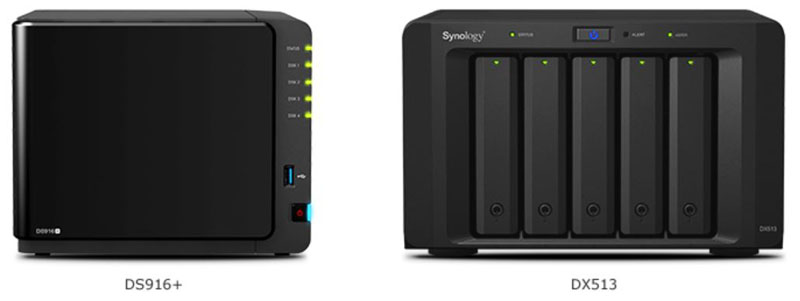
Using the supplied cable that comes with the DX513, connecting these two units together is simple and more than doubles the storage capacity. If you are already committed to the DS916+ the DX513 is the way to go when expanding. Synology does make solutions that offer 8-drives such as the DiskStation DS1815+ which is what we would recommend if you need more storage immediately. Having the ability to expand the DS916+ in place using the DX513 allows you to keep running your existing solution with the DS916+. Expanding without moving all your data sets to another NAS can save a lot of time.
Synology DiskStation DS916+ Specifications
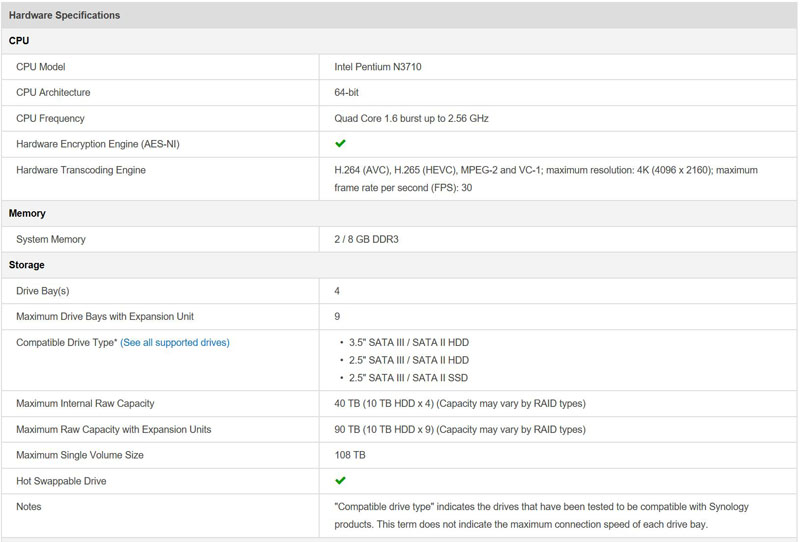
- CPU: Intel Pentium N3710 Quad-Core at 1.6 GHz with burst up to 2.56 GHz.
- RAM: 2GB or 8GB DDR3 options
- Number of Drives: 4
- Drive Interface: SATA 3
- Maximum Internal Raw Capacity: 32TB with 4x 8TB drives
- Maximum Internal Raw Capacity with DX513: 72TB with 9x 8TB drives
- Dimensions: (Height x Width x Depth): 165 mm x 203 mm x 233.2 mm
- Weight: 2.04 kg empty
- Power Consumption: 30 W (Access), 13 W (HDD Hibernation)
- Power Supply: External AC 100-240V Universal, 50/60Hz single phase
For complete system specifications of the DS916+ head over to Synology to find more detail.
Synology DS916+ 4 Bay NAS Overview
Synology sent a review DS916+ with simple packaging. Our package was double boxed which included ample foam inserts to protect the contents. Inside the box, we did find an accessory package which looks to be the same as you would find in a retail kit.
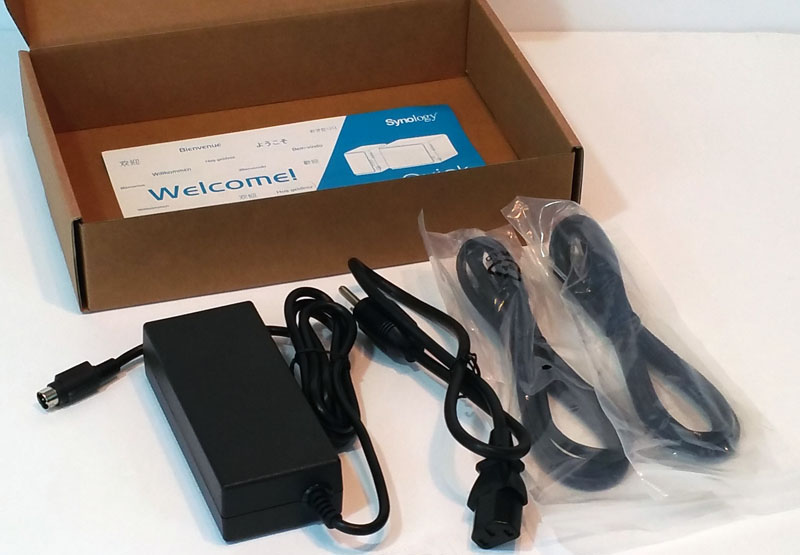
Accessories included with our test DS916+ include:
- DiskStation DS916+ enclosure
- Welcome Note
- AC Power Adapter
- AC Power Cord
- 2x Ethernet Cables
Synology DS916+ 4 Bay NAS Installation
After removing the DS916+ from its packing material, we can now take a look at the NAS.
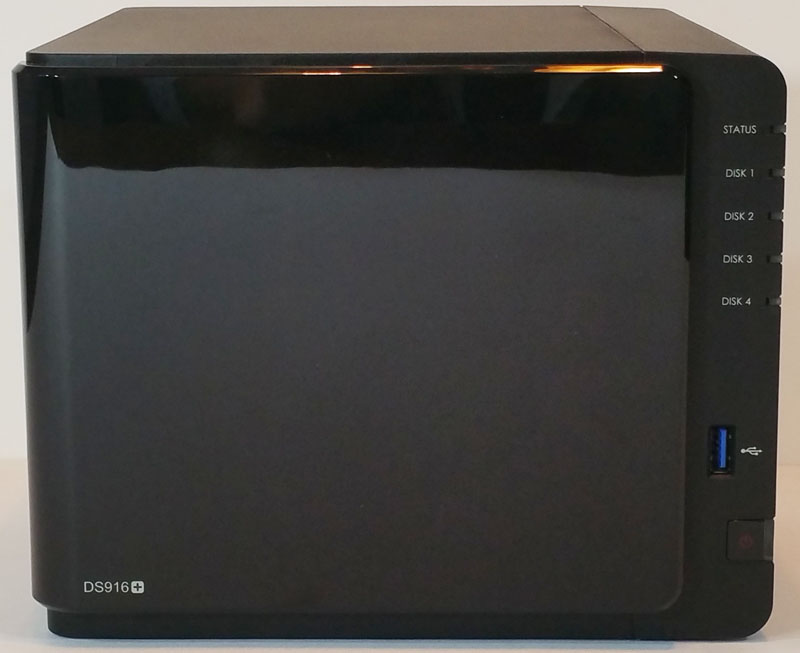
The enclosure of the DS916+ is made of high-quality plastic with a matte finish, while the removable front panel has a gloss finish. At the front, we also find a USB 3.0 port, power button, and status LEDs.
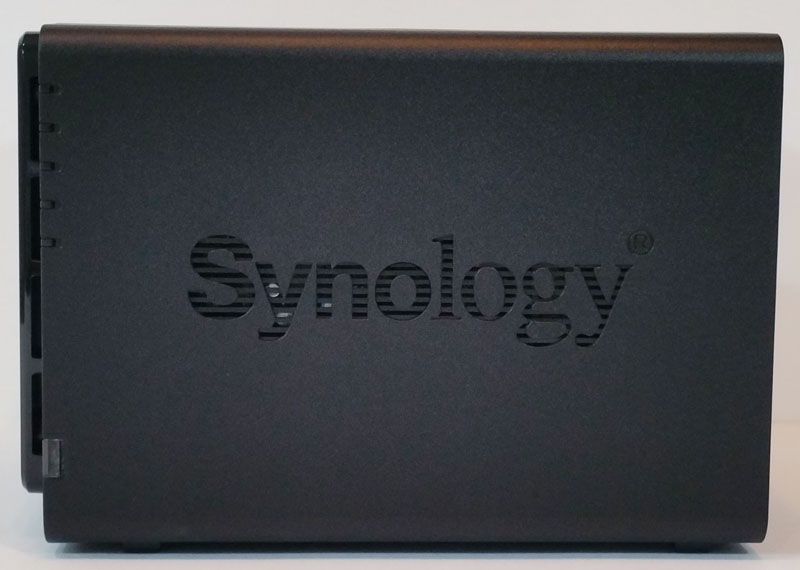
Synology Logo’s on each side of the case also provides ventilation for the NAS which will help with airflow.
The back of the NAS has 2x USB 3.0 ports, 2x RJ-45 1GbE LAN Port and power connector. Also, there is a security port to lock the unit down at a location.
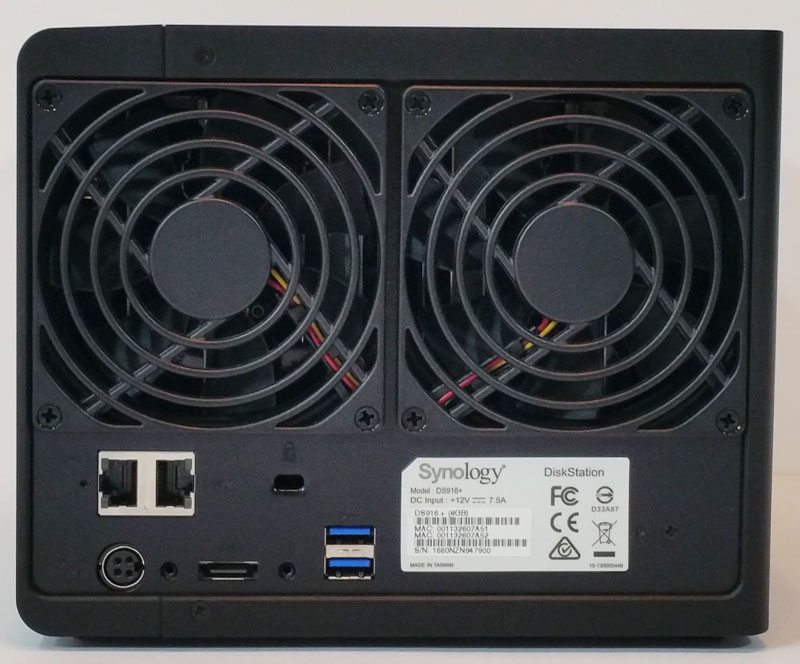
The two RJ-45 1GbE LAN Ports also provide Link Aggregation / Failover support. We also spot the eSATA Port that is used to connect Synology Expansion Unit (DX513) to the DiskStation. The two large 92mm cooling fans take up the bulk of the space.
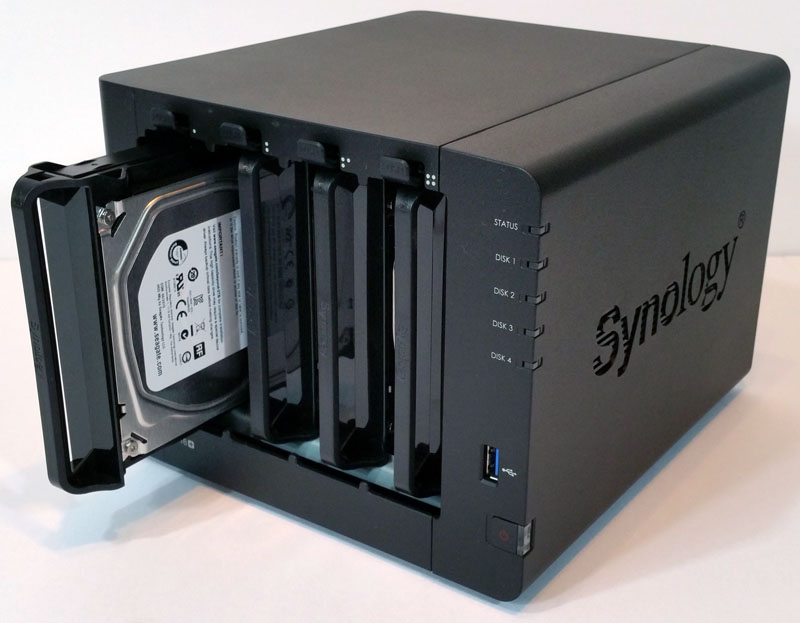
To access the drive bays just remove the front cover plate which snaps into place.
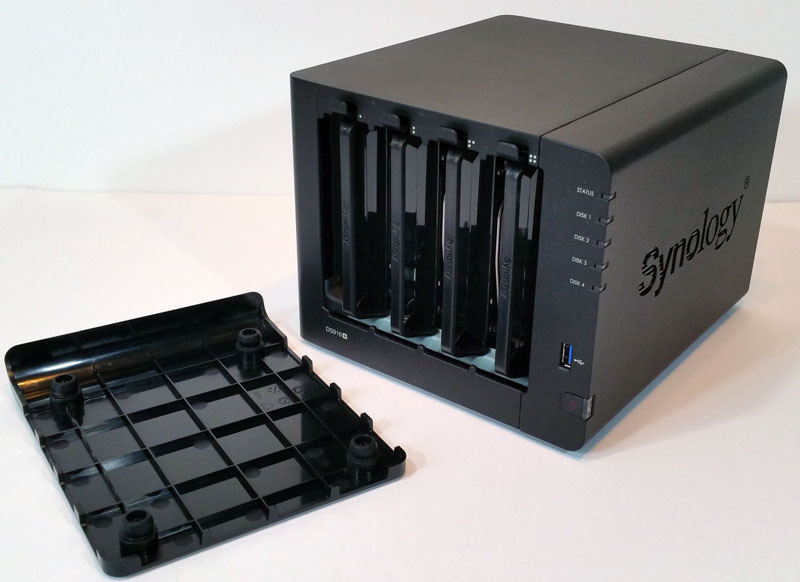
Four drives are installed via snap in place hot swap trays. To remove a drive push in at the top and pull out. We can also see at the upper part of each drive a symbol that shows which drive number the drive is. We are not sure why these are represented with dots while the LED indictors (right) are labeled “Disk 1” through “Disk 4”.
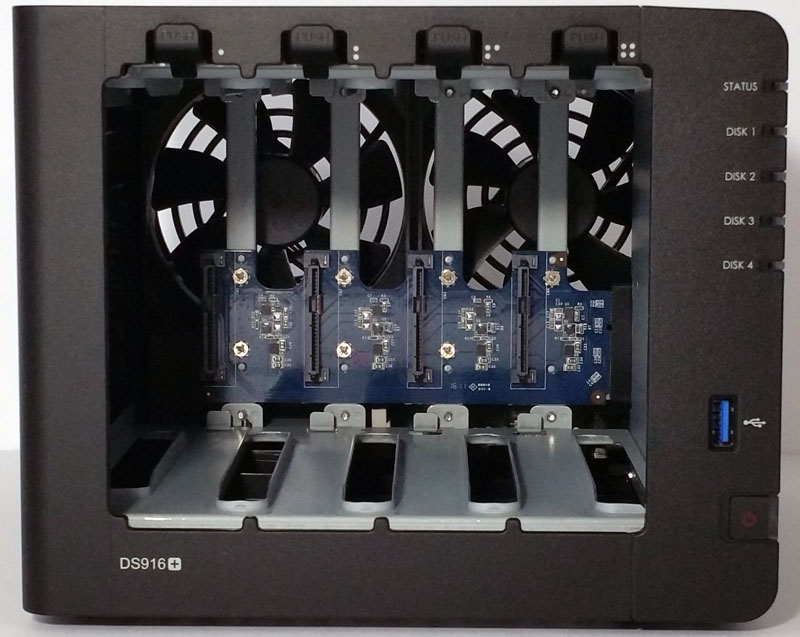
With all drives removed we get a look at the backplane. Internal construction DS916+ consists of a metal cage which is strong and holds the drives in firmly. The backplane is bolted to this metal cage and keeps alignment to the drives secured.
Let’s move on to installing the hard drives.
Our sample unit arrived with Seagate NAS hard drives installed. However, if you purchased a diskless unit, it’s rather simple to get your drives mounted on the tool-less tray and inserted into the NAS. Synology provides a simple diagram:
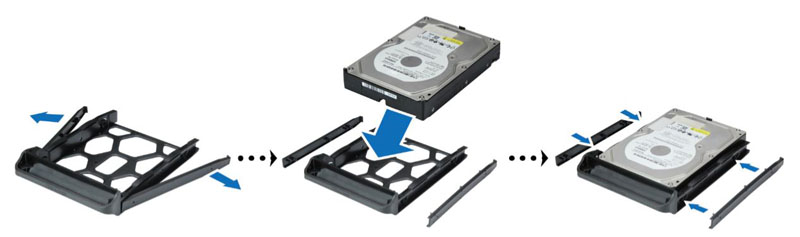
Remove the fastening panels from the sides of the drive tray. Place the drive in the drive tray. Then insert the fastening panels to secure the drive in place. This is a much more user-friendly process than traditional enterprise trays with 4-screws that we see in our higher-end NAS reviews. For the SMB and high-end SOHO markets that is a welcome mechanical design feature.
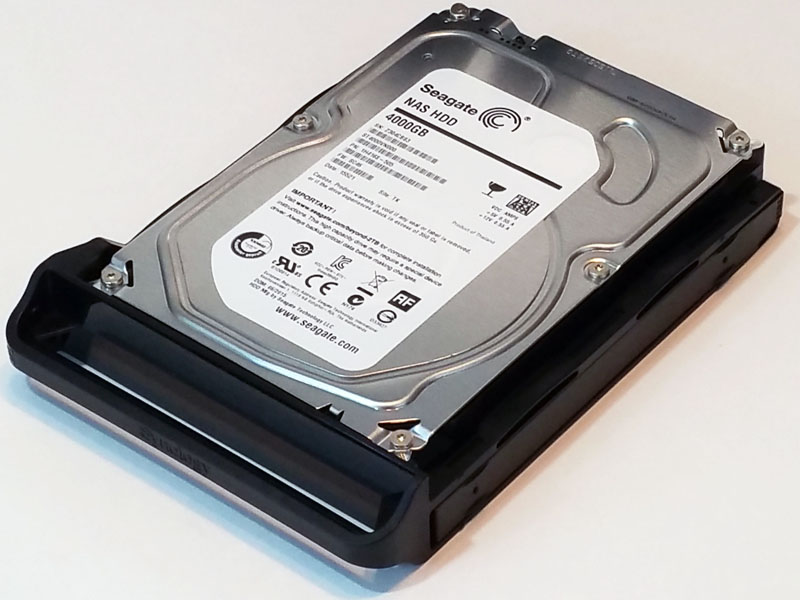
Here we see a hard drive mounted to the tray and ready to be inserted into the DS916+.
Hard drives insert easily into each drive slot and snap into place. From a physical installation standpoint, it takes at most a few minutes. If you were to buy a diskless unit and drives separately on Amazon
Synology DS916+ 4-Bay NAS Management
Getting our DS916+ up and running is the same as the DS216j we reviewed earlier, we will walk through the steps here also.
After turning on the NAS and connecting it to your network type in “find.synology.com” in your browser to bring up the management interface.
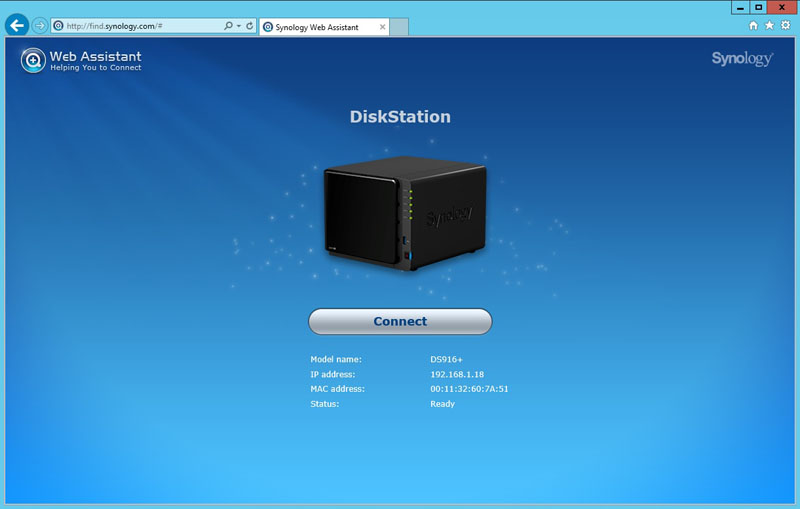
After this page comes up, we can now connect to the DS916+.
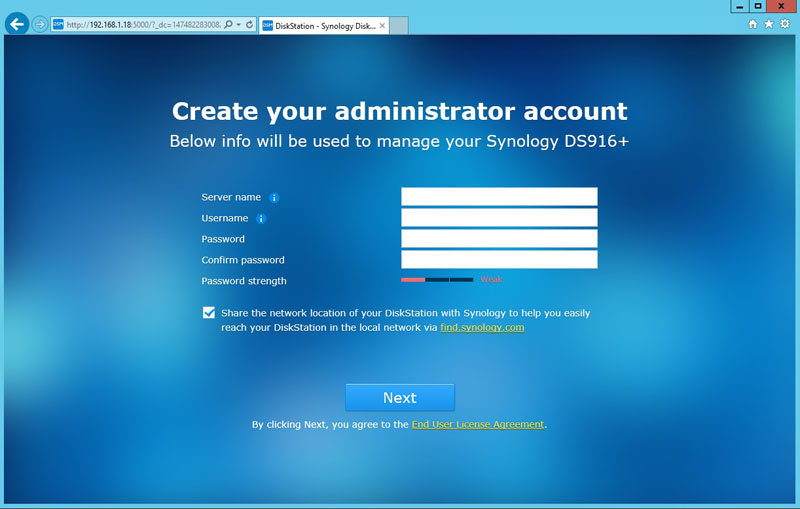
The next step is to create an admin account and password, and you can also give it a server name, clicking next, completes this process.
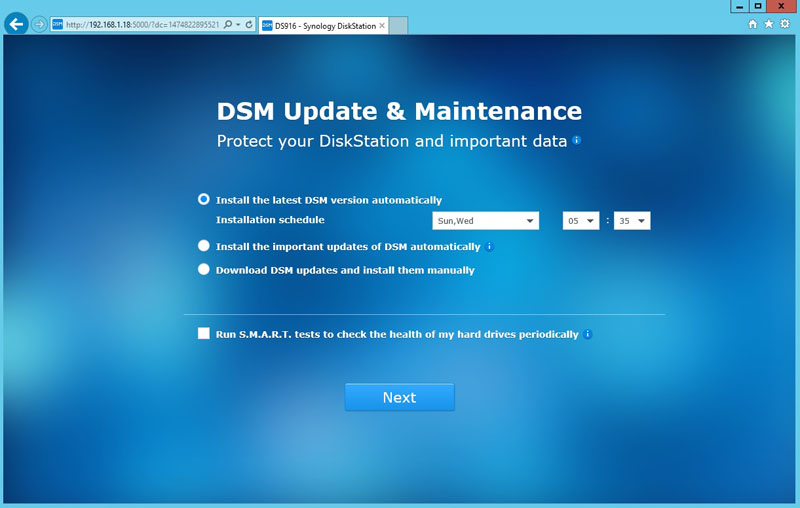
Here we have configured DSM Updates and Maintenance.
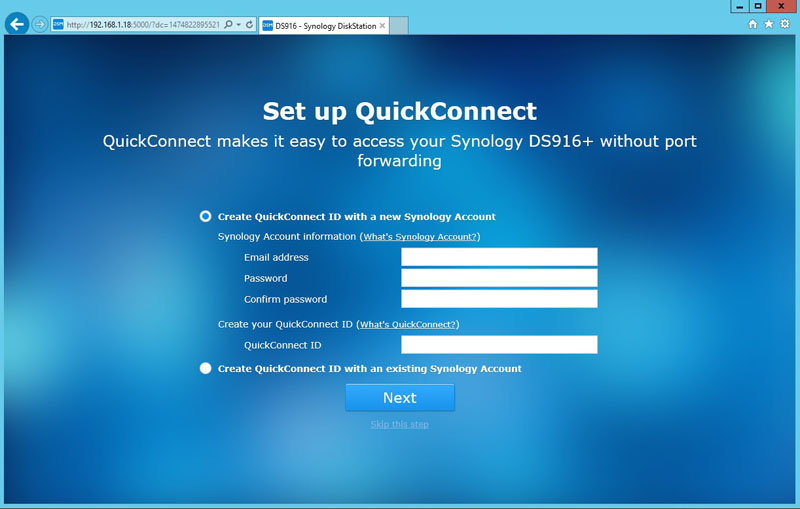

If you would like to setup QuckConnect for remote access you can do this now, or skip it. This is a very handy service that Synology offers with its machines for remote access. It is also something you do not get out-of-the-box with NAS units from many other vendors or even self-built units.
In the Ready screen, the address shown will have the QuckConnect ID at the end.

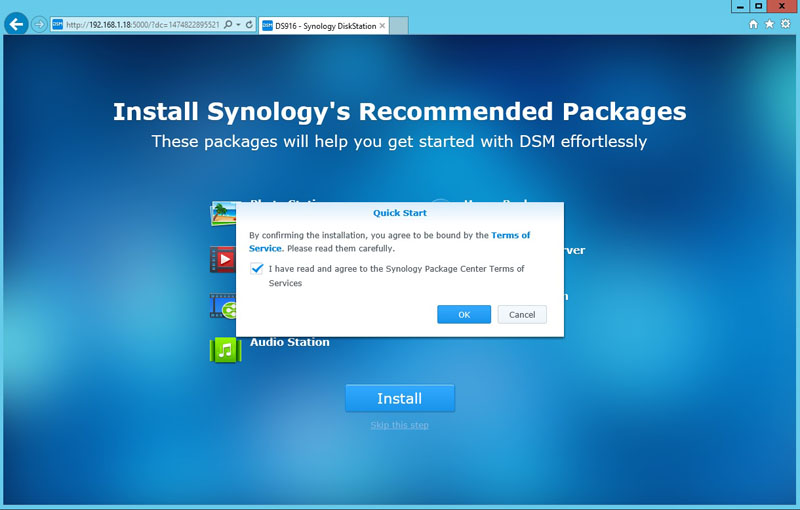
The next to final step is installing packages that you might want. We installed all of the packages. If you are not interested in these, you can skip this step. Installation on the DS916+ was significantly faster than on its smaller counterpart so we were already impressed with performance.
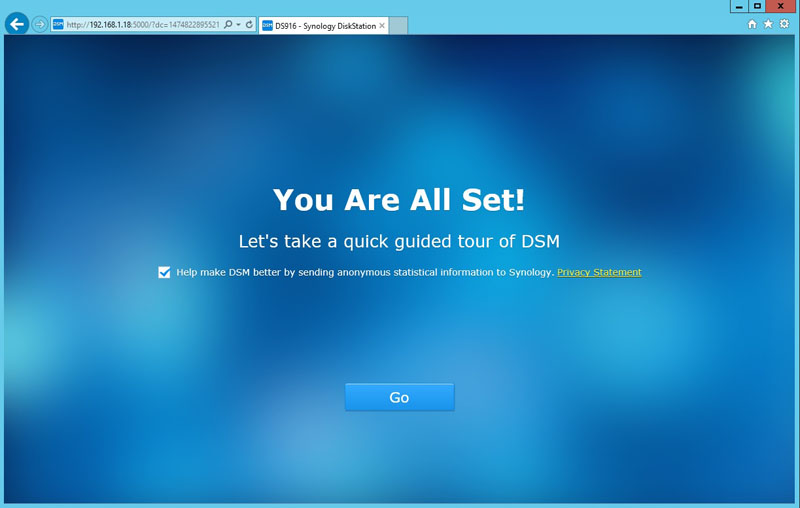
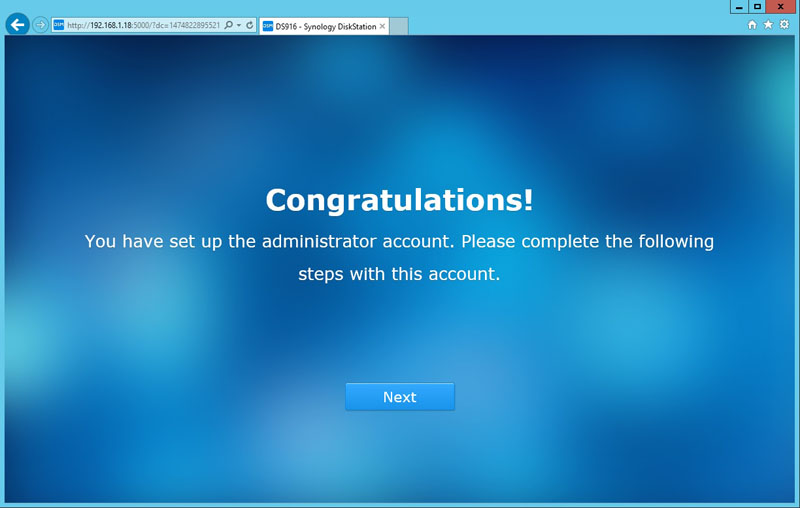
Shortly thereafter, we are finished with getting the system setup and running.
After pressing “Go”, we find ourselves at the main configuration screen for administering the DS916+.
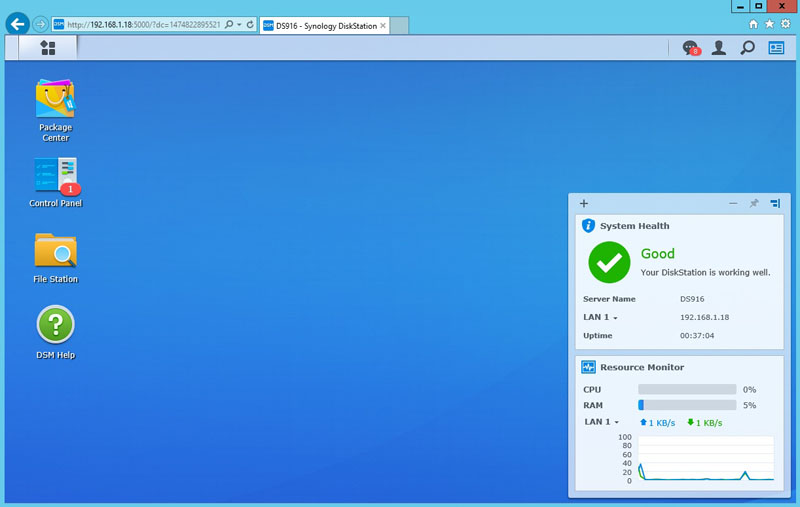
After looking at DSM 6.0 Tips and Help screen, we see the main desktop for our DS916+.
Clicking on the top menu bar options icon, we find an abbreviated control panel. Let’s click on the “Storage Manager” to get the DS916+ setup.
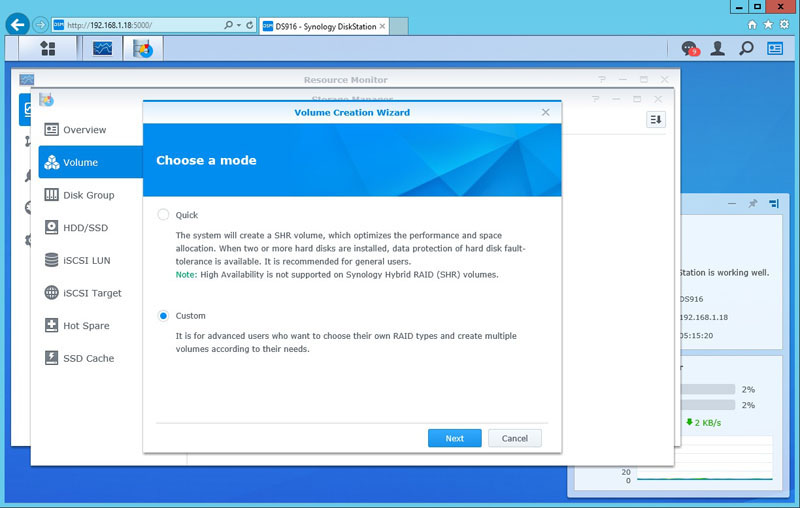
The first step is to create a Volume, we will use Custom so we can see a list of available options.

We will select a “Single Volume or Raid” and click Next.
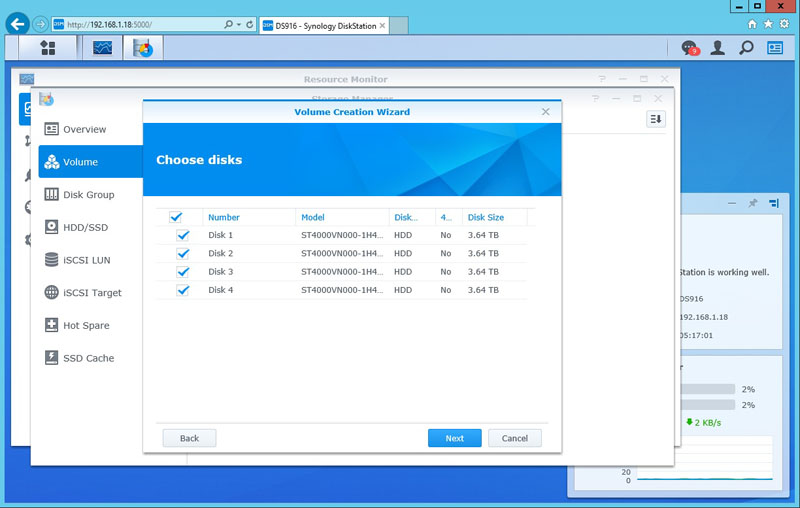
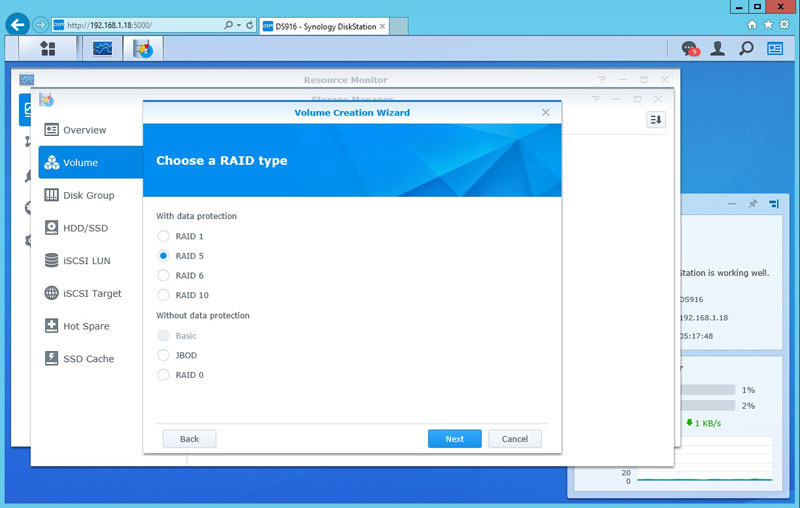
We selected all four disks and then which RAID type we want to use. For our tests, we will cycle through all RAID types.

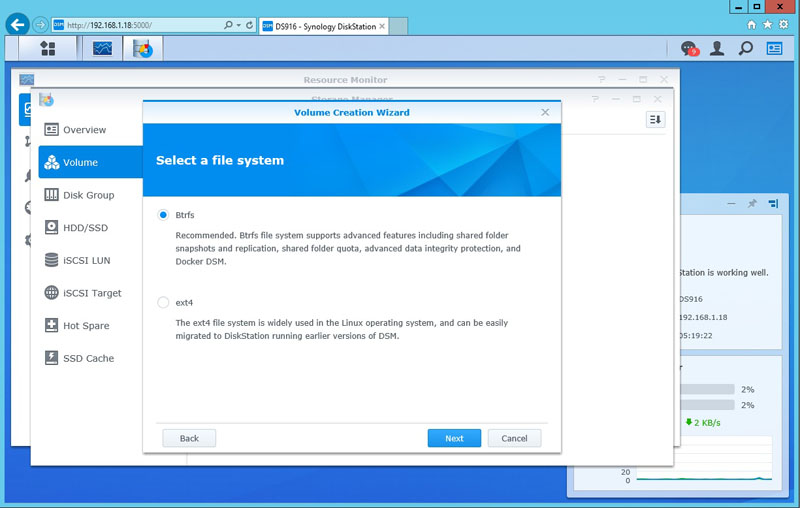

We will skip disks checks and then use Btrfs for the file system, check our Volume Description before continuing. We could have used ext4 which is a more widely used file system (and perhaps more stable) but we are using btrfs as it is likely the future of linux file systems.


After hitting Confirm, the RAID creation process starts. In some cases this might take a fair amount of time, you can begin to start using your system, but there might be degraded performance while the RAID creation process is running.
The last thing to do is enter a Shared Folder name.
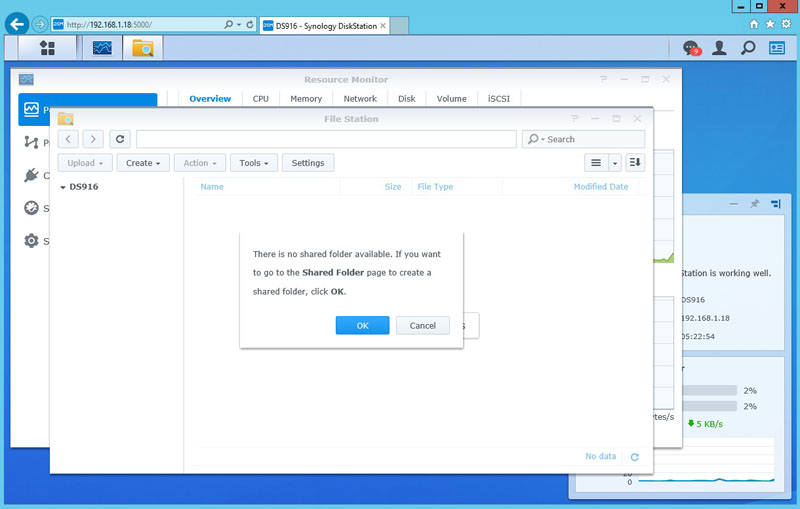
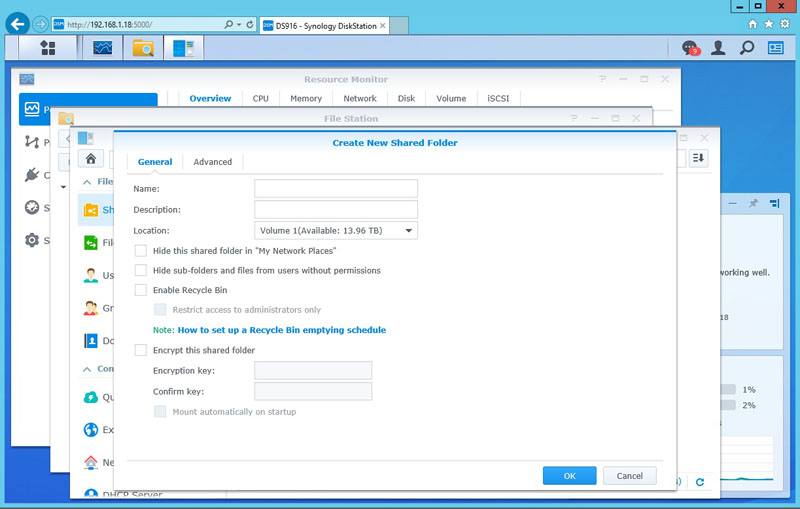
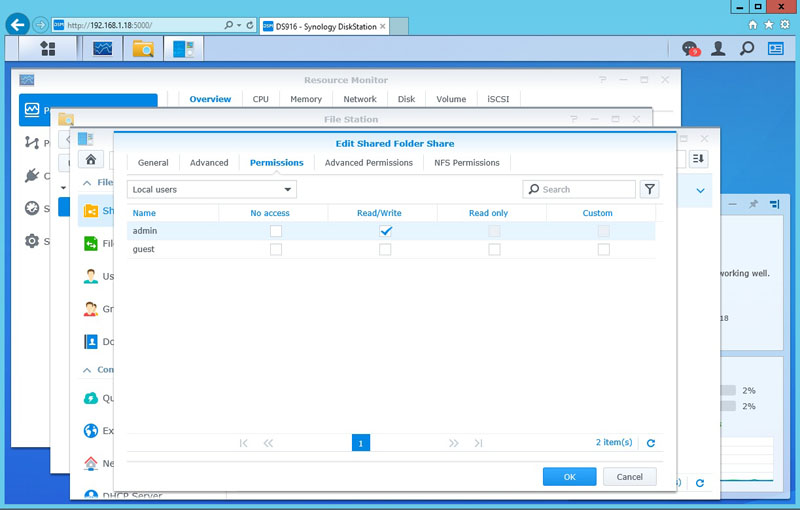
Here we have finished creating our Shared Folder; you can use encryption and set folder permissions in this process.
Synology has clearly tuned its management interface and configuration steps for novice administrators. That is a great move as you do not need a dedicated storage expert to set these systems up and start using them.
Now we have configured our DS916+, let’s move on to performance testing.
Synology DS916+ 4-Bay NAS Performance
Our Synology Diskstation DS916+ can be setup to run in seven different configurations, SHR, JBOD, RAID 0, 1, 5, 6, 10 and iSCSI for more advanced uses. For our testing, we will configure the DS916+ in SHR, JBOD, RAID 0, 1, 5, 6, 10 configurations and run our tests. When switching RAID types around for our tests we waiting until the RAID creation process had finished before running each test.
The performance benchmarks we will use are Intel NAS Performance Toolkit and ATTO Disk Benchmark.
Our network consists of a Quanta LB4M 10Gb Uplink Switch that connects our DS216j to our workstation. This is not a consumer switch, however, it was a very popular 1GbE/ 10GbE switch for large cloud providers. For hard drives, we will be using four Seagate 4TB NAS
Intel NAS Performance Toolkit
The Intel NAS Performance Toolkit (Intel NASPT) is a file system exerciser and analysis tool designed to enable performance comparisons between network-attached storage (NAS) devices.
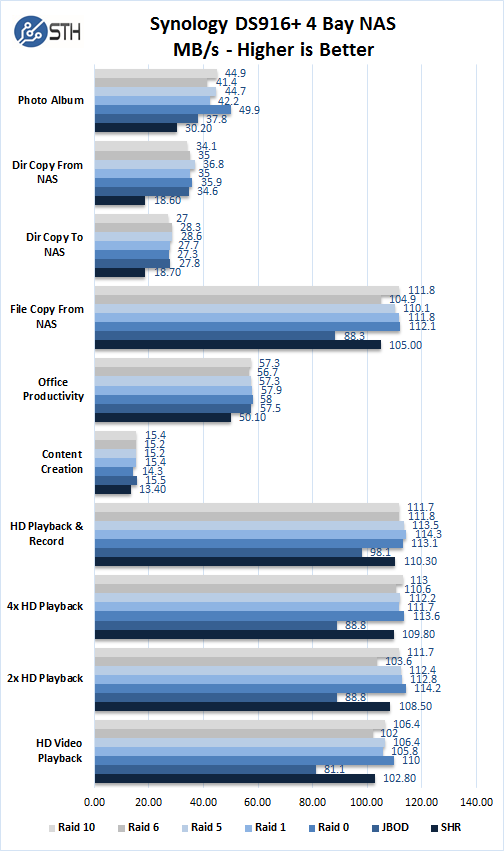
In each of the seven different RAID configurations, we see strong performance in our benchmarks. The RAID configuration that suffers the most is JBOD, while SHR appears best suited for video tasks. We think the most common RAID configuration used with four drives will be RAID 5 or RAID 10 which have consistent performance across all workload types. Although we have benchmarks for RAID 0, we are not recommending that configuration for data protection reasons.
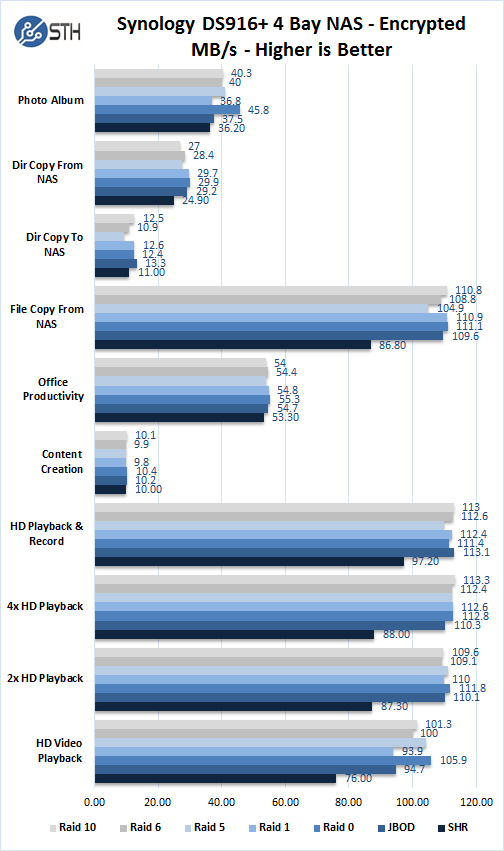
Here we see encrypted folder benchmarks which take a slight performance hit. Theft of NAS devices and hard drives in the SMB and SOHO markets is not uncommon. Many businesses keep sensitive data on their NAS units making encryption important. We were glad to see that the Synology DiskStation DS916+ could perform well while providing enhanced protection through encryption.
ATTO Disk Benchmark
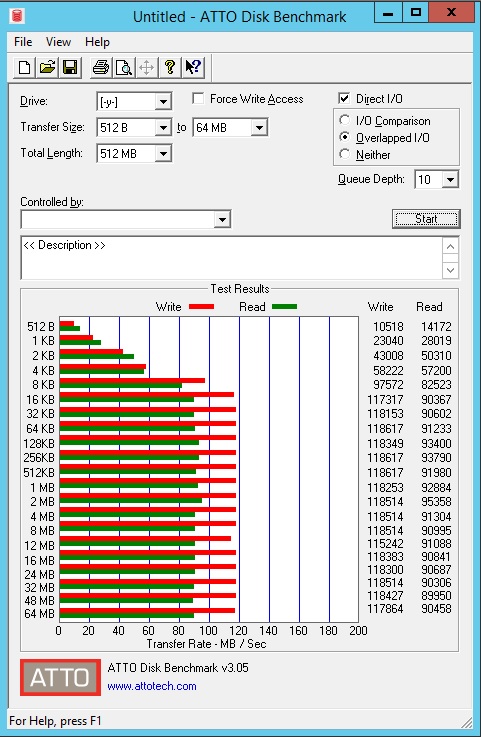
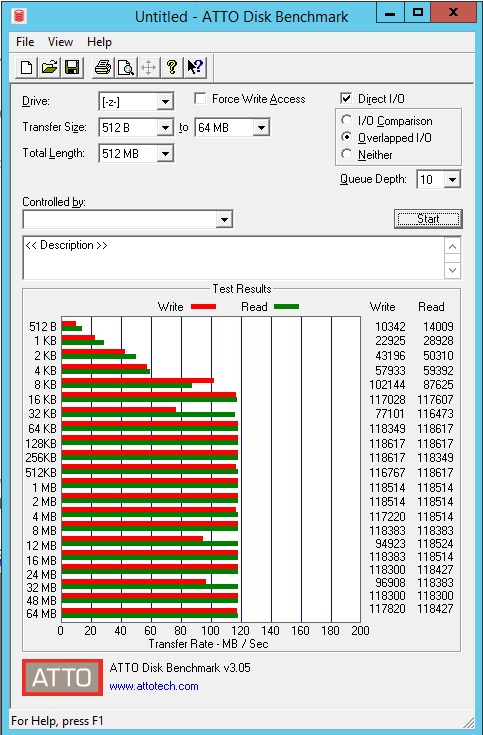
ATTO Disk Benchmark identifies performance in hard drives, solid state drives, RAID arrays as well as the host connection to attached storage.

Synology DS916+ SHR results which show good performance and reaching 118+ MB/sec sustained Write and Read transfer rates. That is an excellent result.
Synology DS916+ JBOD results show good Write performance with 118+ MB/sec and Reads dropping down to under 100 MB/sec sustained transfer rates. We think JBOD is a less desireable configuration from a data protection standpoint.

Synology DS916+ RAID 0 results capping at 118+ MB/sec across both Writes and Read sustained transfer rates. We will see this trend for the next series of RAID configurations.

Synology DS916+ RAID 1 results were solid as well.

Synology DS916+ RAID 5 results were consistent. We would be a bit more hesitant to use RAID 5 with 4x 8TB or larger drives, but we understand RAID 5 is popular in 4-bay NAS deployments.

RAID 6 is a significantly more resource hungry RAID level due to the additional parity calculations. The Synology DS916+ in RAID 6 still showed 118MB/s results.
RAID 10 offers the same capacity as RAID 6 in a 4-drive configuration but has much lower overhead. The Synology DS916+ Raid 10 results also top out around 118MB/s in our test which is great.
The last series of RAID tests, 0, 1, 5, 6 and 10 show similar performance in sustained transfer rates. These RAID types can reach 118+ MB/sec transfer rates in both Write and Reads in our test configuration. With a bit of network optimization, we can get 125MB/s out of the machine, but on commonly configured SOHO and SMB networks, 118MB/s is excellent NAS throughput.
Power Test
For our power testing needs, we use a Yokogawa WT310 power meter which can feed its data through a USB cable to another machine where we can capture the test results.
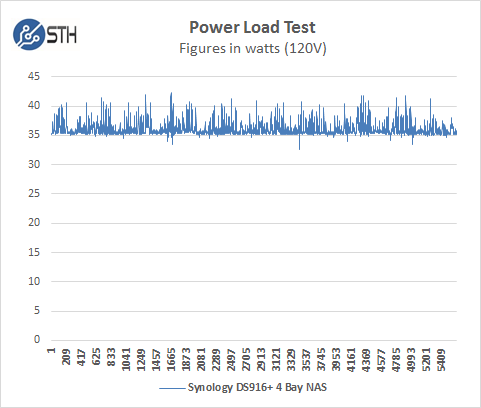
The DS916+ idles at around 32.646 watts and under max load during our tests we saw a peak of 42.311 watts.
DSM 6.0 Features
DiskStation Manager or DSM is a web based Operating system found on every Synology NAS solution. We updated our DS916+ and found the latest version or DSM 6.0.2 was available which we then updated our system to the latest version. Synology just updated to DSM 6.1 on the day we published the review which has several new features.
If you would like to check out DSM 6.1 via a Live Demo head over here.
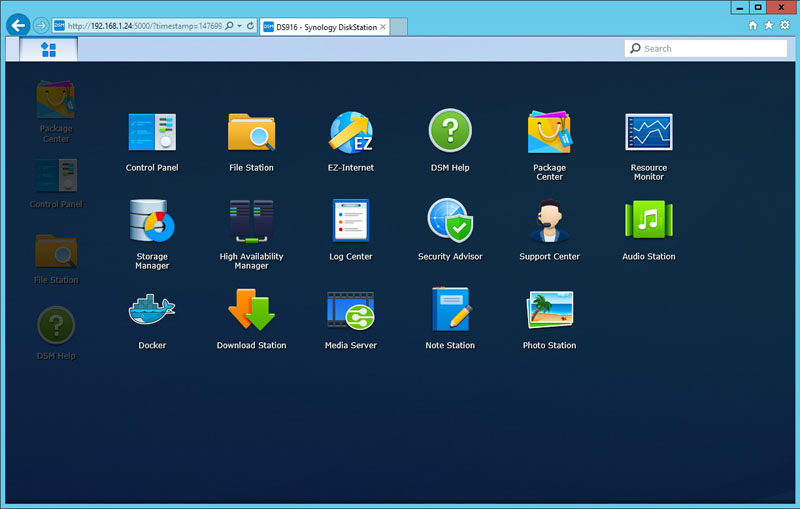
We will walk through the major screen that DSM 6.0 has to offer.
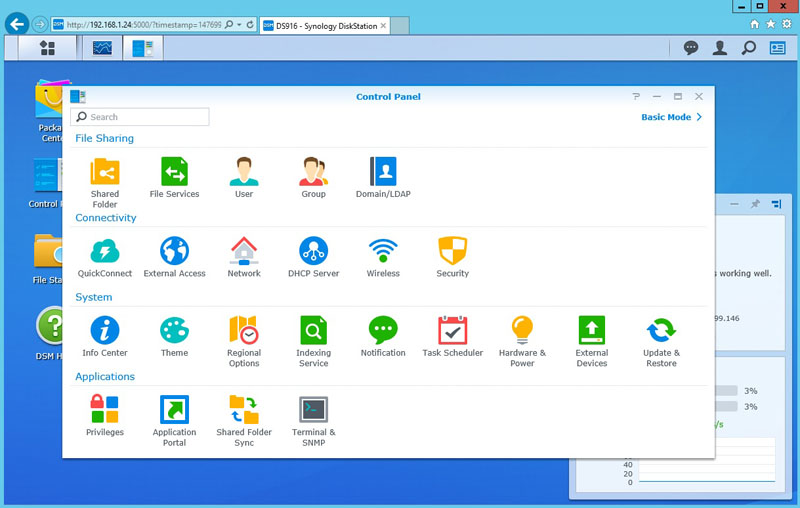
The heart of DSM administration is found under the Control Panel.
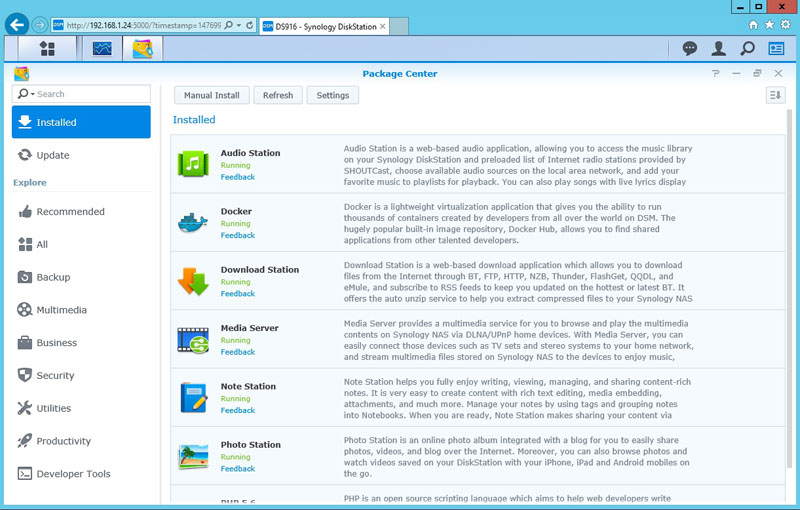
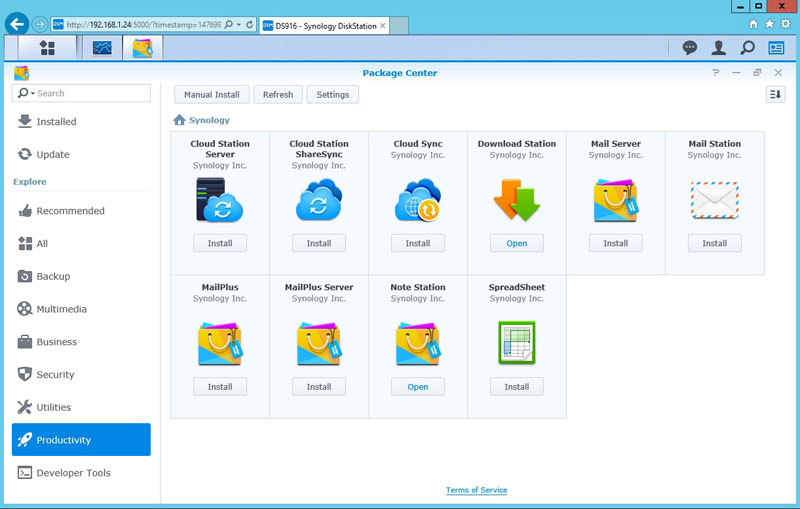
On the desktop, you will find an icon for the Package Center. Bringing this up, we find the first heading included what packages you have installed.
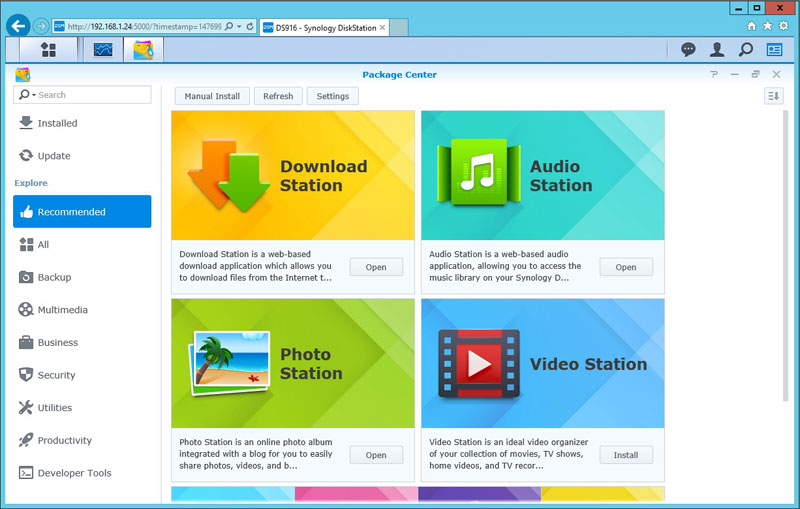
The Recommended heading will give you a list of packages Synology recommends installed.
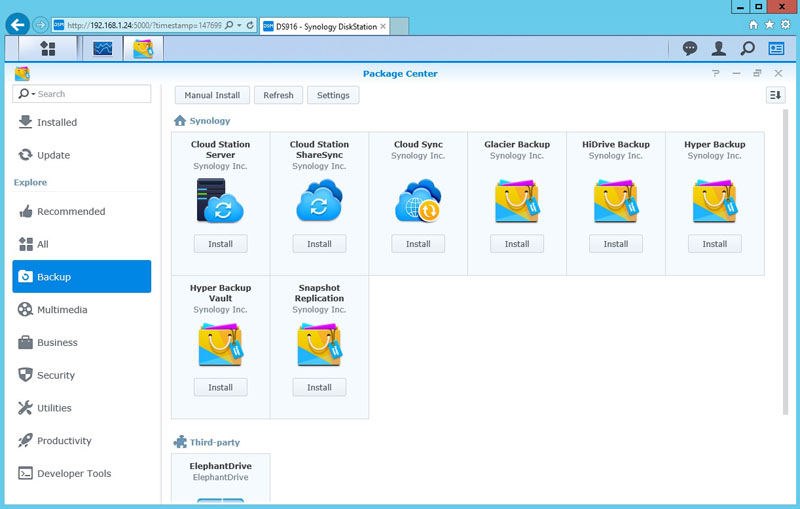
We will show the rest of the packages available through the proper headings.
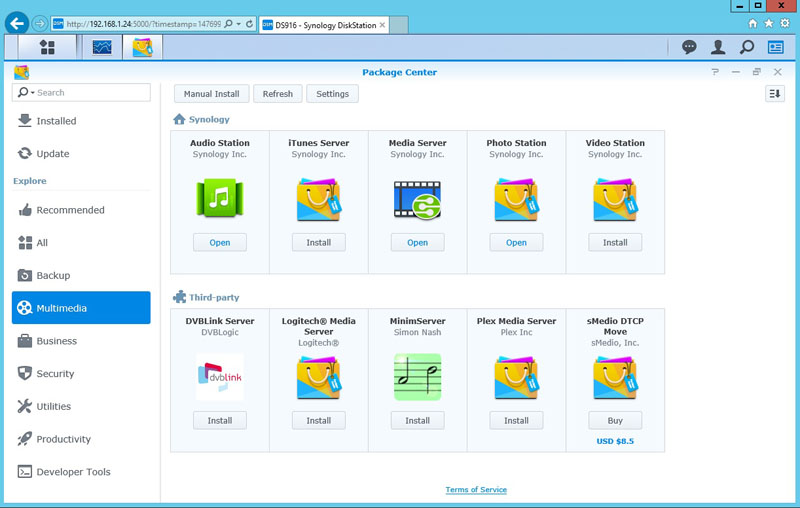
DSM 6.0 Multimedia applications
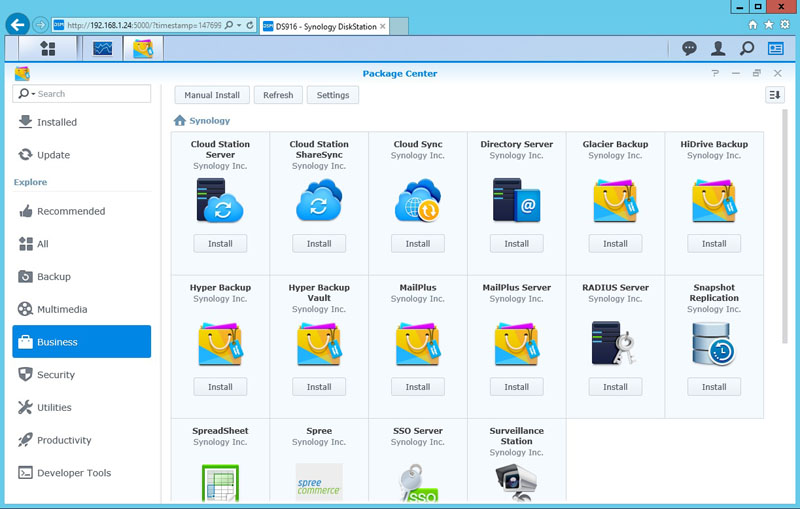
DSM 6.0 business applications are plentiful. If you are using the Synology DS916+ to run many business applications we suggest getting the 8GB version of the NAS. It is a relatively inexpensive upgrade yet can allow a company to save the cost of adding a dedicated server to run these applciations.
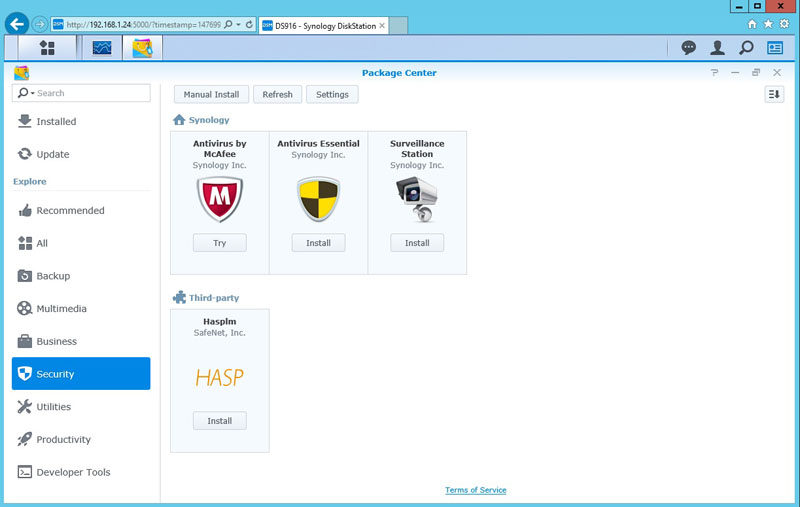
DSM 6.0 offers a number of security applications whic have become more important for NAS units over the past few years.
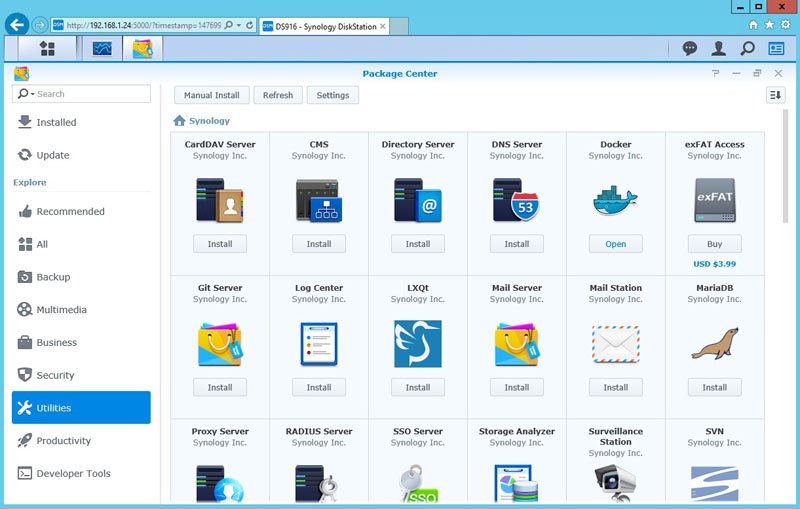
The Utilities menu offers a plethora of services. These services can replace much of a legacy Microsoft stack (e.g. for email, SSO, DNS and directory services. The features Synology has added are extremely powerful for SMB service providers looking to overhaul a small business infrastructure stack.
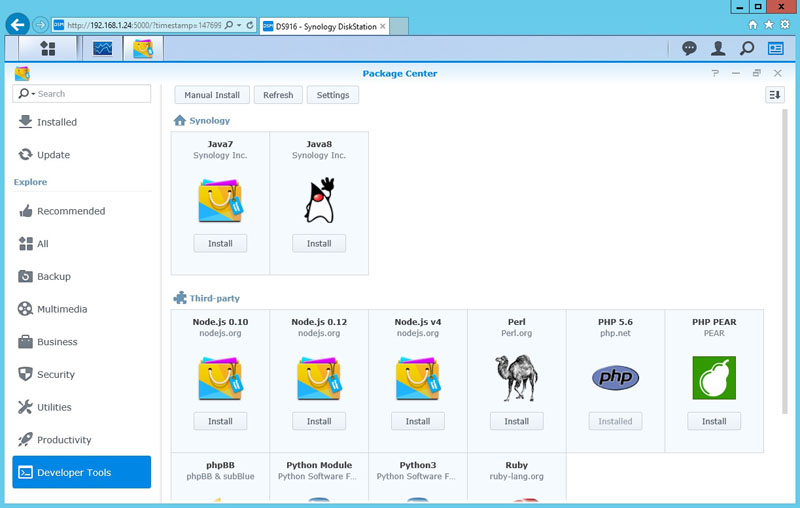
One often overlooked area of Synology’s software tools are its developer tools. If you need a quick development server, the DSM platform can actually provide a local server for development teams. It can also provide code control services with fast installation of a git server.
Built into the Control Panel, we find the Security Advisor.
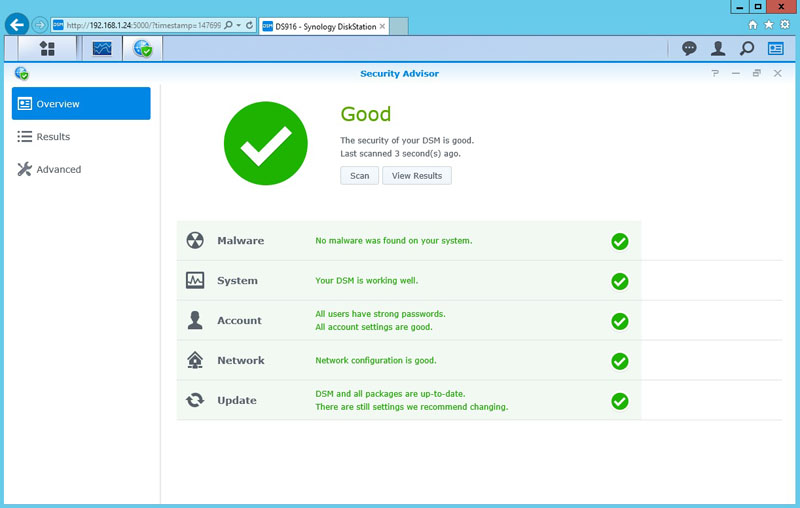
After running the Security Advisor, we find our system is in good shape.
In addition to the features we have just shown, there are also apps you can download for your cell phone to control and check your Synology DS916+ NAS. We use a Samsung Galaxy Note 4 so we entered the Google Play Store and searched for Synology and found a list of apps that we can use.
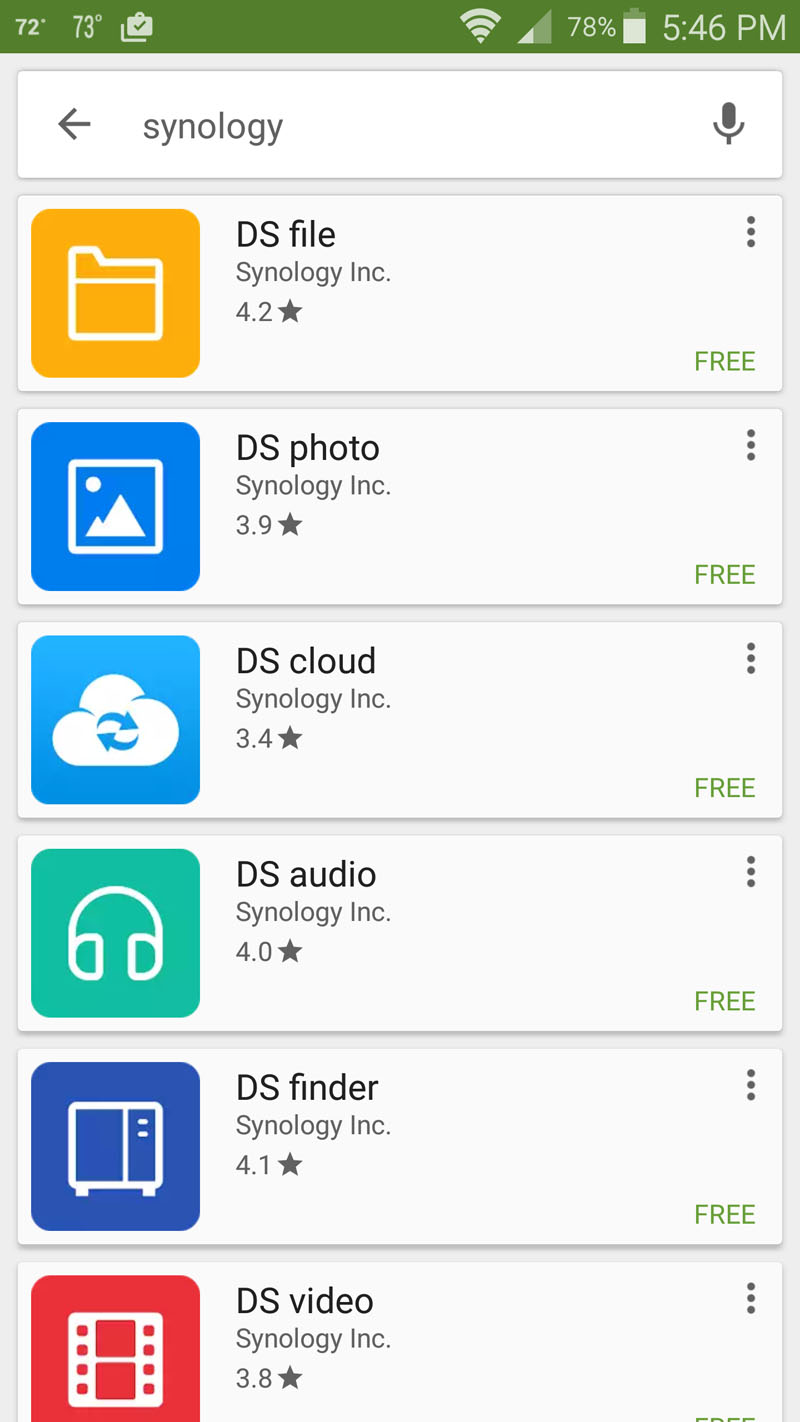
There are more apps that can be found in the Google Play Store to use with your DS916+. Download and use the ones like or feel useful in your day-to-day operation of the DS916+.
Synology also offers the Synology Assistant desktop utility which helps to setup and install DSM updates on your NAS.
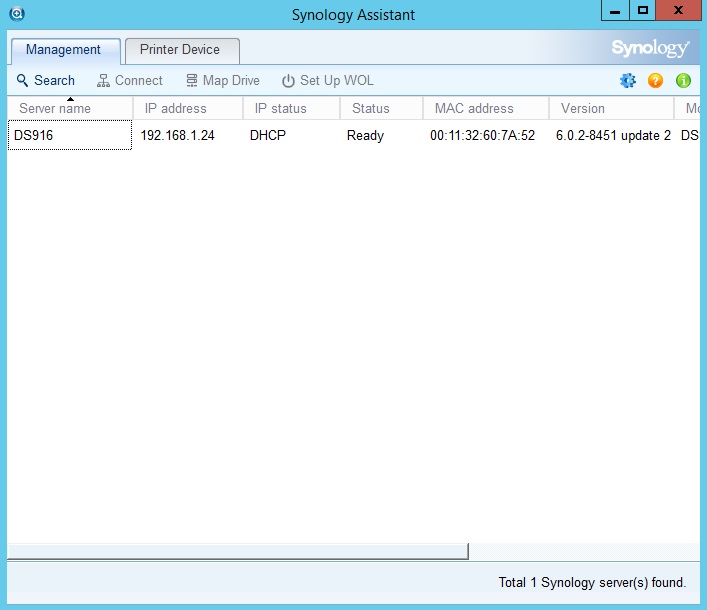
This utility searches for Synology DiskStation’s and aids you in connecting them to your network and multi-functional printers shared by your DiskStation.
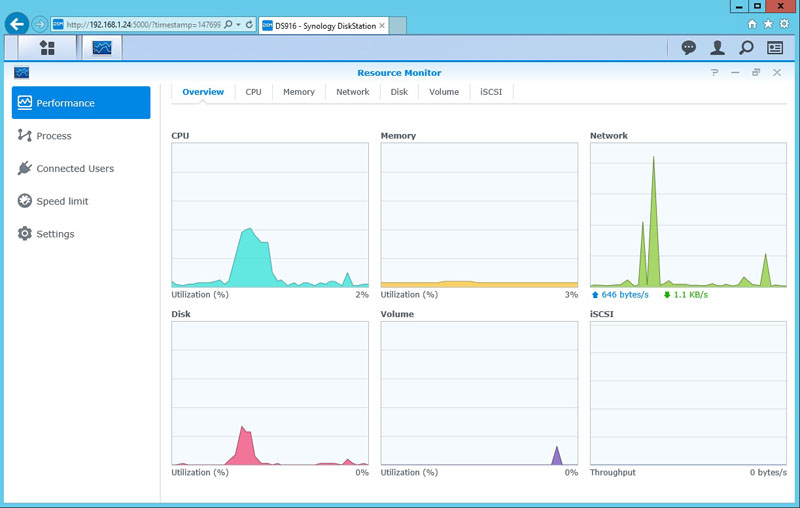
You can also keep an eye on resource usage of your DS916+ with the Resource Monitor.
Conclusion
The DS916+ is our second Synology NAS we have reviewed so far; we find it to be a very solid storage solution.
With the Intel Pentium N3710 Quad-Core processor, the DS916+ has incredible processing power that makes it well suited for heavy load scenarios, multi-users, and 4K transcoding. We like the encryption features with AES-NI hardware encrypted files for more secure data storage.
Synology’s DSM 6.0 makes managing the DS916+ easy. It is very well laid out and has plenty of options to meet home use and small business needs. Synology also keeps DSM well updated, our unit came to us fully updated so we only had one that brought us to DSM 6.0.2. With the DS216j we reviewed earlier we had several updates come down the pipe which shows even older NAS’s are kept up to date by Synology.
We setup QuickConnect for our private cloud and found file transfers and sharing to have good performance. Just like using OneDrive, sharing data to others can be done with a link to the file. Compared to setting up OwnCloud or a similar service in a DIY model, this is a far easier solution.
Synology offers both 2GB and 8GB flavors of the DS916+ with about a $50 street price difference
The DS916+ offers high performance, scalability and flexibility serving in roles such as a powerful media center or SMB IT infrastructure appliance. Its small size gives it a low footprint. This is one of the few 4-bay NAS units aesthetically appealing enough to make you proud to show it off in your office. At $599 for the 8GB unit the pricing is very friendly. Synology’s offers one of, if not the best software suites in the business which can easily save $599 or more in software costs from other vendors. The ease of use makes the platform accessible to even novice administrators. We highly recommend the Synology DS916+ if you are in the market for this class of NAS.


