

MikroTik CRS804-4DDQ-hRM Management
On the management side, MikroTik has standard MikroTik management methods including a CLI.
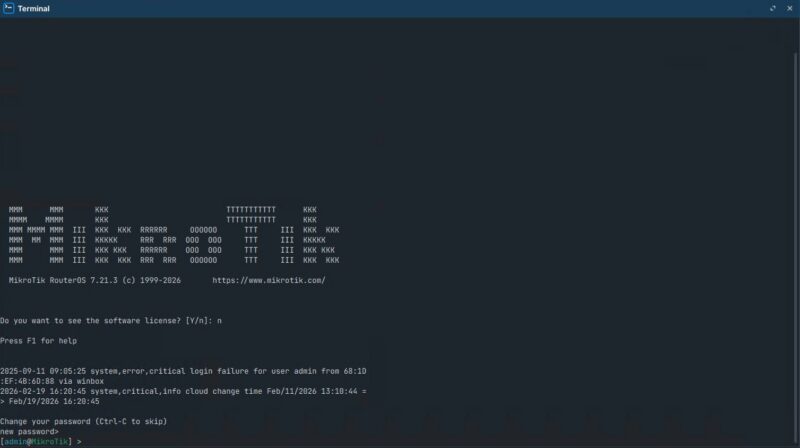
The company also has a web configurator as well as WinBox the company’s desktop app.
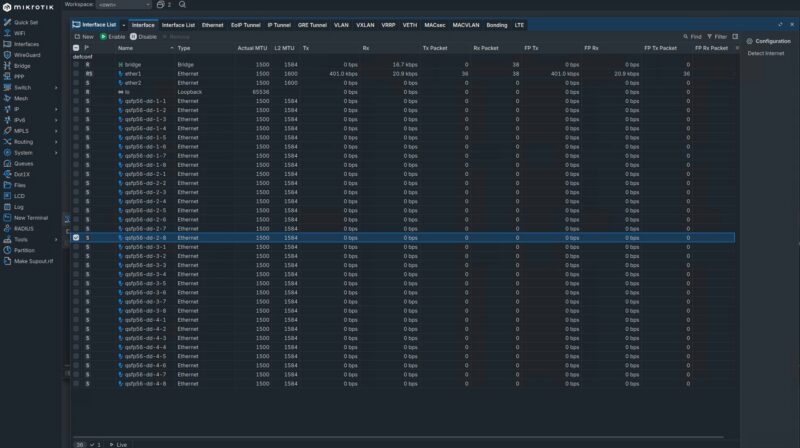
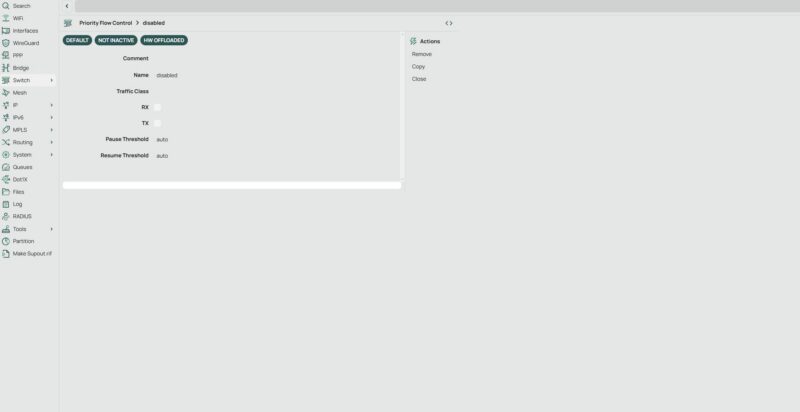
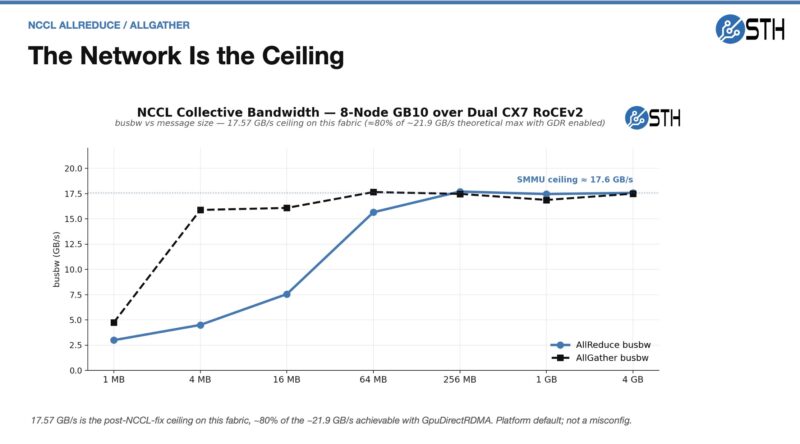
We are not going in depth on MikroTik RouterOS in this article, but the pertinent point is that the interface has many options and that you can see the interfaces split above. Also important is that the switch supports features like PFC. We managed to get NCCL and RDMA networking working over the switch by changing MTU sizes, enabling switch features, and more. Since Feb-Mar 2026, AI agents have been able to read MikroTik’s documentation, configure the ports and features, set up the nodes, test everything, and quickly provide a working configuration. If you just want to use the switch and do not want to learn MikroTik networking, that is easy with AI agents today.
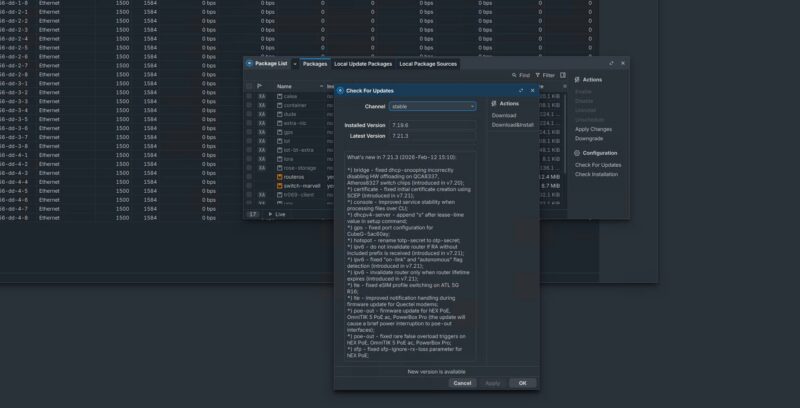
Another nice feature is the ability to check for updates. That may seem small, but some may find that a nice-to-have feature.
Next, let us talk performance.
MikroTik CRS804-4DDQ-hRM Performance
We showed this off as part of the 8x NVIDIA GB10 cluster running RDMA networking. To us, that is the most exciting finding.
We also ran it through Keysight CyPerf and IxNetwork just to see what we would get:
- Keysight CyPerf Throughput: 1.567Tbps (DR4 to DR4 optics)
- Keysight IxNetwork Throughput: 1.589Tbps (4x DR4 to 16x DR1 optics)
The CyPerf is very similar to the MikroTik CRS812-8DS-2DQ-2DDQ-RM Review. To get it to connect to our 100G NRZ IxNetwork tester, we needed to fill two cards each with 8x 100G DR1 optics, then get breakout MPO/MTP-12 to LC cables to go from PAM4 DR4 optics in the MikroTik to the NRZ test tool. For a $1100-1300 switch, that is solid performance.
Next, a word on mounting.
MikroTik CRS804-4DDQ-hRM Dual Mounting
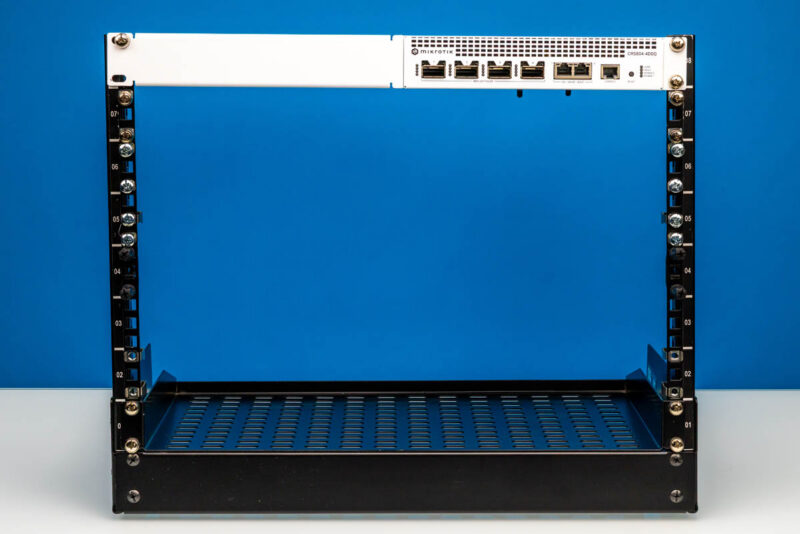
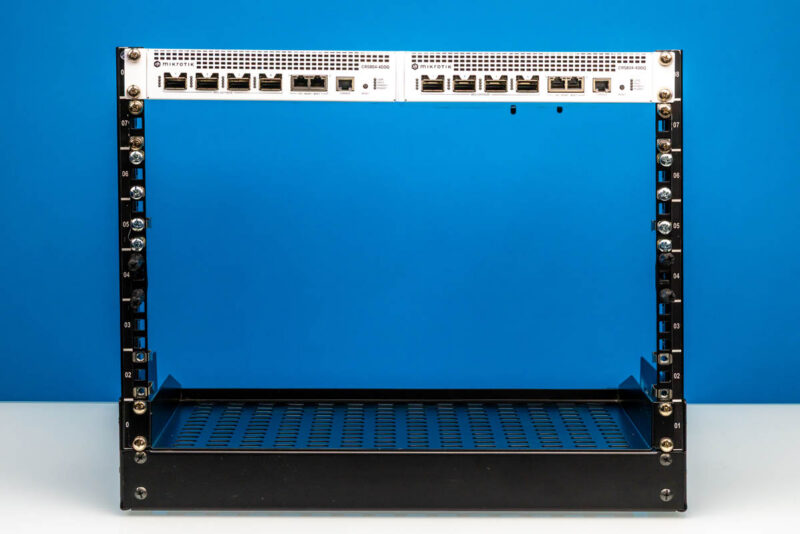
When it comes to mounting the switch, one option is to mount it in a standard 19″ rack, but you can see that MikroTik was clearly looking at side-by-side mounting as an option.
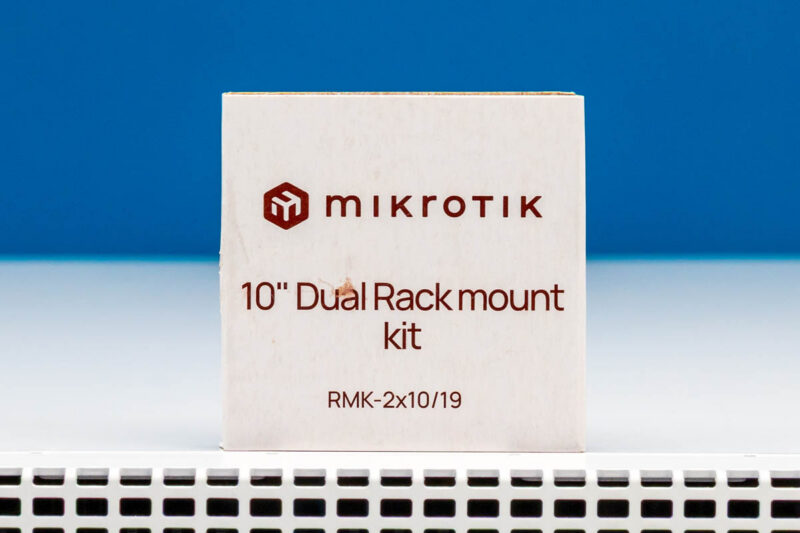
Indeed, there is even a kit for dual mounting.
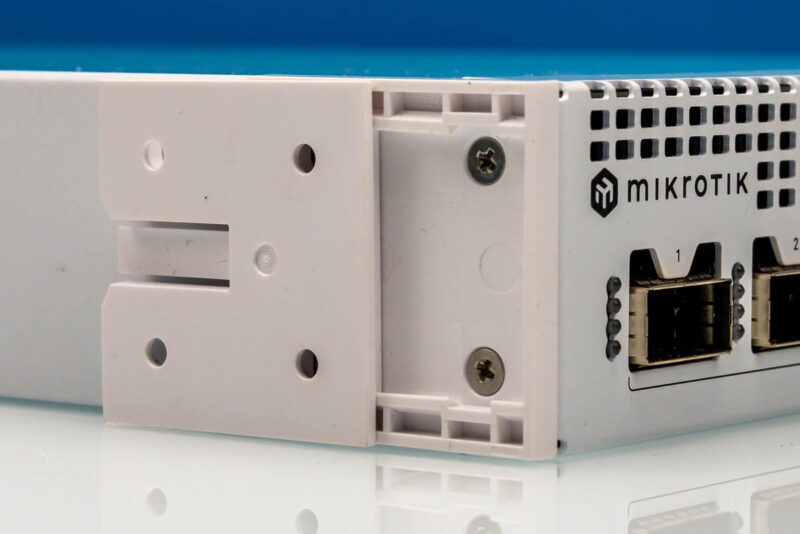
To mount two in 1U, you attach rack ears on either side, then attach sides of that kit to the center portions of each switch.
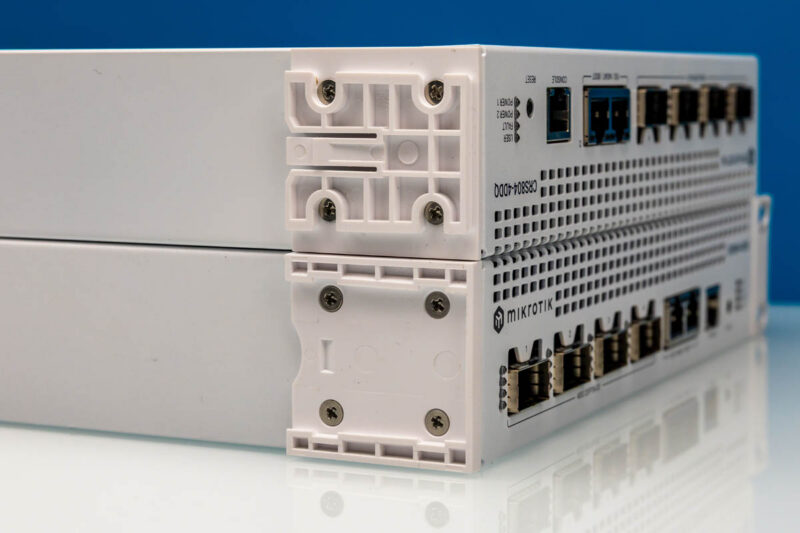
Here is a view of how the mount kit slides together.
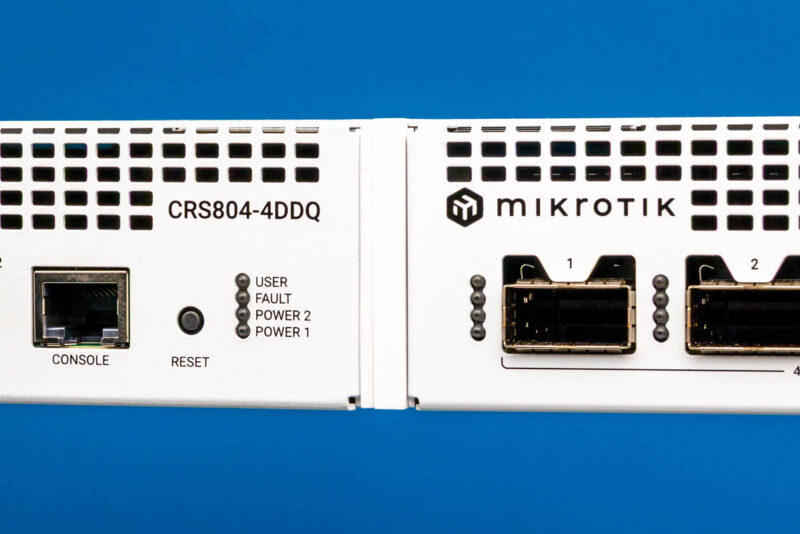
Once both sides have their part of the clip, here is what they look like:
Coming back full-circle to that first mounting option, here is the side-by-side view in a 19″ rack.
This is a very flexible kit to deploy. Part of what makes it flexible is also the power consumption and noise.
MikroTik CRS804-4DDQ-hRM Power Consumption and Noise
Taking a look at the power consumption, we get around 29.3W at idle.
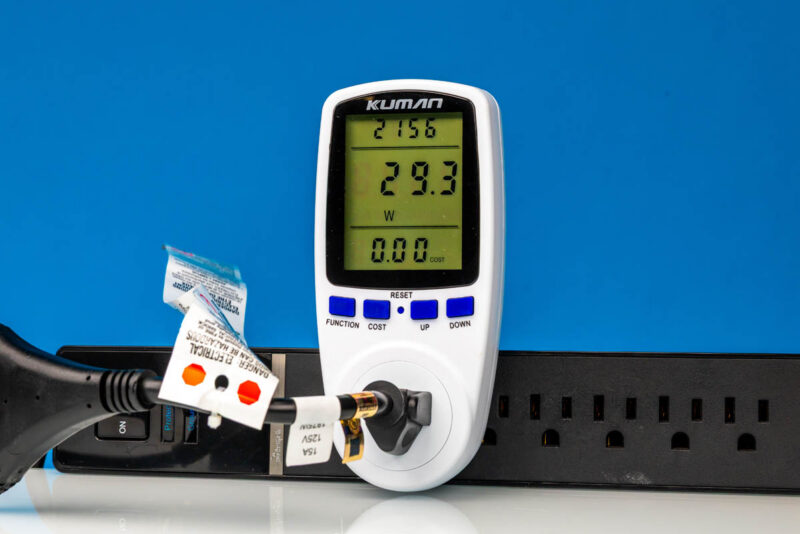
The maximum rated power consumption is 123W, which is far less than one of the 350W power supplies puts out (92W without attachments). Noise-wise, the switch with nothing plugged in was in the low 40 dB range, and it could easily top 50 dB with hot optics.
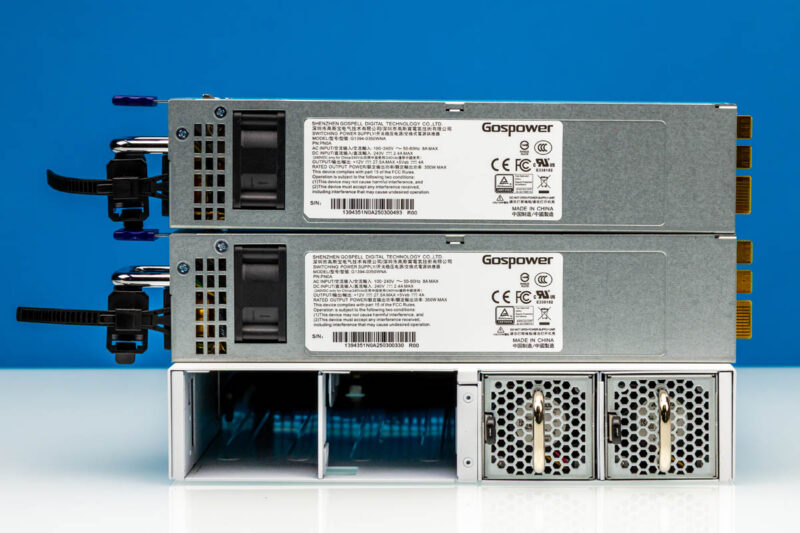
Just for some sense, a 32-port 100GbE switch that you might find cheap used can easily draw 900W or more and is usually well over 50 dBA before installing anything.
Final Words
Overall, these switches have worked well for us. There are some fun features, though. For example, you may see the support in this half-width rack photo. That is because the rear-heavy power supplies will cause this mini rack to tilt.
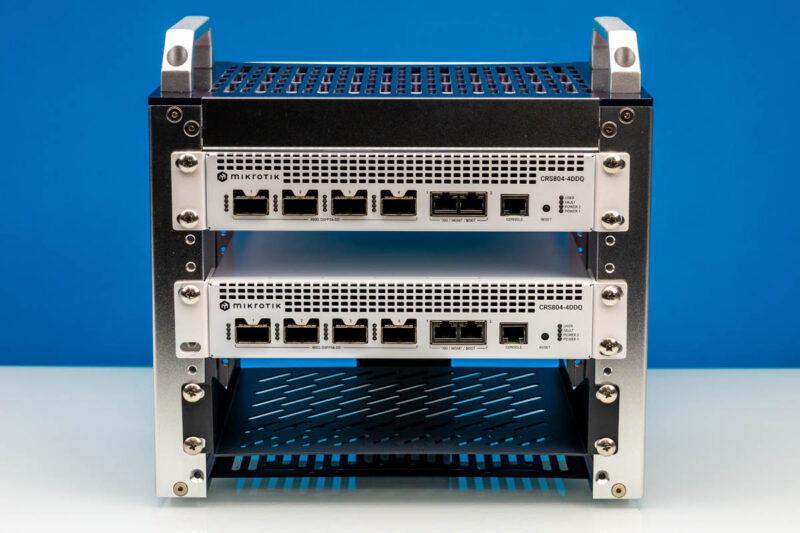
Undoubtedly, if you are going to scale to larger topologies, there are plenty of other options that make sense. Still, for low-cost, somewhat quiet, and low-power 400GbE, this switch is hard to beat. For most STH readers, this is going to be a better option than the MikroTik CRS812-8DS-2DQ-2DDQ-RM.
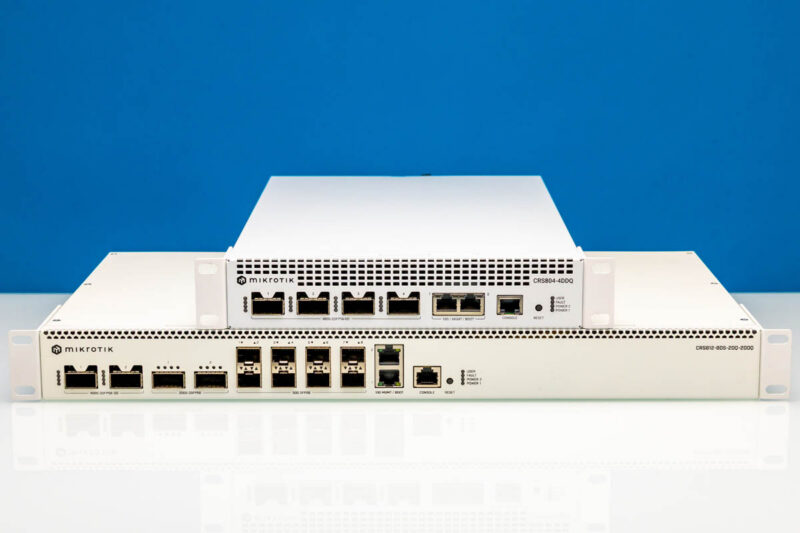
Given how many people are getting into local AI right now, having a lower-cost networking option like this for deploying NVIDIA GB10 or GB300 Station clusters is really nice. Keep in mind, however, that 400GbE optics can get costly.
Where to Buy
If you want to purchase these, they are in high demand, but we bought ours from B&H (Affiliate link).


10Gbase-T for a management port is wild
Quick note: the caption on the rack pick says 19% rack rather than 19”. Thanks for the great write up, as always!
With two of these you can run a 16 node GB10 cluster using 400G to 4x100G breakout cables and then run the switches in parallel. One going to port 0 and one going to port 1 on all GB10’s.
A fascinating look at how affordable high-speed networking is becoming more accessible. The CRS804-4DDQ-hRM’s four 400GbE ports, compact design, and strong performance make it particularly interesting for AI clusters and high-bandwidth labs. The RDMA and NCCL results were especially impressive for a switch in this price range.