One topic I get a lot of questions about is creating an All-in-One ESXi 5.0 machine with ZFS storage based on Illumian, Nexenta, and Solaris 11 Express all alongside guest operating systems. For those not familiar with the concept, the idea is simple, utilize what is arguably the best open storage subsystem very similar to what Oracle and NetApp use in their high-end storage inside a virtual machine. Then, export that storage to other virtual machines running the services you want such as a Windows Home Server 2011 or Linux based LAMP setup. Since the interconnects between virtual machines are fast, assuming you have sufficient CPU to drive the traffic, this method both utilizes underutilized hardware in the ESXi machine while at the same time saving costs on high-performance networking gear. With that in mind, I am going to embark on doing a series of articles walking through the basic setup of the storage subsystem. Today, we are going to get Illumian, an Illumos distribution that serves as the basis for the Nexenta family of products. Of note, Illumian itself is not overly user-friendly and one does not get the slick Nexenta interface, plugins or support, but it does provide a good foundation for those looking to play with an All-in-One ZFS test machine.
Test Configuration
Again it is time to fire up my ESXi 5.0 test bed. If you want to read about the inexpensive, yet very powerful build, you can learn about the AMD Opteron 6128 ESXi server here.
- CPUs: 2x AMD Opteron 6128
- Motherboard: Supermicro H8DG6-F
- Memory: 8x 4GB Kingston unbuffered ECC 1333MHz DIMMs
- SSD: OCZ Vertex 3 120GB
- Power Supply: Corsair AX650 650w 80 Plus Gold
- Chassis: Norco RPC-450B
- Cooling: 2x Dynatron A1 G34 Coolers
- VMware ESXi 5.0
Getting Illumian
The first step in this process is downloading the Illumian ISO ready for the virtual machine. Go to http://illumian.org/ and there is a link to download the ISO. Once you have the ISO downloaded, the next step is to get it onto the ESXi 5.0 machine. I use the following method just because I like keeping active ISOs there in the event I need them. First, select the data store on the server for the ISO.
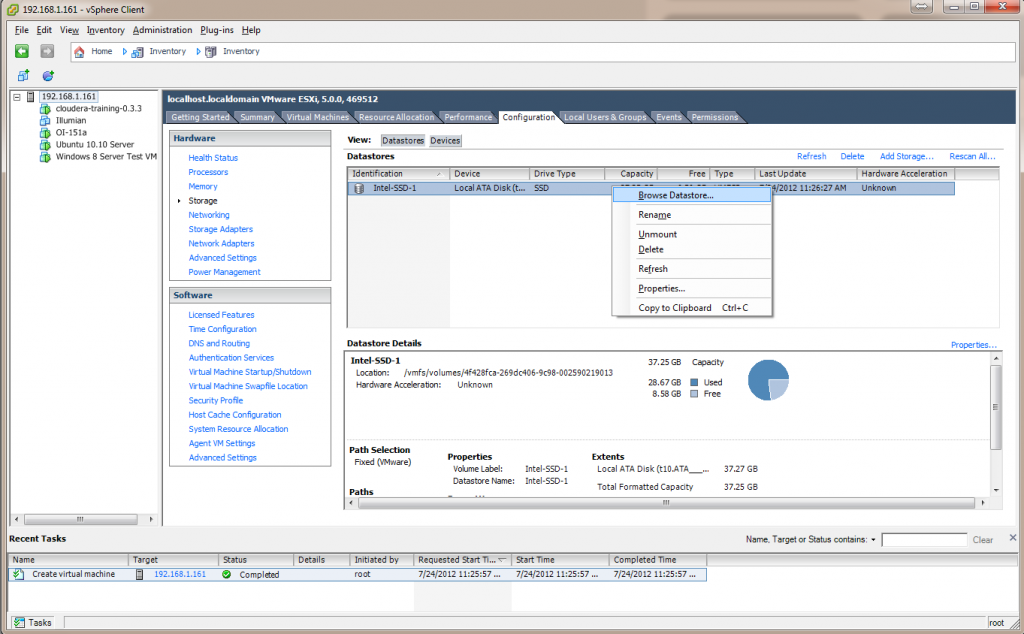
Then upload the ISO to the VMware ESXi 5.0 datastore. This is a very simple process and the benefit is that if you ever have to re-install the server, everything will be in one place.

Prepare the Virtual Machine
The next step is to create a virtual machine for the VM. I already have a guide, albeit with ESXi 4.1 on how to create a Virtual Machine for NexentaStore. Follow that guide and you should be in good shape but some minor differences may present themselves such as now having the ability to use a version 8 ESXi virtual machine.

The next step is to mount the Illumian ISO by clicking the wrench and optical disk icon then navigating to the ISO you stored previously on the VMware ESXi server.
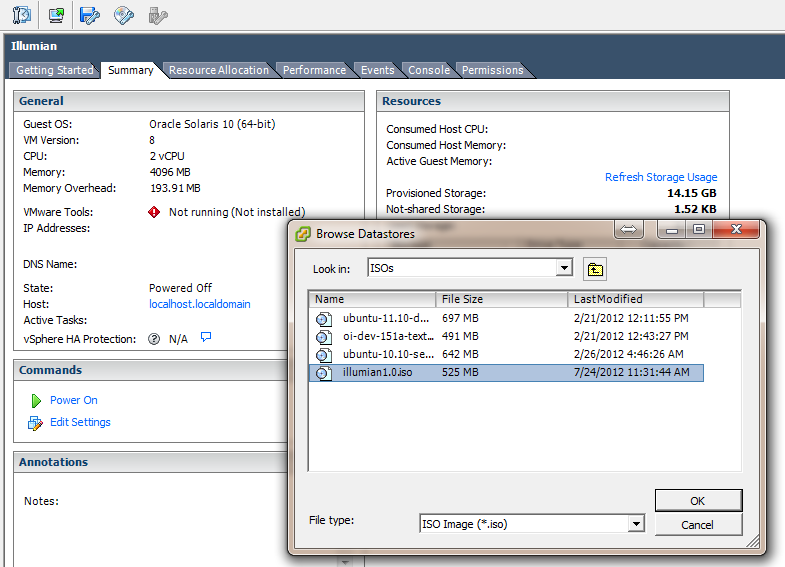
Once this is done, you can choose the Power On command pictured above. One thing I would highly suggest is to first hit Edit Settings and go to Options and change the Boot Options to Boot to BIOS. This will set the virtual machine to boot to BIOS so you can do minor tweaks before everything is setup. One thing that I generally do is move down the PXE network boot to the lowest priority since this is going to be my storage virtual machine.
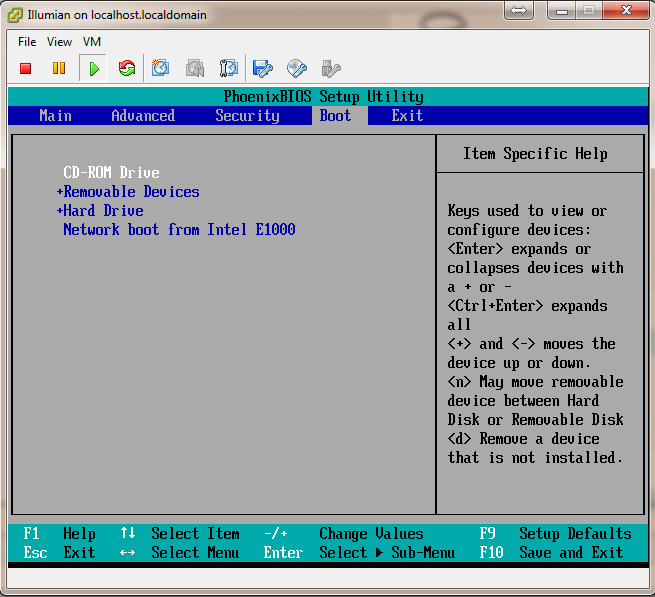
Once this is done, hit F10 in the console and Save and Exit. The virtual machine will reboot, and you will see Illumian’s installer. A tip here is to skip installing the 32-bit version.
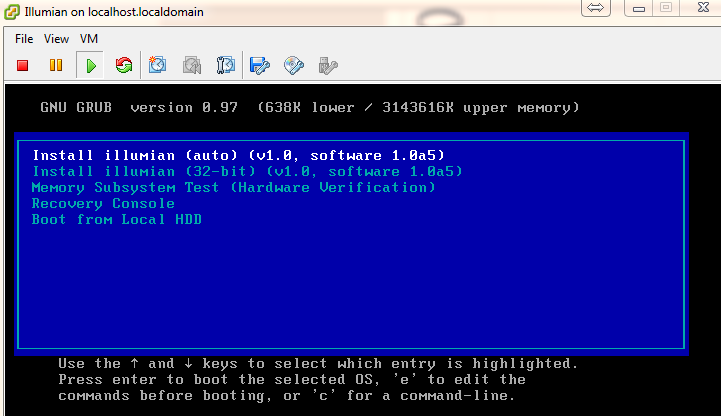
Now that this is done, you are ready to install Illumian. After I completed the installation, I decided that the installation file was going to be huge. As I am re-launching the ServeTheHome.com YouTube channel in the next week or so, I decided to just make that a quick video. If you are anxious to create an All-in-One ZFS server with Illumian and VMware ESXi 5.0, then good news, the installation is very simple.




Does the VMXNET3 VNIC work on Illumian?
It is not working out of the box, just like NexentaCE 3.x.x
@Patrick: the link to the AMD Opteron build is wrong. It’s actually linking to a Xeon build.
Thanks Steve. Picked the link above the one I wanted to in the interface on my iPad.
Good performance. I think OpenIndiana supports VMXNET3. New NexentaCE 4 might. Patrick heard from those guys on that? Or an estimated release date?
NexentaStor 4 is due out by the end of the year.
Can’t wait Derek! Keep us posted (and please have VMXNET3 working in the CE version :-) )
Hey, Patrick:
Nice website, and great articles.
Just to let you know from experience, of all the illumos variants, OmniOS is the best. Stable, optionally supported. Unlike OpenIndiana and illumian.
OmniOS+Nappit rocks. No 18TB limits, no limits on licensing. Only thing missing is RSF-1 clustering. But I doubt home users will need RSF-1.
Does anyone have experience with All-in-One installations using Nas4Free? There is a new version based on FreeBSD 9.2 with out of the box support for VMXNET3 published just yesterday!