
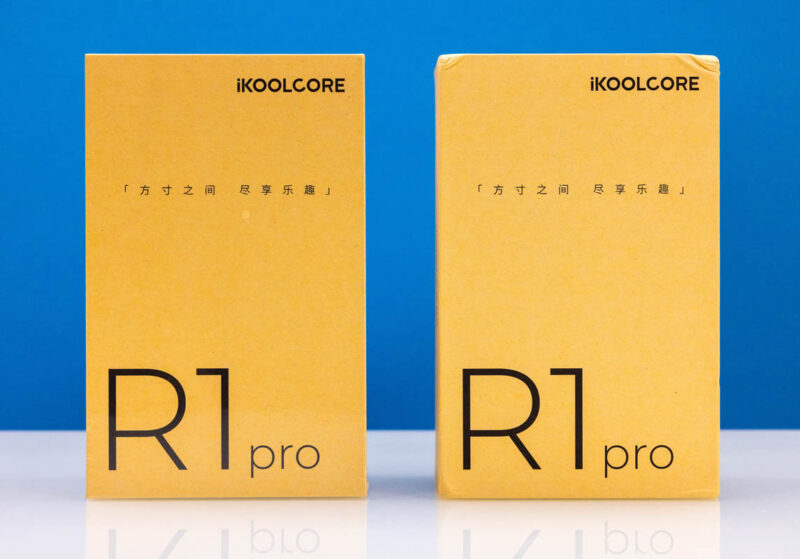
Today we have a review of the iKoolCore R1 Pro. This is an update to the original iKoolCore R1 we reviewed and addresses our chief feedback point: the cooling. Indeed, not only did iKoolCore release an updated model, but there is also an upgrade kit so one can upgrade their original R1’s to R1 Pro spec. Let us get into it.
iKoolCore R1 Pro Overview
First off, this is mostly a chassis and cooling upgrade. If you just want to learn about the R1, here is the video for that.
We also featured the R1 Pro in our recent GoWin R86S Pro video where it had a feature section at the end and even quickly shows how to apply the R1 to R1 Pro conversion.
iKoolCore sent us two boxes, one with the new spec, and one with the upgrade kit. The upgrade kit is $79, which feels expensive if we are being transparent. The completed model costs $289 with the Intel N6005, 16GB of memory, and no SSD.
First, we are going to go through the kit, then we are going to show the assembled model, and then we are going to do a side-by-side between the two units.
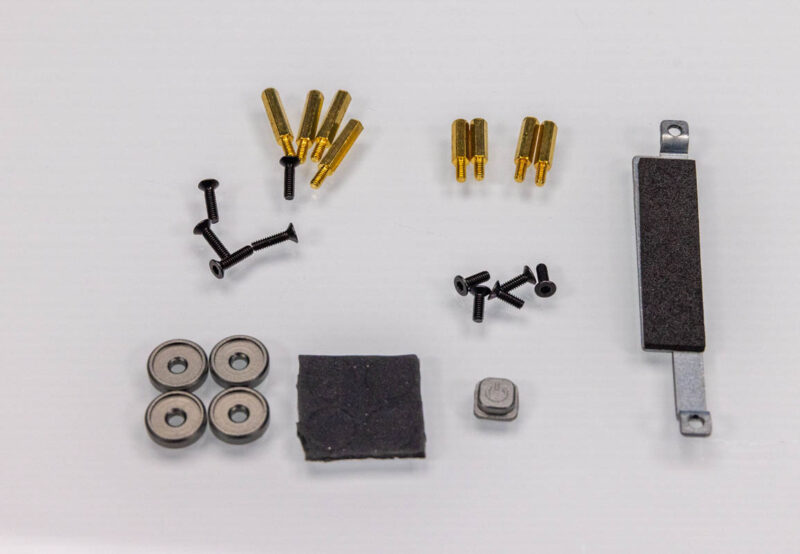
iKoolCore R1 Pro Upgrade Kit
The upgrade kit comes with a number of hardware pieces. Many of them are screws and stand-offs.
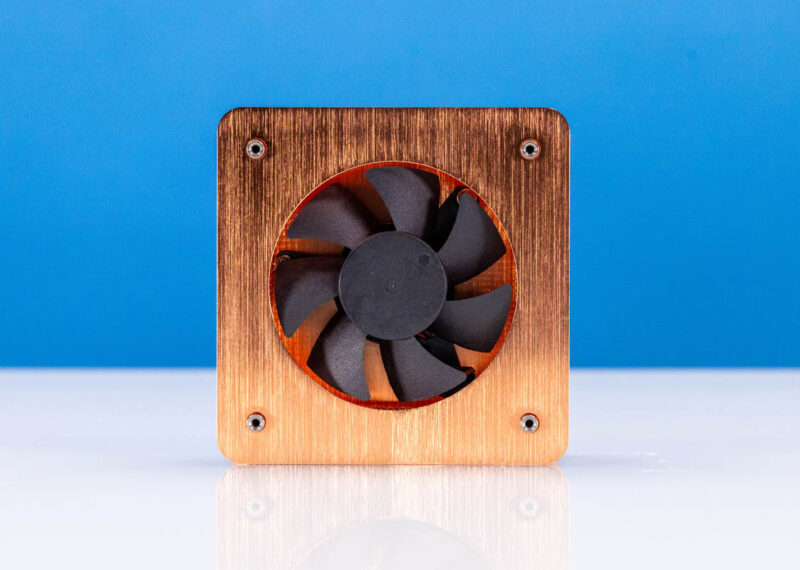
The two main parts are the updated cooler and chassis.

The new cooler is a copper block with more fins to help keep the fan spinning slower and handle heat better.
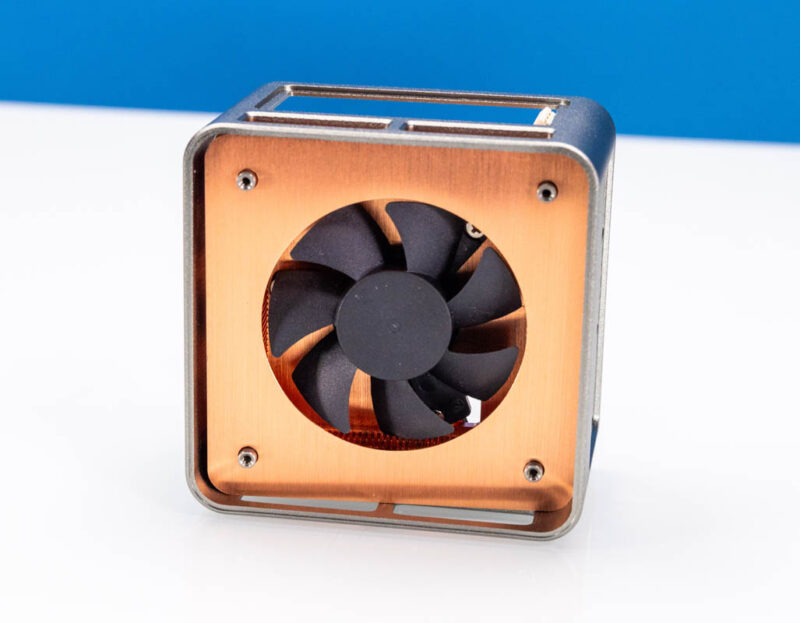
The chassis is a bit larger to help fit the cooler and provide a bit more room in the system.
Here is a quick look at the two before we attach them to the electronics.
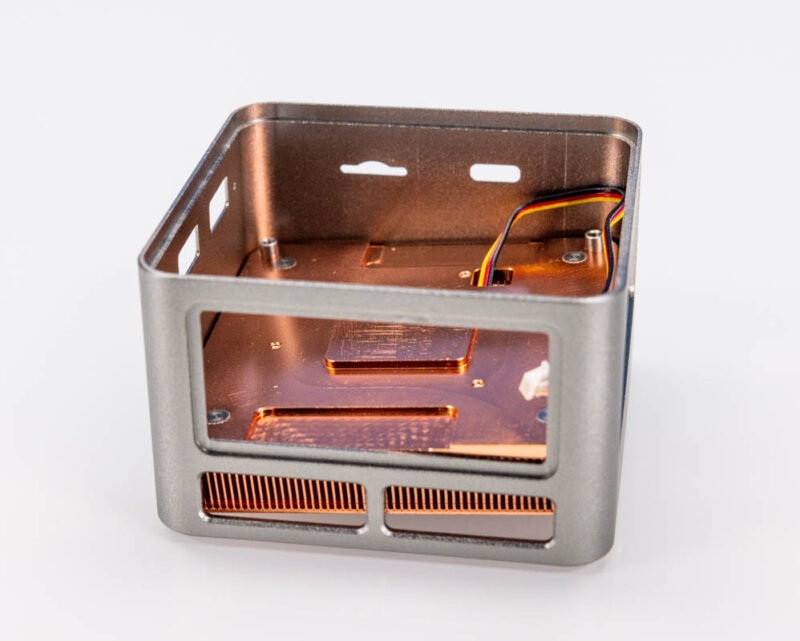
The top is different now as well. Instead of a plastic top, we get a top that is designed to act as a heatsink for the M.2 SSD, improving cooling.

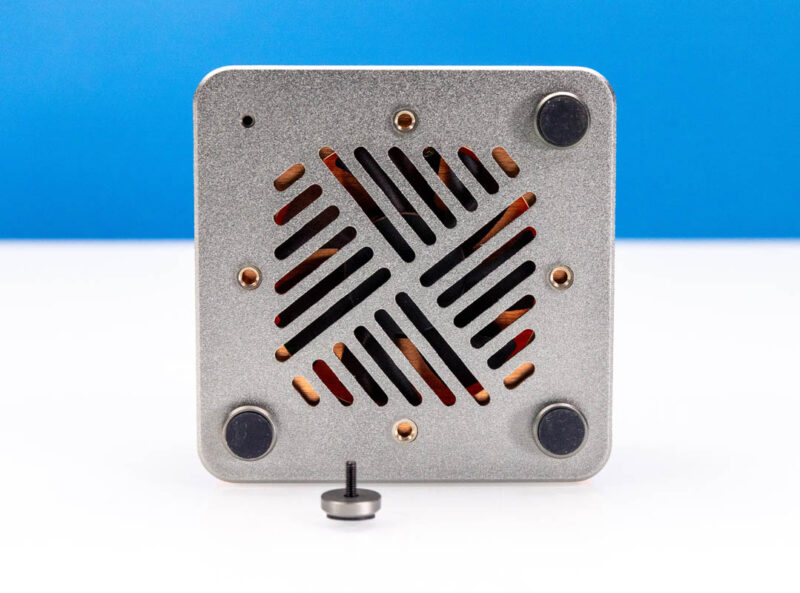
Another small but nice feature is that we get larger feet on the bottom of the system to help it sit higher off the desk and improve airflow through the fan.
It is nice that the kit is available, but it feels like this should have been the original design so paying $79 for a few small parts feels like a lot.
Next, let us take a look at the unit assembled. We sense that most users would buy this as a complete system, so that is more exciting to look at.
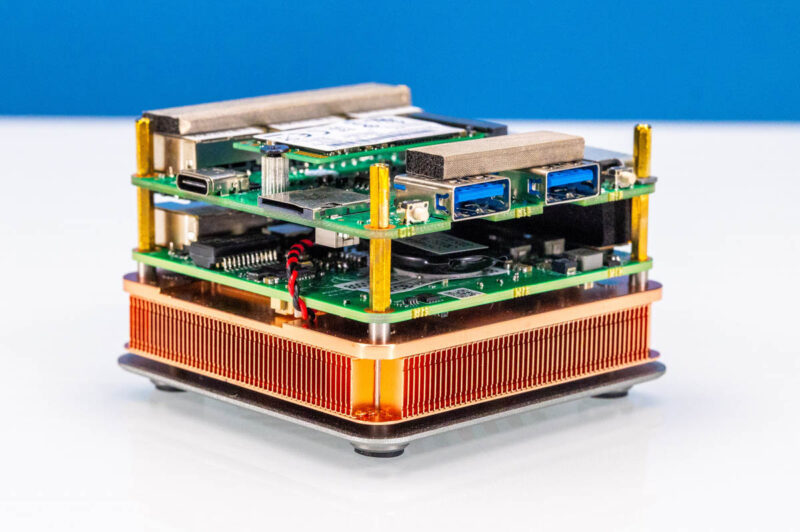
iKoolCore R1 Pro Hardware Overview
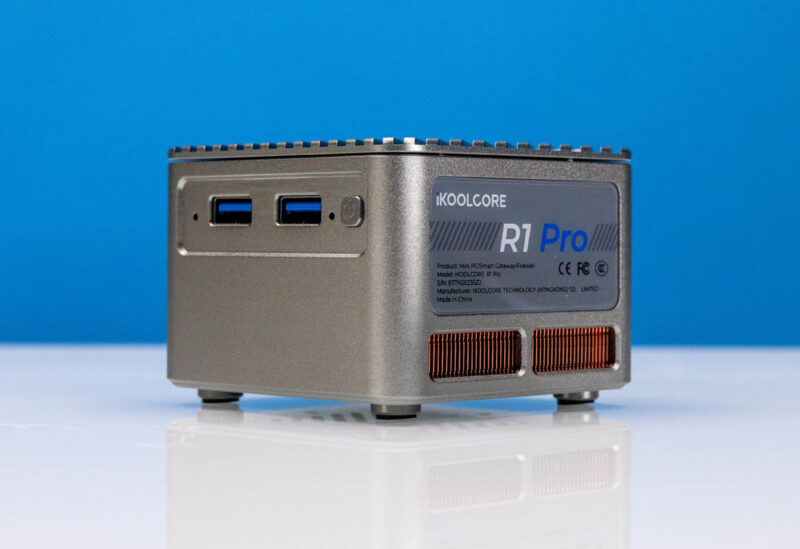
The iKoolCore R1 gets two USB 3 Type-A ports on the front and a power button.
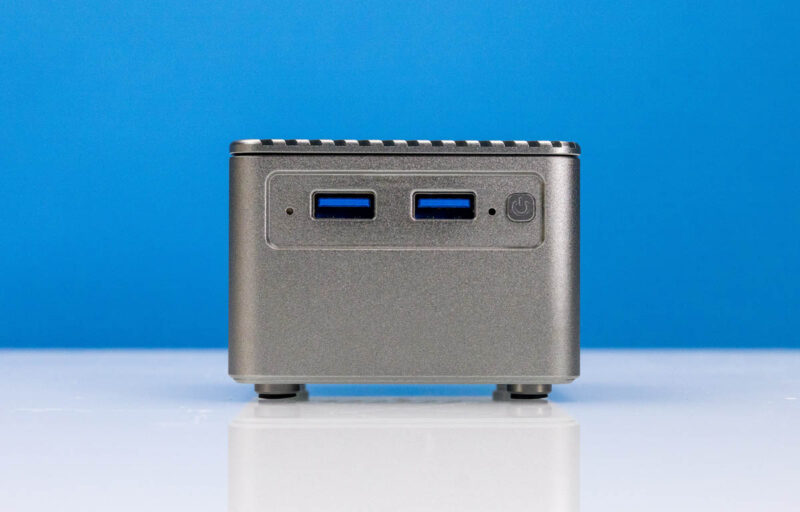
Here is the angled view.
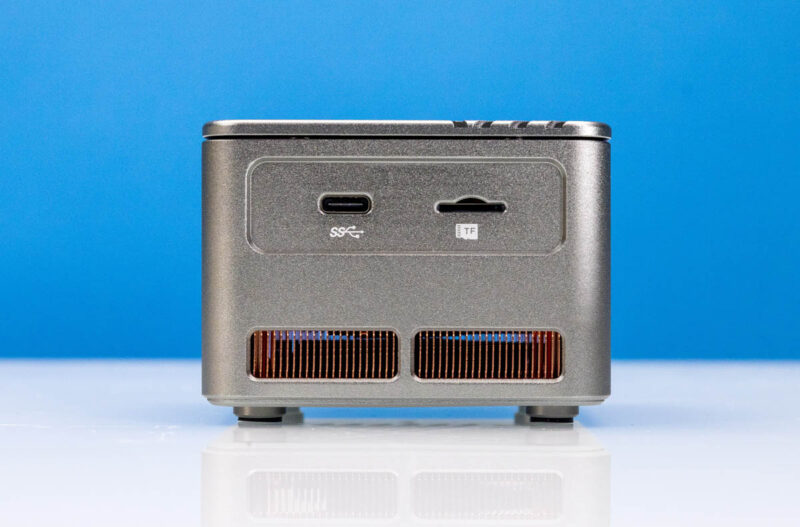
On the other side we get a USB Type-C port and a TF slot. TF, again is microSD without the licensing.
Here is a look at the new R1 Pro top.
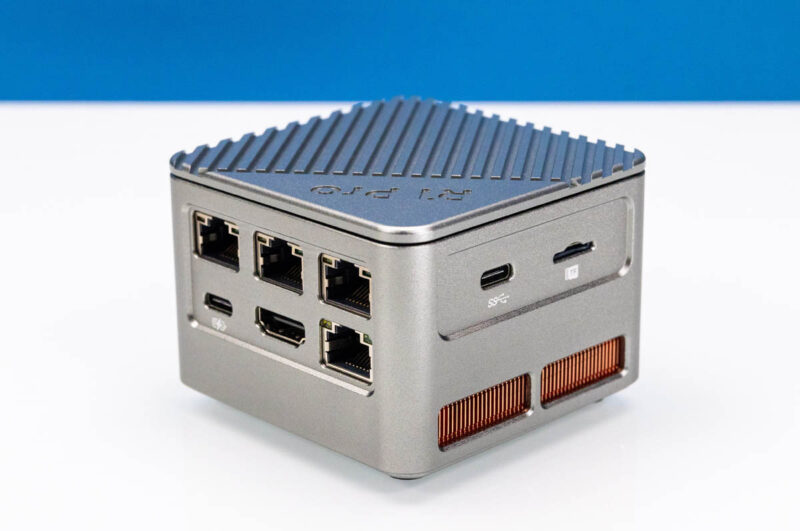
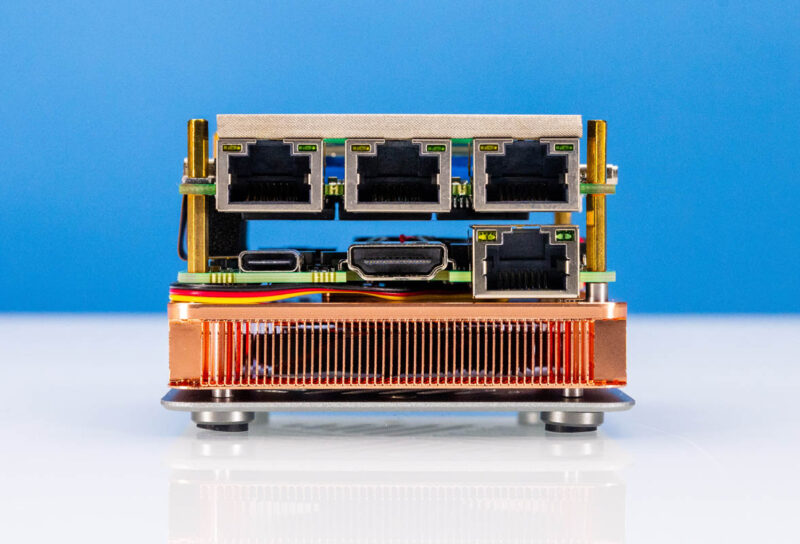
The major side is, of course, one with the HDMI, Type-C power input, and the four Intel i226-V network ports.

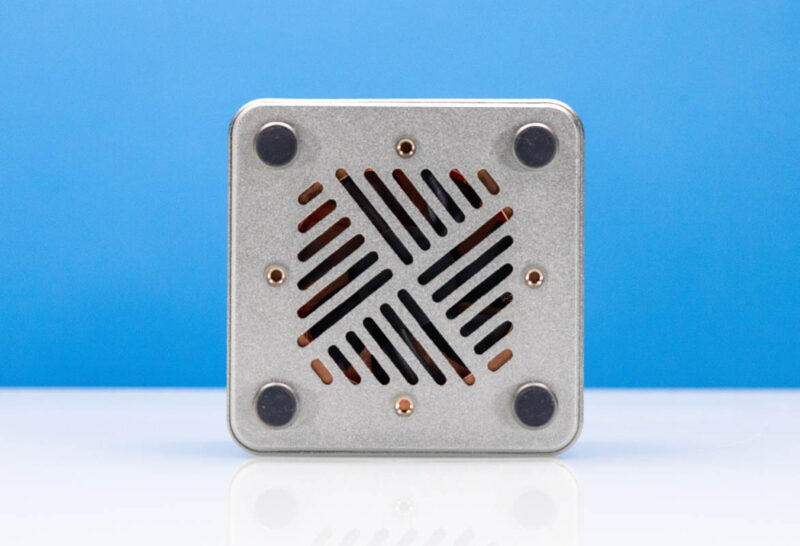
On the bottom, we get the new raised rubber feet and the cooler.
Taking off the shell, we get larger standoffs in this version that gives a little bit more air space between the internal PCB sandwich.
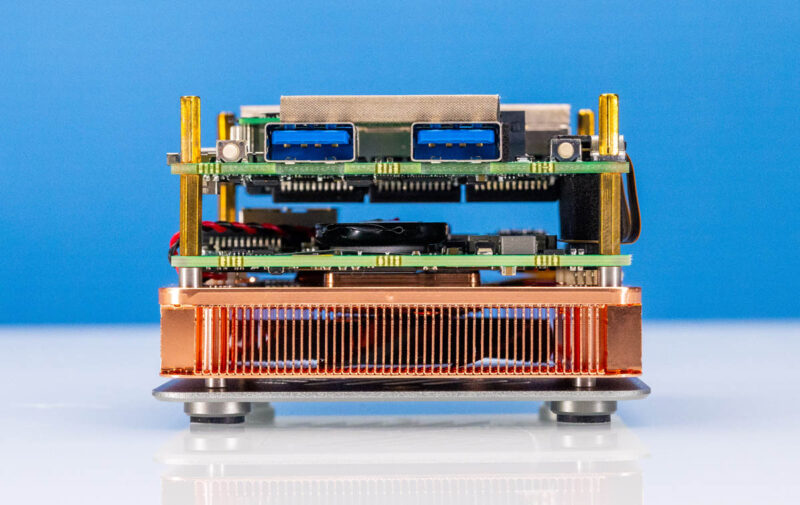
Here is the angled view with the new copper heatsink on the bottom and the M.2 SSD installed on top.
Here is the side with the network ports.
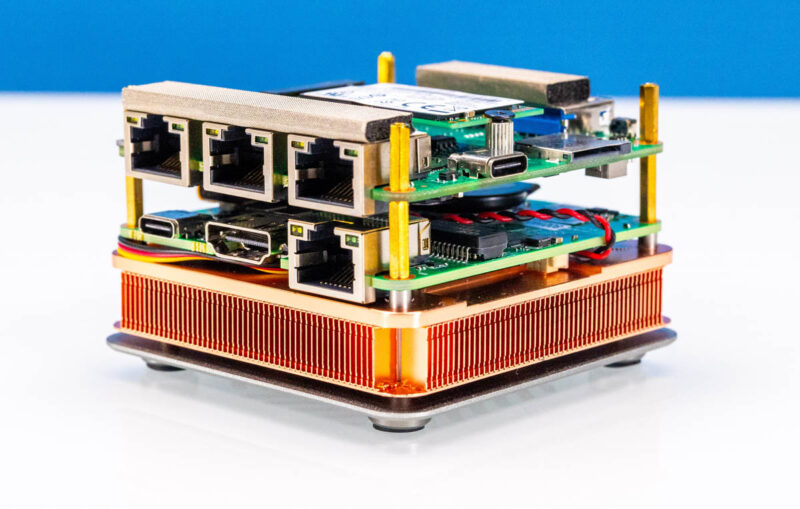
Here is another angle.
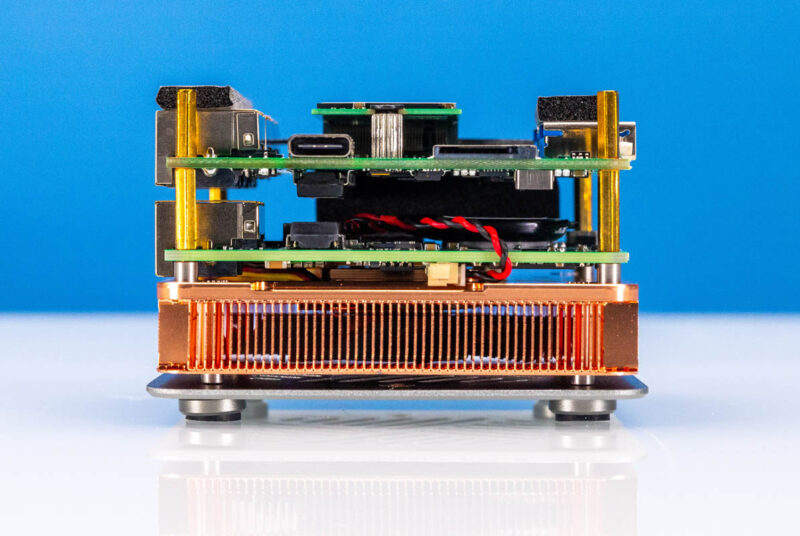
Here is the Type-C and TF card slot side.
On top of the system, we get the M.2 slot. This is a M.2 2242 (42mm) slot, so most SSDs that one would add here, even if NVMe, are going to be lower-cost options.
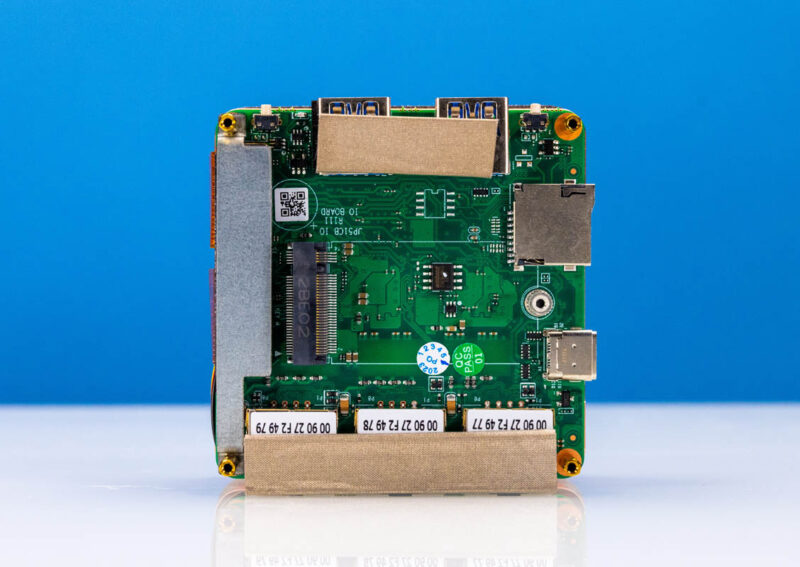
The other side of that top PCB has three Intel SRKTU chips which are the Intel i226-V NICs.
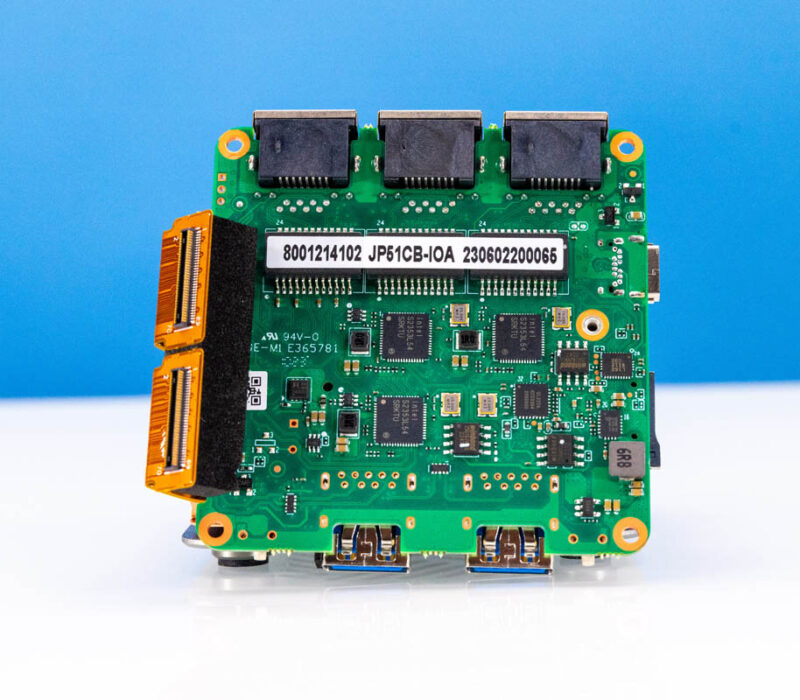
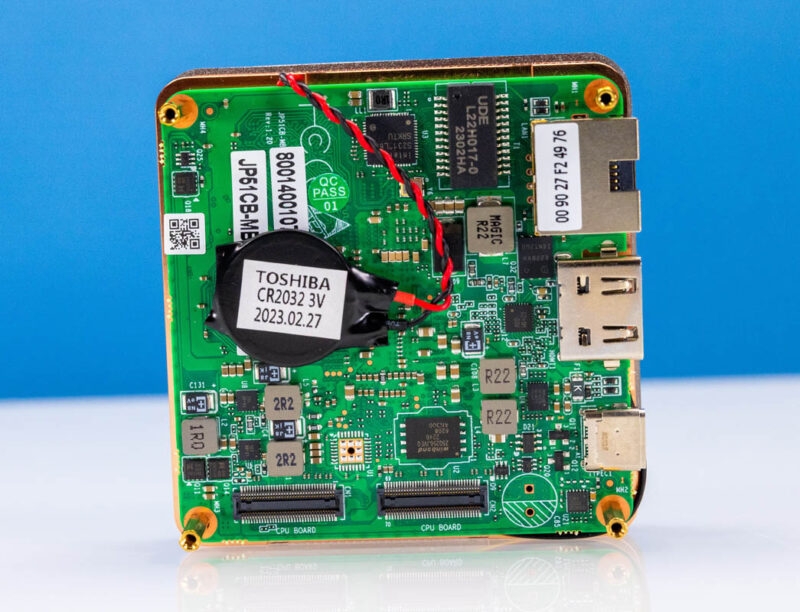
The other PCB is the main motherboard that has another SRKTU and the battery.
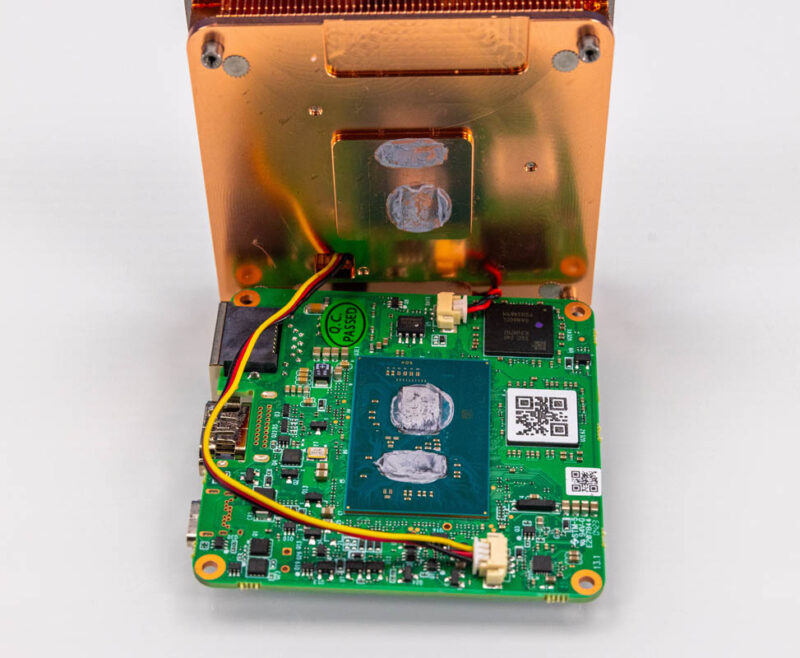
We can flip that over and pull off the heatsink and see the Intel N6005 onboard.
Next, let us take a look at the side-by-side.


shouldn’t that be a radial fan, with this kind of layout?
Would love to know the cost of the R1 vs R1 Pro vs R2. I am looking at the R2 right now bc it gives me the N300 CPU. I would run this as strictly an OPNsense firewall.
Comments are closed.