

Panduit E36G18L Management Interfaces Overview
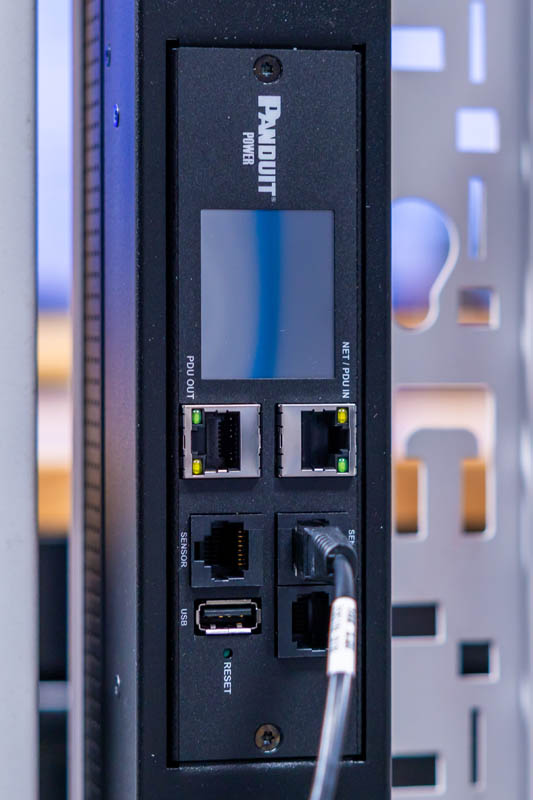
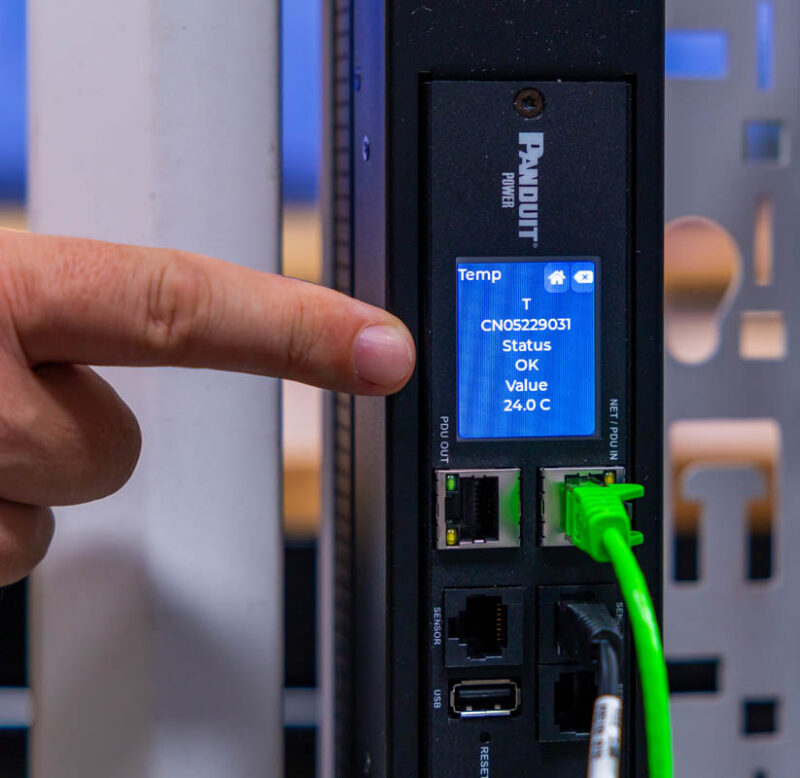
On the front panel of the PDU, we get a touchscreen and many additional ports.
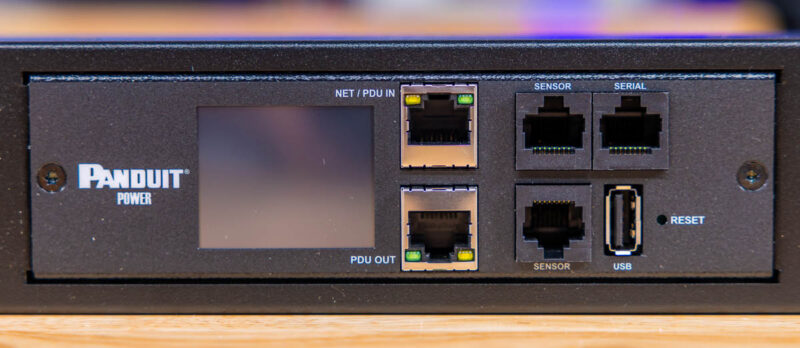
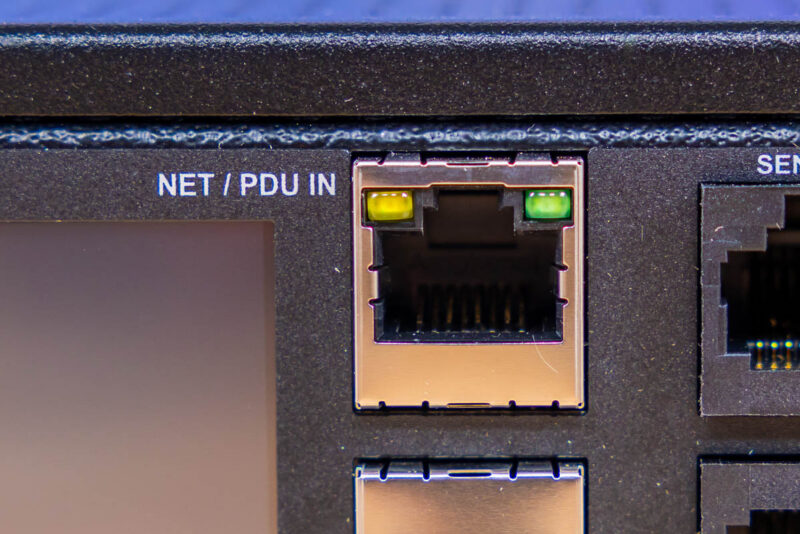
Next to the touchscreen, there is a network PDU input port.
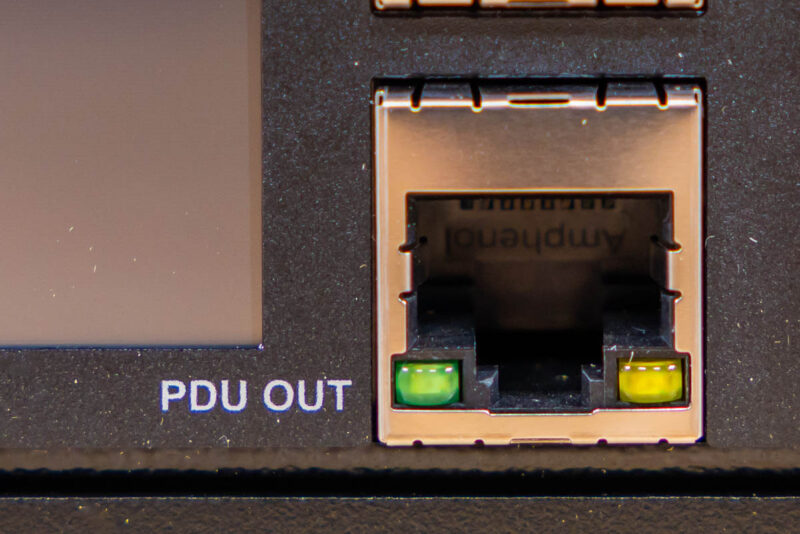
Like many infrastructure devices, you can chain these to minimize the number of management ports required. As a result, there is also a PDU OUT port.
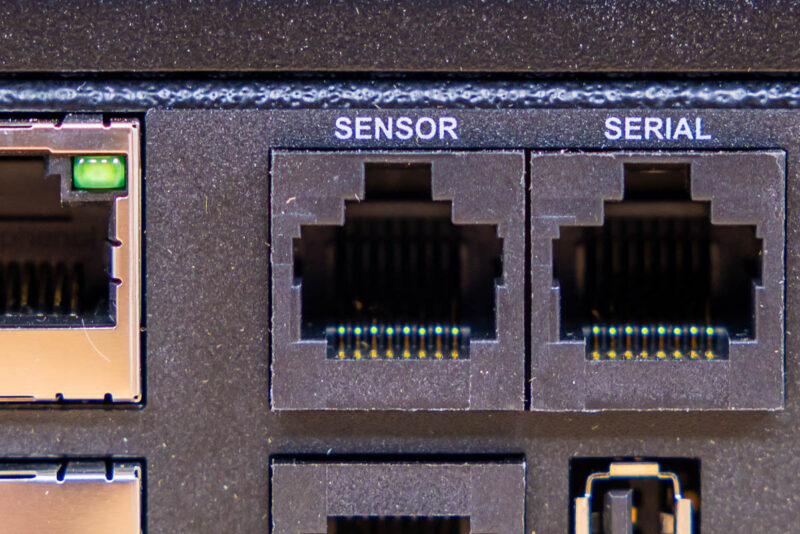
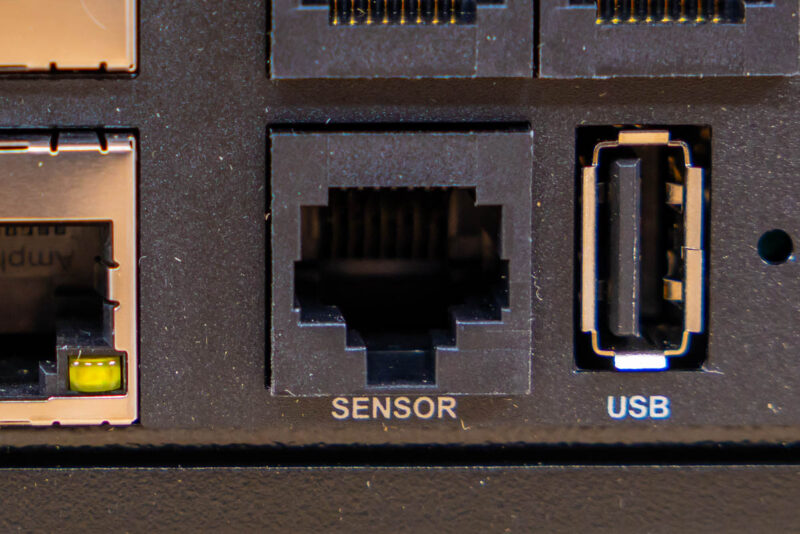
Next to the Ethernet ports, there is a Sensor and a Serial port. We will show a temperature sensor later in this review.
Below those there is another sensor port and a USB port.
Here is an example of the Panduit PDU installed in a test rack with the temperature sensor connected.
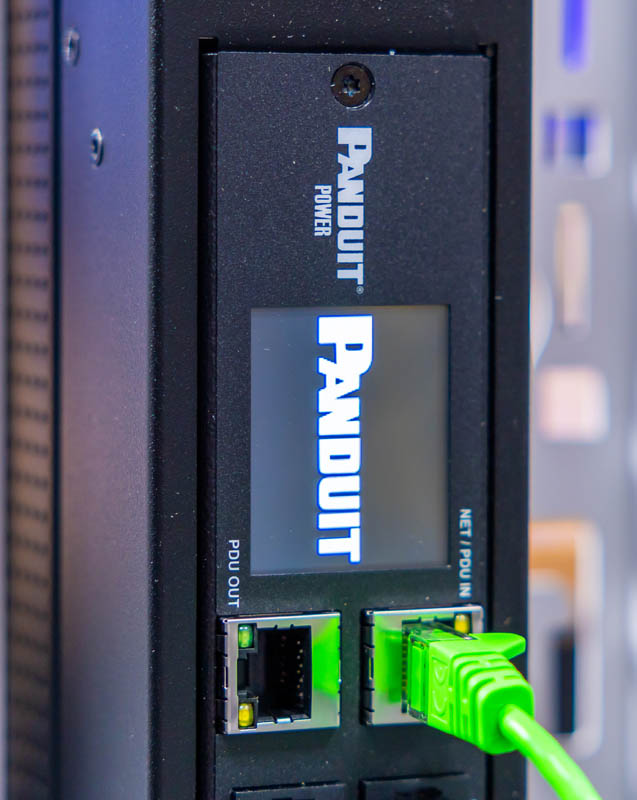
Plugging in the PDU, there is a little boot sequence that happens. It was neat to hear the switched ports fire and then watch the unit boot on the touchscreen.
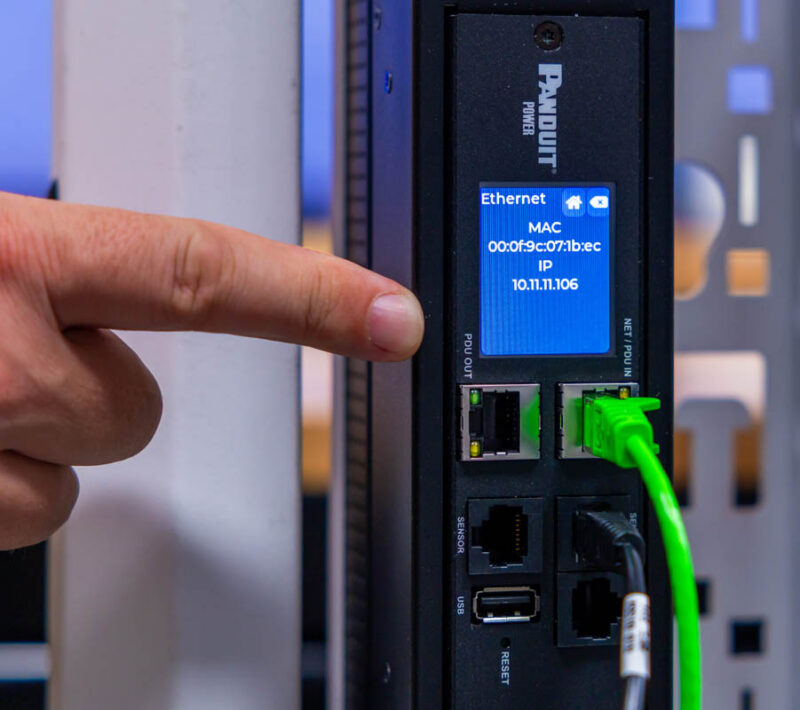
Once booted, you can use the touchscreen for many management functions including monitoring power and sensor data, as well as just getting basics like IP addresses.
On the subject of sensors, let us get to the temperature sensor next.
Panduit E36G18L Temperature Sensor
Here is what the temperature sensor looks like out of its pouch.
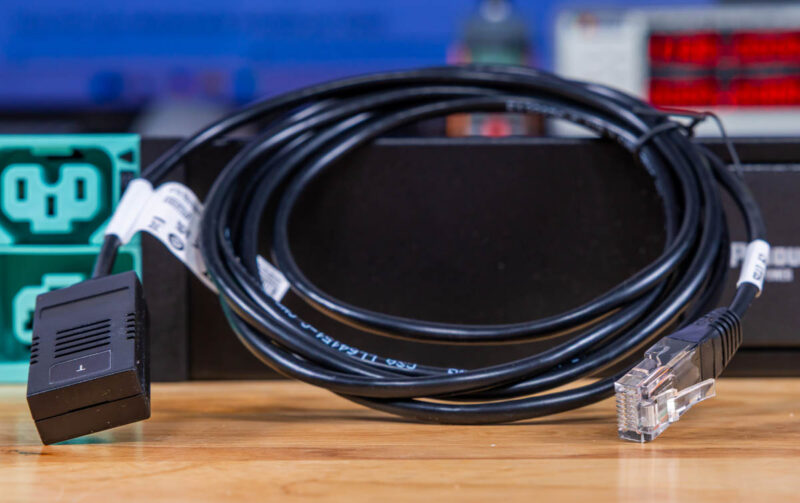
On one end, we get the temperature sensor.
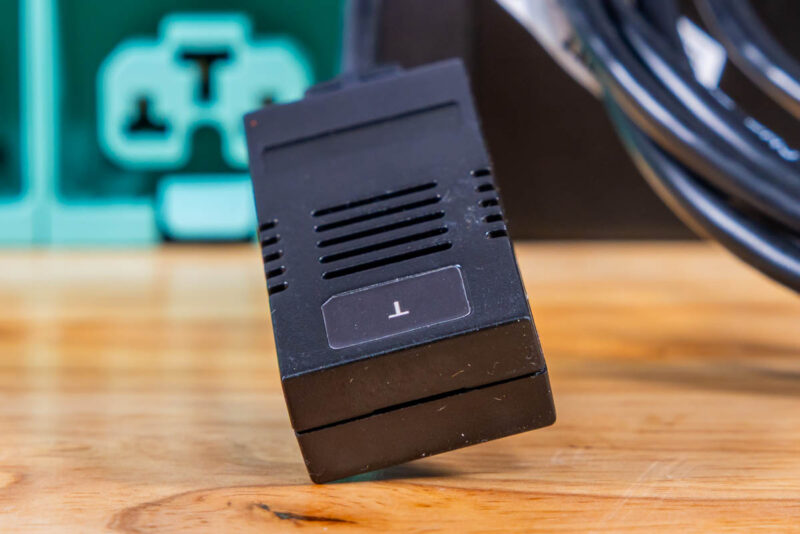
On the other end, we get a plug for the PDU.
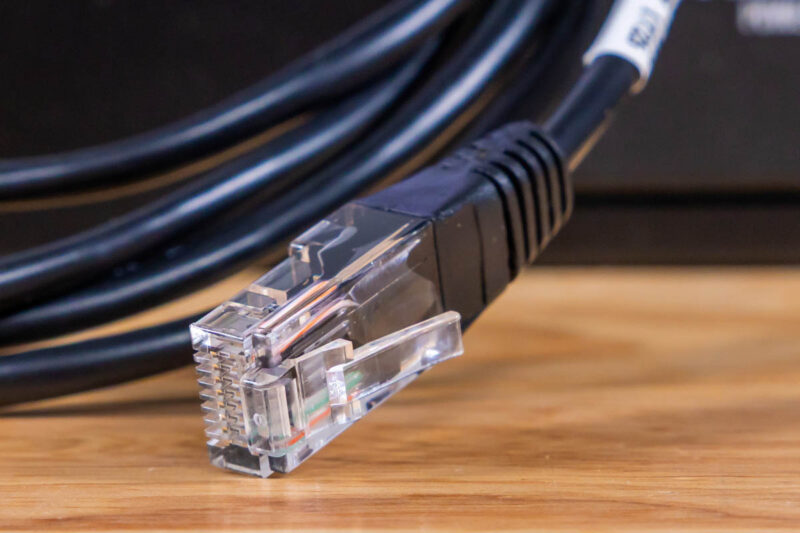
This is the end that plugs into the sensor ports on the PDU.
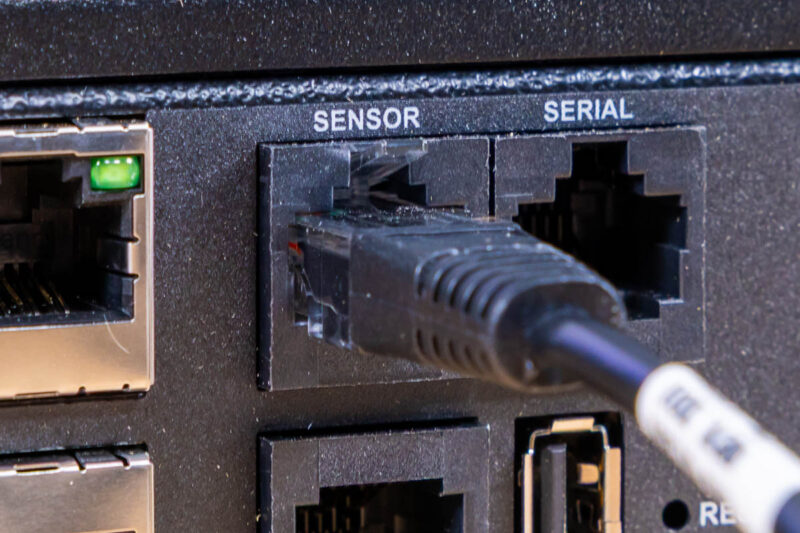
It works about how you would expect. Once it is plugged in, it starts logging temperature information. This data has become important not only for detecting cooling challenges. These days, servers and other gear can set power caps, and you can actually orchestrate infrastructure to account for power and temperature to optimize power consumption at a data center level.
For those who have not installed a PDU, let us go through a quick bit on installation.
Installing the Panduit E36G18L
Installing the PDU is simple. We had a 48U Schneider Electric/ APC rack that we had outfitted with a few Panduit cable management items that we pulled onto the set to show this.
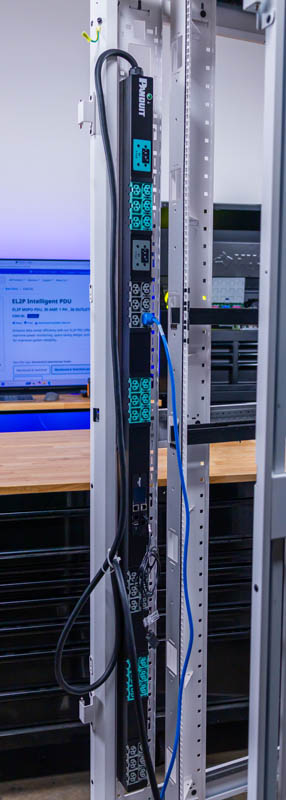
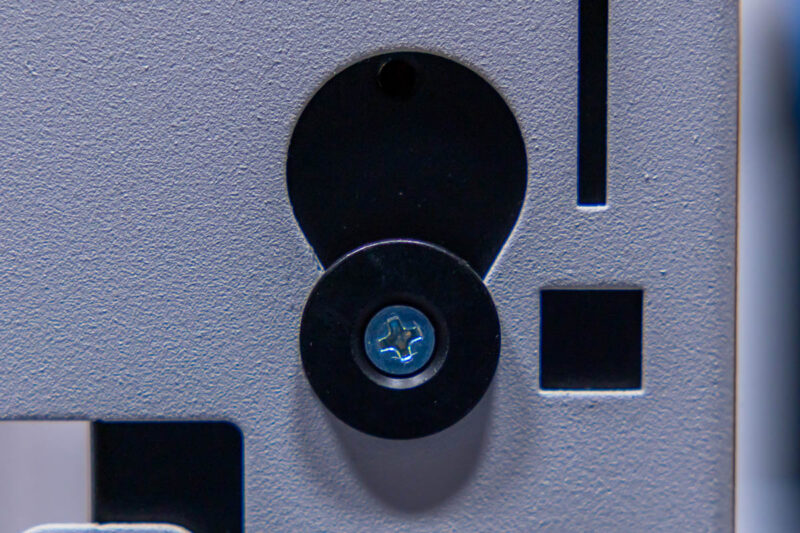
On the rear of the PDU, there are two pegs that can be aligned with most racks and simply installed in place. If you have done this before, and your racks support it, then this takes a matter of seconds. Given the size of our rack, it supports two PDUs on either side making installing one a breeze.
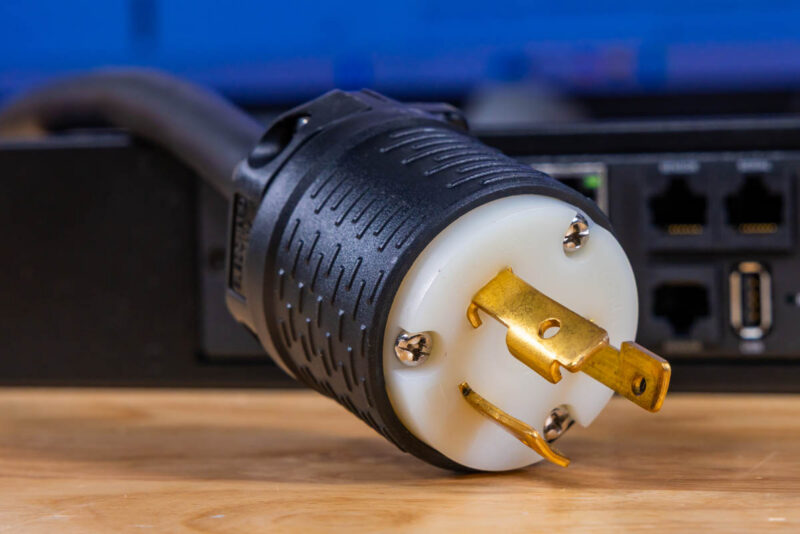
The next step is simply to plug it in and ensure the circuit is live. We have seen someone think they had a dead PDU only to realize that they had not turned the upstream breaker on.
Overall, physical installation took only a minute or two. Next, let us get to the management interface.


I’m installing a $6000 power strip in my home lab. Leeroy Jenkins!
There’s something I *really* don’t get about the pricing of power/rack accessories.. like even being generous this is maybe $500 worth of parts and development? Why is it over $3000??
nice. How about a 110/220 in the same family. Looking to buy one.