

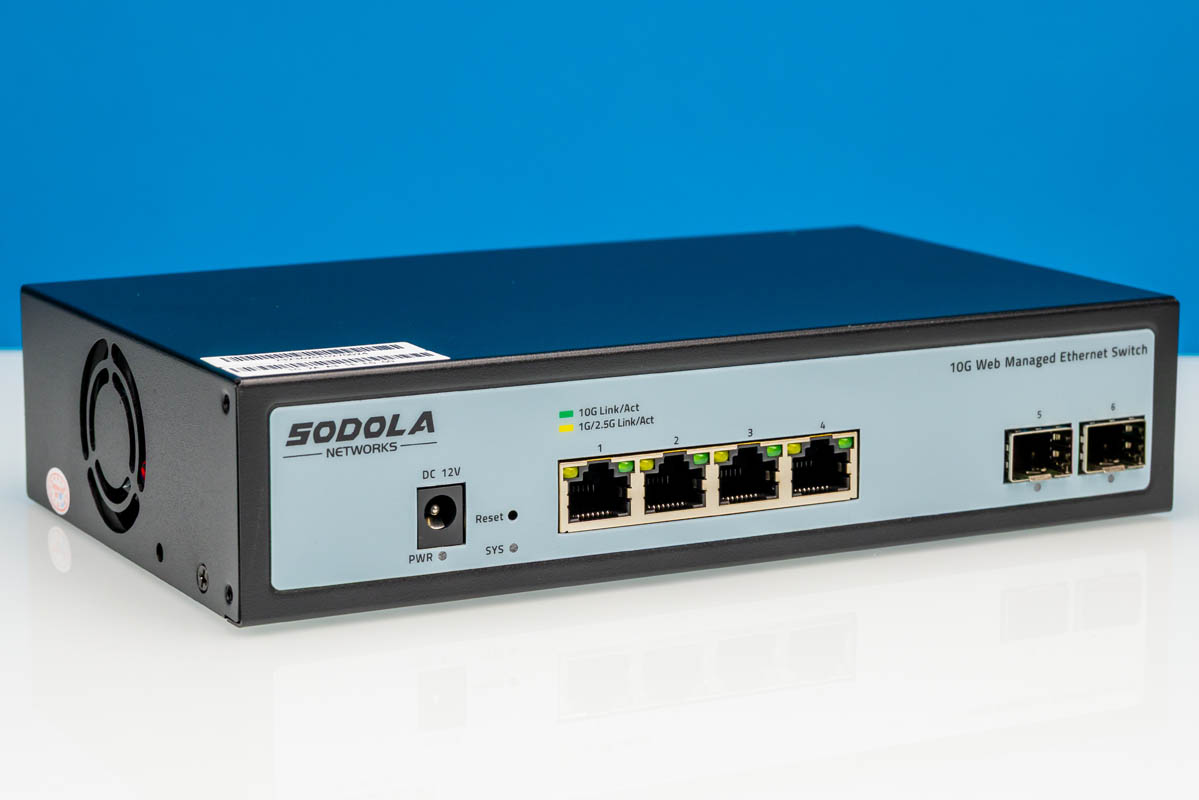
The Sodola SL510S-4T2XS is a neat switch because it is a low-port-count, cheap, web-managed switch. It is certainly not for everyone, but it is one we wanted to know more about, so we purchased one for $169. With four 10Gbase-T ports and two SFP+ ports, this is a neat little 6-port 10GbE switch that many will find a useful upgrade from the 4-port 2.5GbE plus two-port SFP+ switches we have reviewed. What is useful as well is that you can fit it in or on a half-width rack.
We should also note that this is only $60 less than the 12-port model we tested in our Sodola SL-SWTGW2C48NS 12-port Combo 10GbE Switch Review.
Here is an Amazon Affiliate link to what we purchased.
Sodola SL510S-4T2XS External Hardware Overview
Looking at the switch, it is tiny. If you were to 3D print rack ears for it, it would fit into a half-width rack like the DeskPi RackMate T0 4U 10in rack. We did not get rack ears in our box, but we can see mounting holes for them. Alternatively, you could just put this on a shelf in a small rack. A fun lab story, we finished testing and photographing this switch in January 2025. We lost it in the studio until March because it was sitting between the top handles of a T1 8U rack (Amazon Affiliate.) That is perhaps another mounting option.
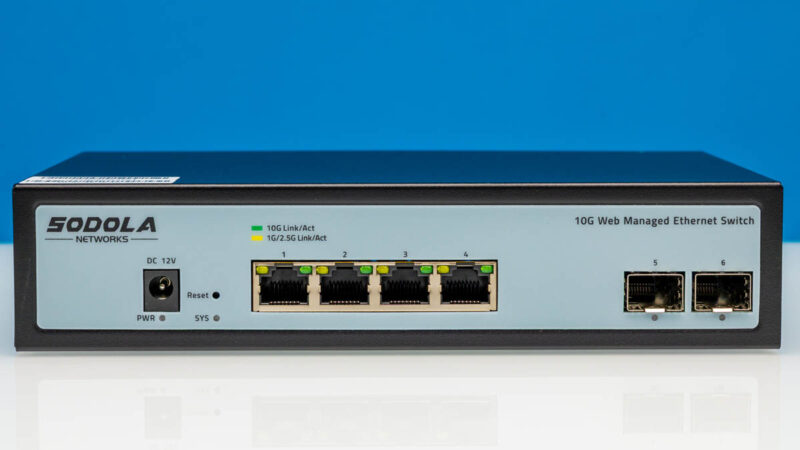
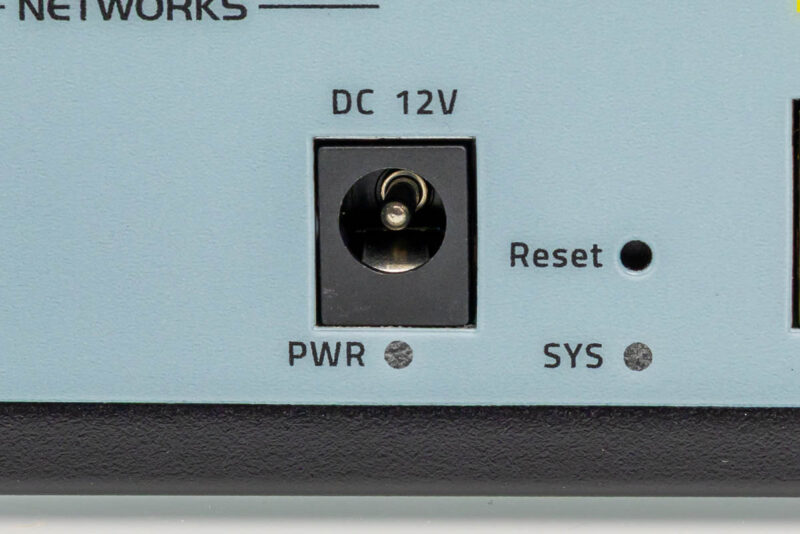
On the front, there is a 12V DC power input. It is always a bit scary to have front power and no retention for the power input since one missed cable pull turns off the switch.
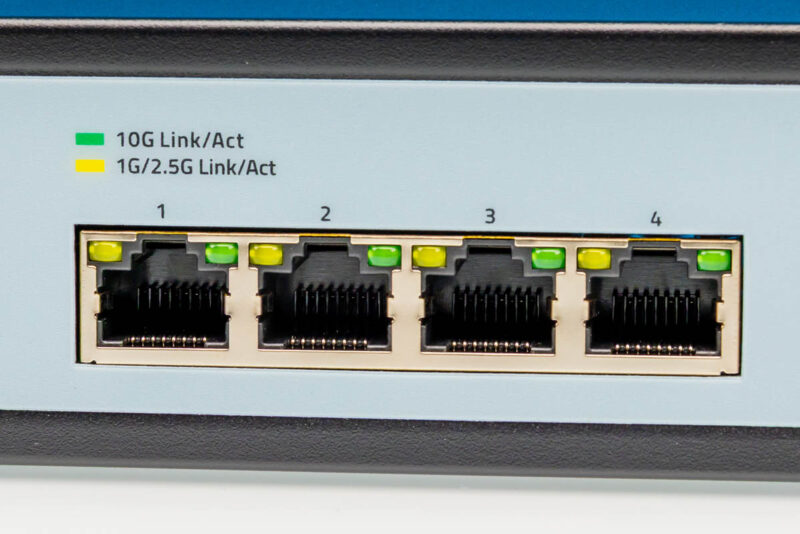
Next, there are four 10Gbase-T ports.
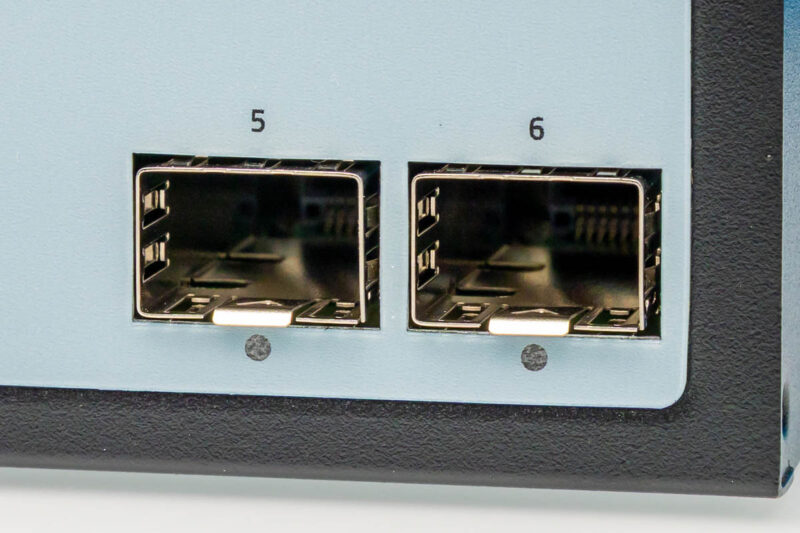
Finally, there are two SFP+ 10GbE ports.
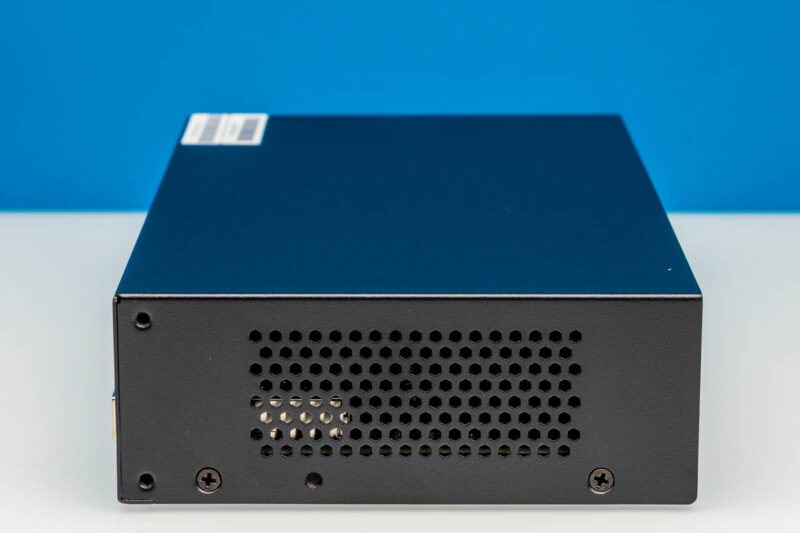
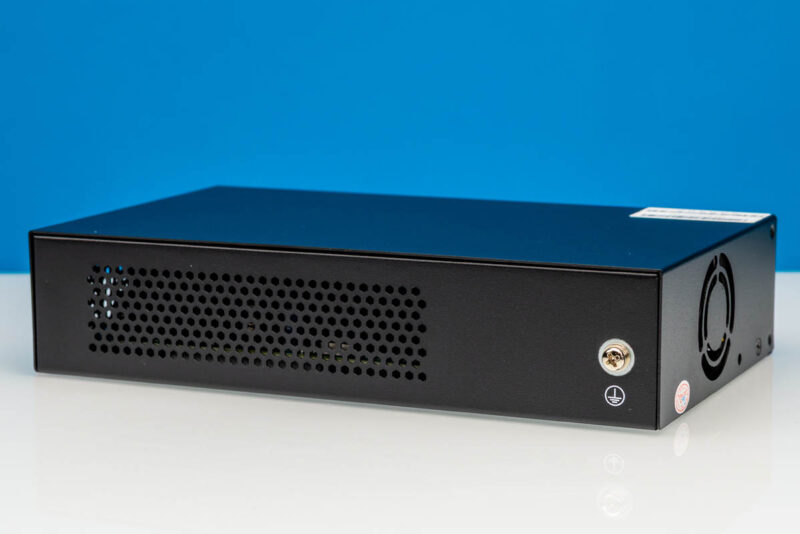
On the side, we get a vent.
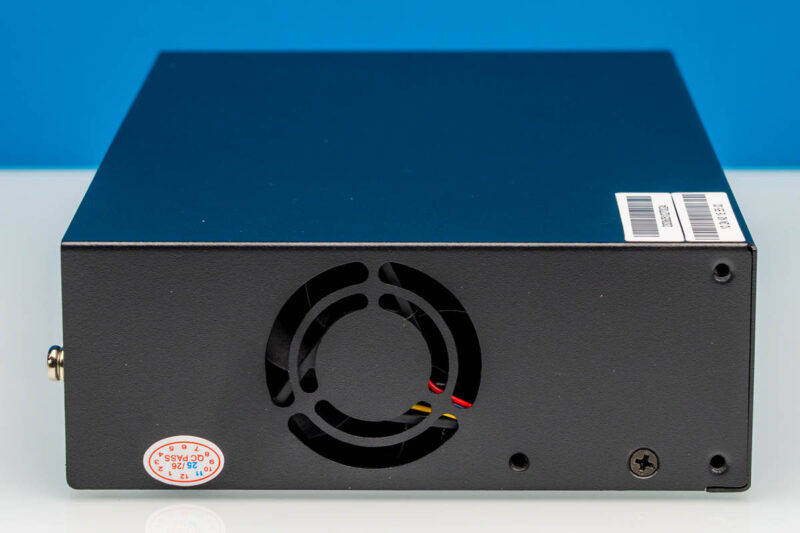
On the other side, we get a fan port.
On the back, we get more vents.
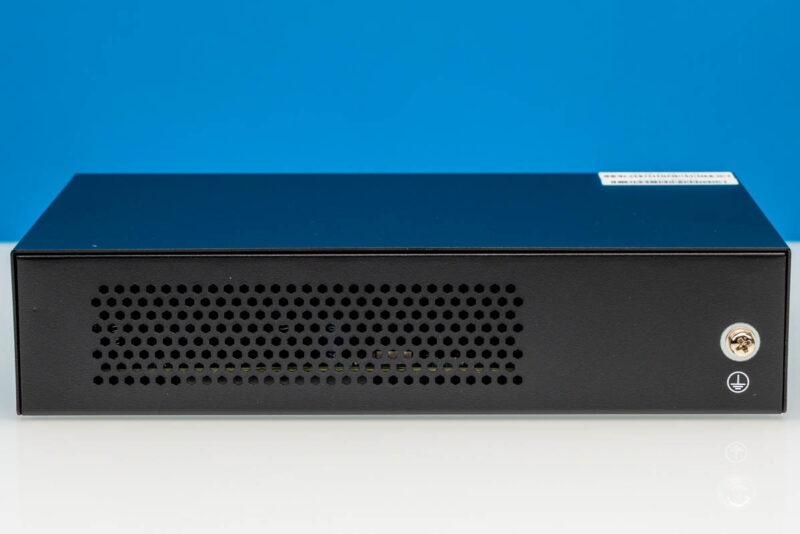
There is also a grounding point.
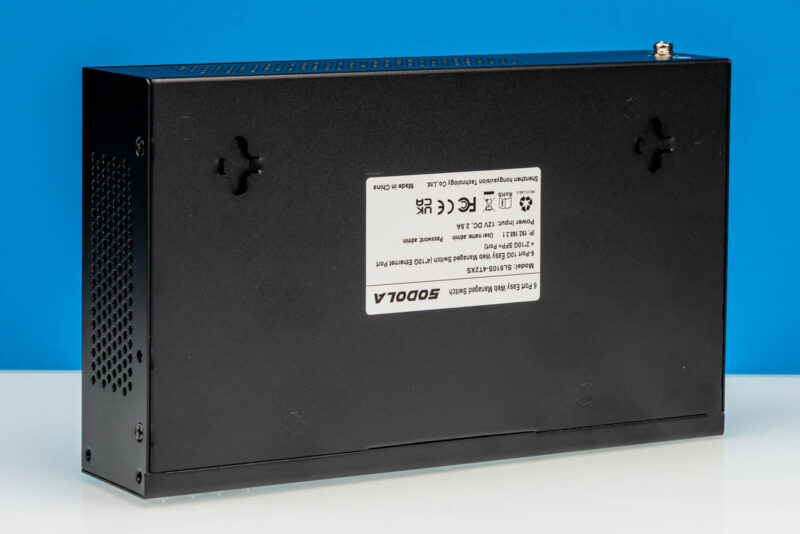
On the bottom, we get a label with the management login information as well as some mounting points.
Next, let us get inside the unit to see how it works.


Does it have IPv6 support for the admin interface?
Interesting that it is labeled “1G/2.5G Act” on the ports. Does that mean that 5G is not supported? Would be strange to see a switch that supports 2.5G and 10G but not 5G.
After having seen my board crash due to bad LLDP data sent by another device, I decided to see if I could fix its firmware. It turns out the platform was already relatively well supported by OpenWRT, so with a lot of help from Claude, the board plugged into the serial port using a UART adapter on my laptop, a dump of the stock firmware using a CH341A programmer; and using AI to cross-reference the official Realtek SDK and other resources; plus some disassembly of the dumped firmware, lots of RAM-only boots and whatnot, I have produced a working, 100% stable OpenWRT image for it: https://github.com/andrebrait/lg510s-firmware-lab/releases/tag/v2026.10.31-rc1
I also added some extras to make sure its feature set is on par with the stock firmware.
Note: I only ever tested it in my specific boards, all of which are marked PCB-510S-4T2XS-V1_0_1-19676. If yours is not, like the models that have PWM fans and/or the 5-port all RJ45 variant, I highly advise you to at the very least give yourself SSH access to the stock firmware (my repo has instructions for it for an AI agent to read and execute), but preferably use an UART, to get an AI agent to adapt the build for your hardware.
[Posting again because the other text is now outdated]
After seeing my switch crash because of bad LLDP data from another device, I decided to see if I could fix its firmware. It turns out the platform (RTL9303 + RTL8264B) was already fairly well supported by OpenWrt. With a lot of help from Claude, a UART adapter on the board’s serial header, a dump of the stock firmware made with a CH341A programmer, the official Realtek SDK and some disassembly of the stock firmware for cross-reference, and lots of RAM-only boots, I now have a working, stable OpenWrt image for it:
https://github.com/andrebrait/lg510s-firmware-lab/releases
It is sold under several names: Lianguo LG510S-4T2XS, GoodTop LG510S-4T2XS, Horaco ZX510S-4T2XS, HRUI HR510S-4T2XS, Sodola SL510S-4T2XS and MokerLink 10G04210GSM. I tested it on the Lianguo/GoodTop units only.
On top of plain OpenWrt it has:
– EEE, flow control and STP protocol settings per port in LuCI, plus a Ports status page
– the switch’s MAC address table with static entries, port mirroring and per-port rate limits, all offloaded to the switch chip
– CPU and per-port temperatures, with graphs
– LLDP and SNMP (both off until you enable them), RSTP, link aggregation and HTTPS for the web UI
Installing: back up the stock image and config from the stock web UI, then upload the factory.bix file on the stock firmware upgrade page. That worked on two of my units; on one of them the stock firmware hung while rebooting and needed a power cycle, but the image was already written. After that it gets its address by DHCP (falls back to 192.168.1.1 if there is no DHCP server). Updates after that keep your settings.
I’m also upstreaming the work: the board support (https://github.com/openwrt/openwrt/pull/26346), a package for the switch features and the LuCI changes are all open as pull requests.
Note: I only tested it on my own boards, all marked PCB-510S-4T2XS-V1_0_1-19676. If yours is different, like the models with a PWM fan or the 5-port all-RJ45 variant, don’t flash it. At the very least, give yourself SSH access to the stock firmware (the repo has instructions an AI agent can follow), but preferably use a UART, and have an AI agent adapt the build to your hardware. Most of the work should carry over.