
Here is a quick one. If you have both IPv6 and IPv4 running on a network, when you use the ping command in Windows, you may ping the IPv6 address. This is a quick guide on how to ping using IPv4 instead of IPv6 and get something more easily readable.
How to Ping over IPv4 on Windows Instead of IPv6
To get to the ping command, you can hit the Windows key and then type in cmd to run cmd.exe. Some more advanced users will use PowerShell instead. Pinging on an IPv6 network will give a massive string of numbers.
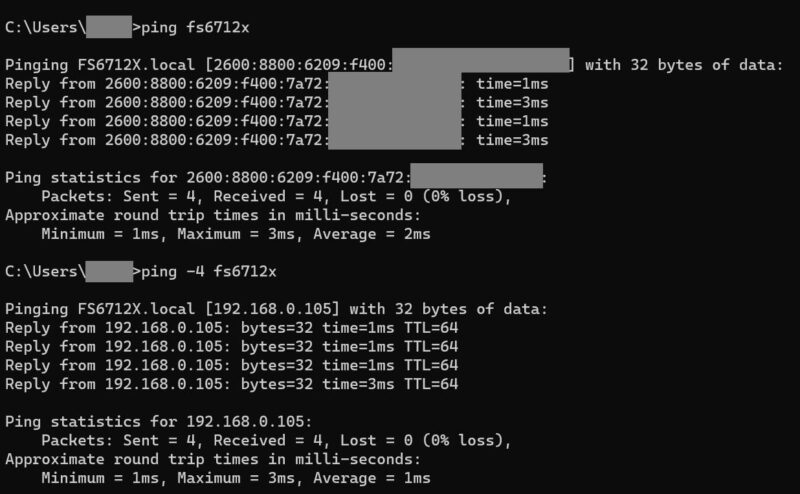
The easy fix is to just append a “-4” as shown above in the ping command.
So instead of:
ping hostname
It will instead be:
ping -4 hostname
That “-4” tells the ping command to use IPv4 even if an IPv6 address is available.
Final Words
There are various troubleshooting reasons that one might want to use IPv4 even if IPv6 is active. Examples can be of older management interfaces and applications that do not support IPv6 and where DNS can falter. Another good example is where you need to offline copy an IP address to get a device online. An IPv4 address is usually easier to remember than an IPv6 address.
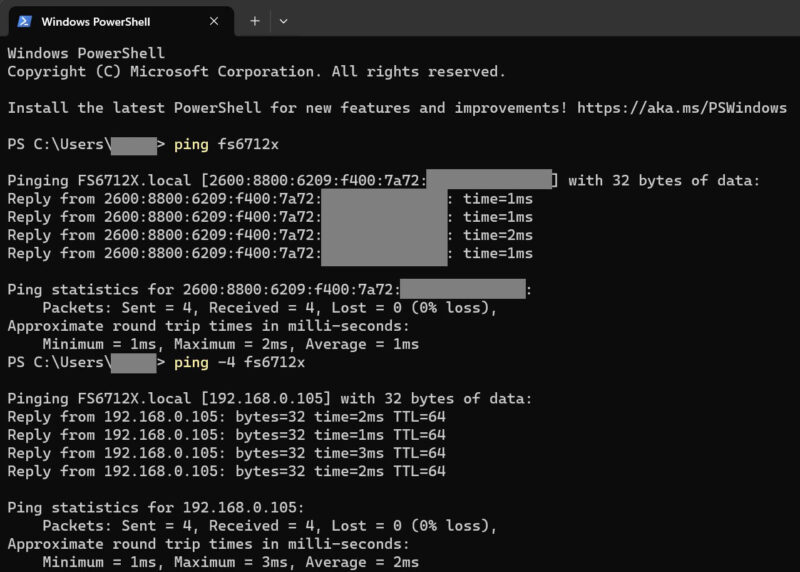
For those Windows PowerShell users out there, the functionality is exactly the same using PowerShell. Here is a screenshot of that:
Again, this may not be what you use every time you want to ping, but it is a simple way to use IPv4 networks for ping instead of IPv6. Hopefully this helps someone as we had a new team member who has grown in an IPv6 world and did not know how to easily switch to use IPv4 for the ping command. We thought others might want to know how to do this as well.


