GL.iNet GL-MT6000 Flint 2 Management Setup
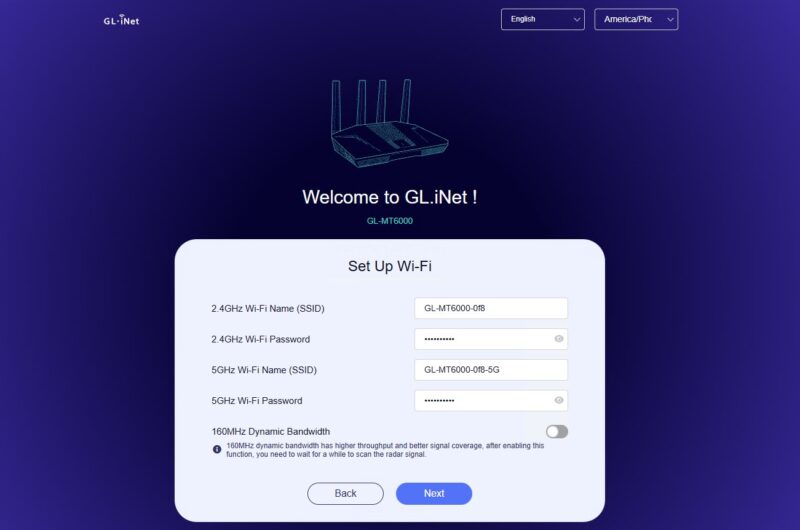
Setting the device up by default you enter an admin password.

Then you setup WiFi. This is WiFi 6 with 2.4GHz and 5GHz SSIDs being created.
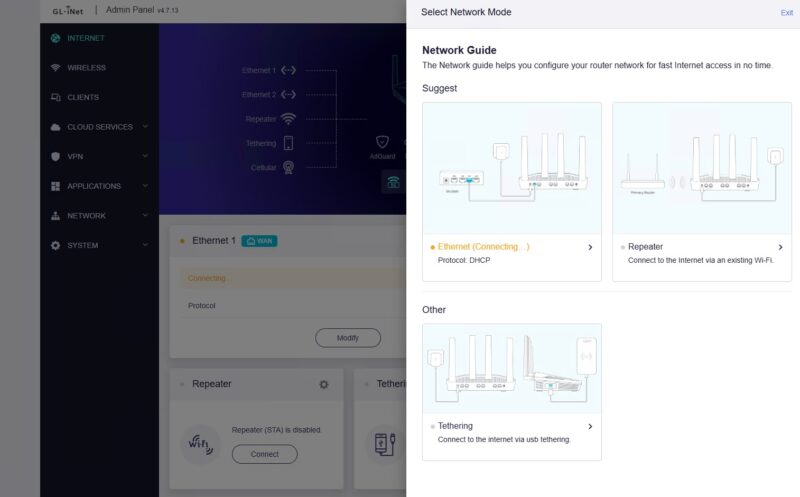
There are a number of different modes. GL.iNet has the modes with pictures and descriptions, which is nice on a consumer device like this.
You are also prompted to set up VPNs.
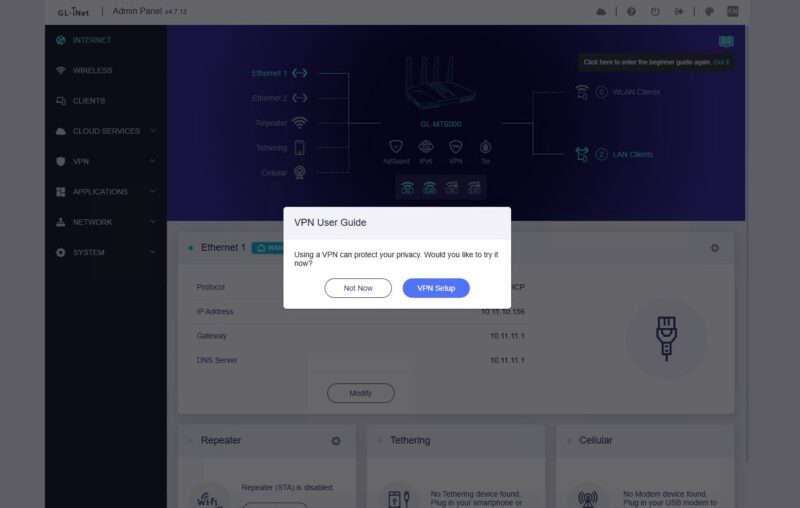
Here is what we had as options (more on Tailscale shortly) and this list may change. Using a VPN is optional as you might imagine.

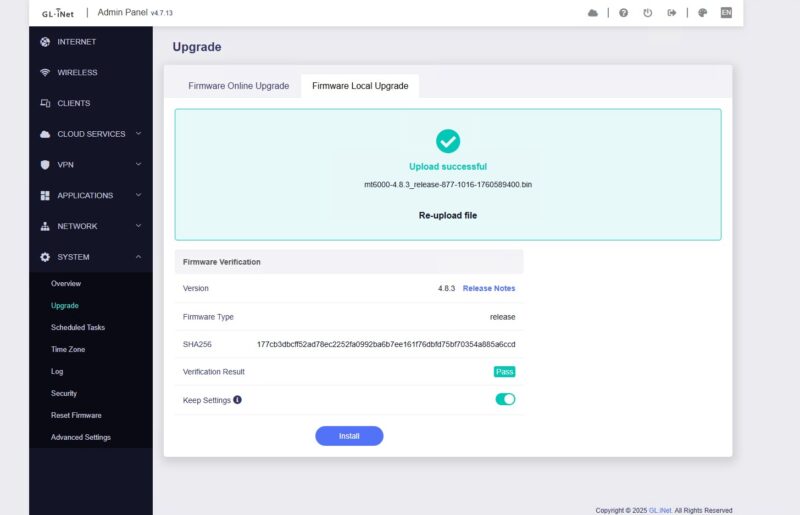
After that, we were prompted for a firmware upgrade. That means this device is connecting to a remote server to pull updates.
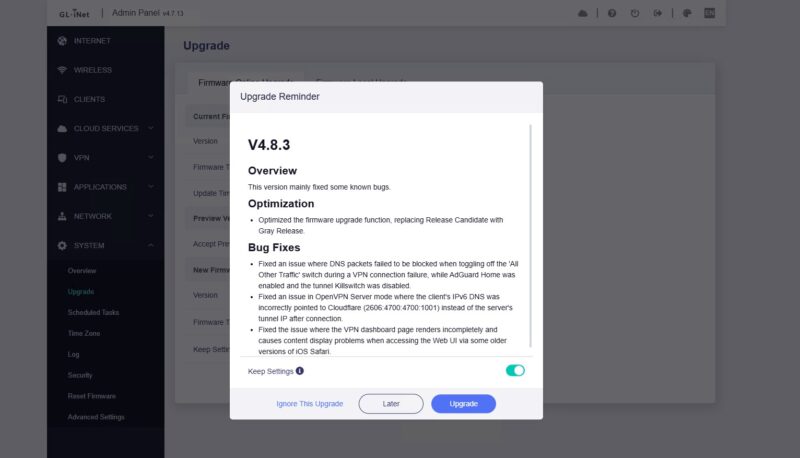
The alternative is to do a local upgrade. We tried this, and it was easy.
Next, let us get to the actual management once it is setup.
GL.iNet GL-MT6000 Flint 2 Management
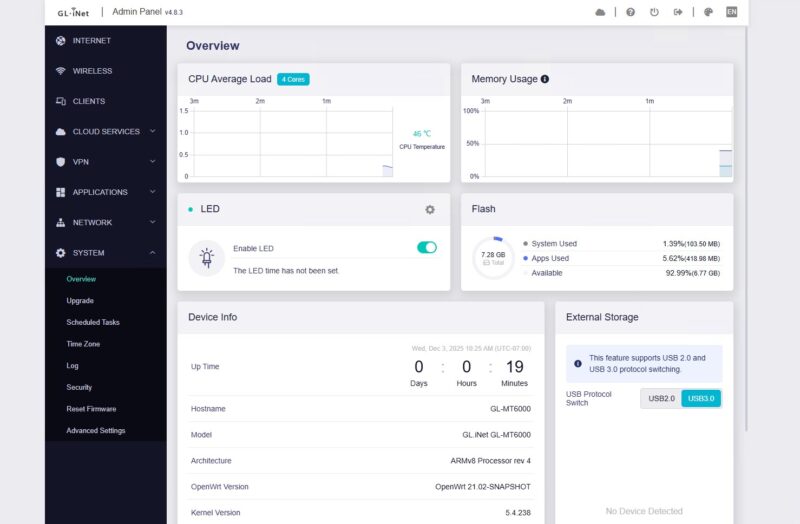
Here is the dashboard after we did the latest firmware upgrade at the time v4.8.3.
You can go in and change WAN settings. This might look odd to our readers, but it is a configuration for our CyPerf testing.
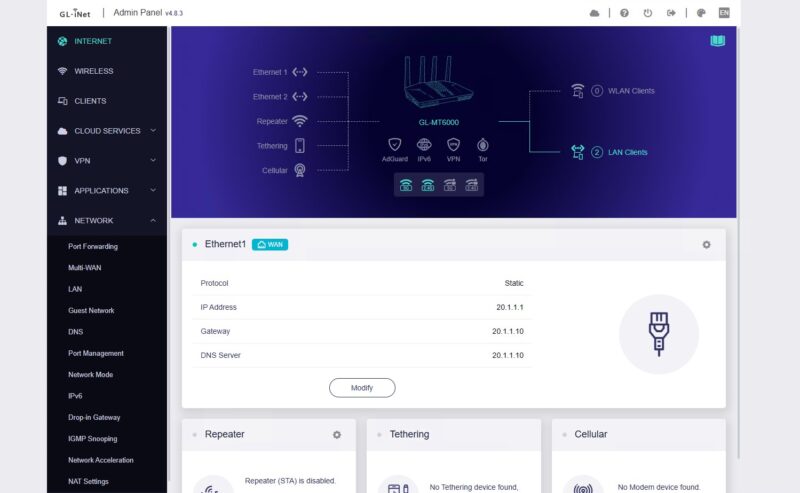
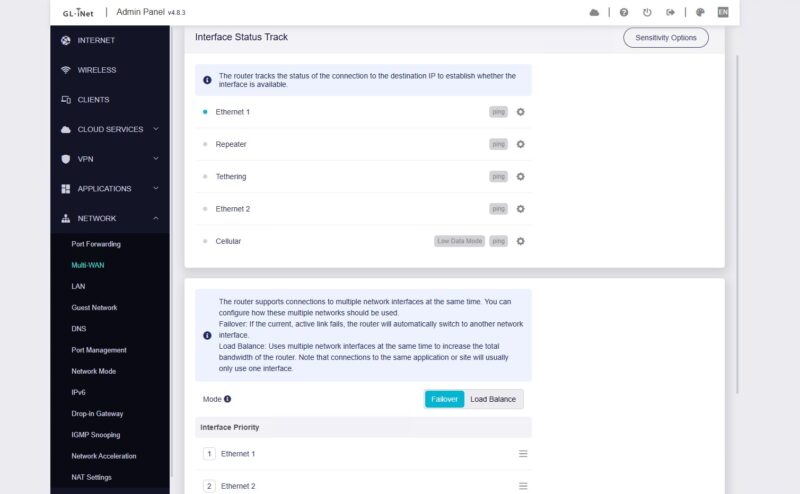
There is also an option to do multi-WAN, if you want to. That includes having a Cellular backup or Tethering to another device.
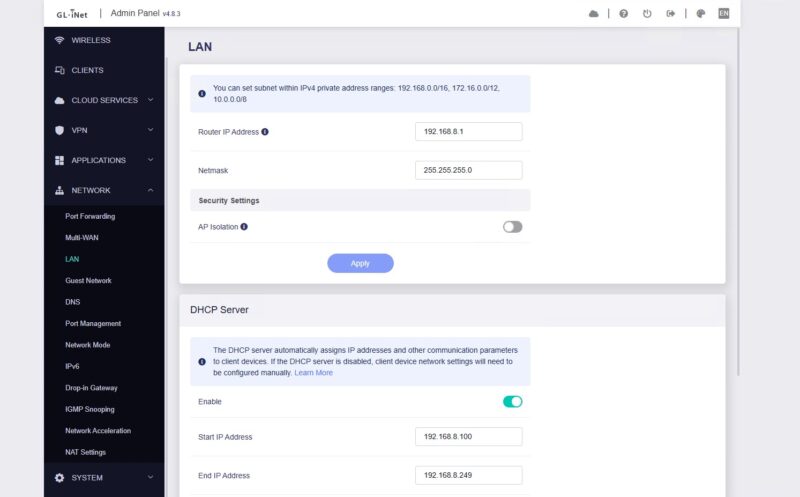
On the LAN side, you can set up the IP address and DHCP server, which is fairly normal. We found the AP Isolation setting here.
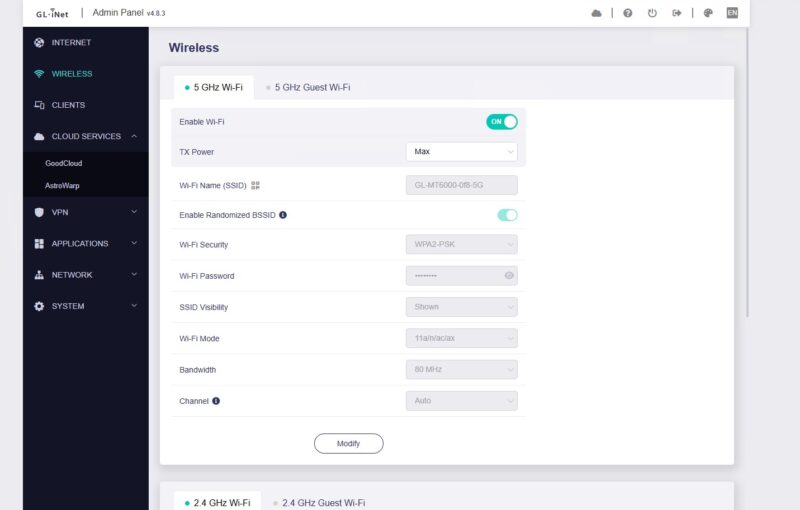
On the Wireless side, you can enable, disable, and change settings for the 5GHz and 2.4GHz networks.
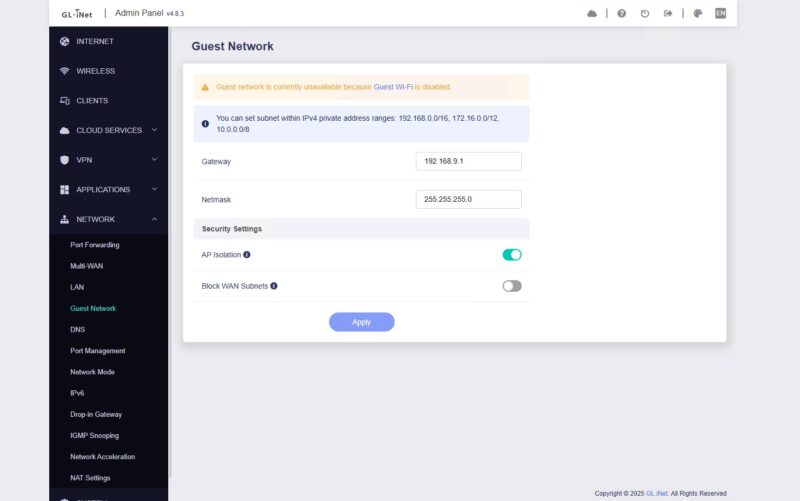
You can also setup a guest network, and we found the AP Isolation here as well.
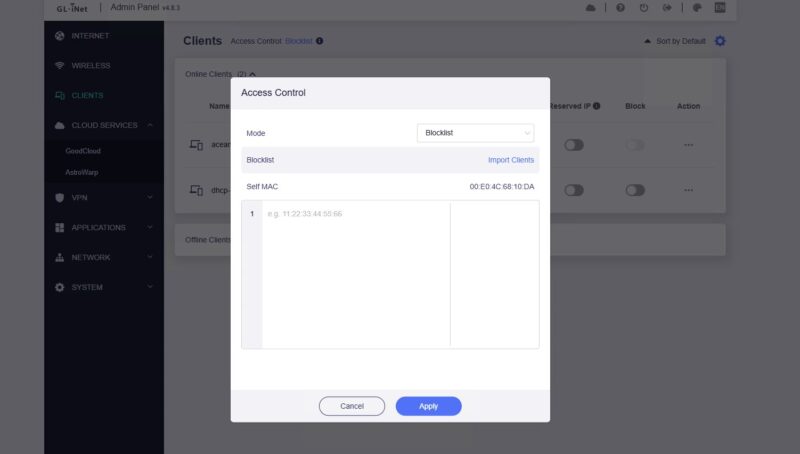
You can setup access control lists.
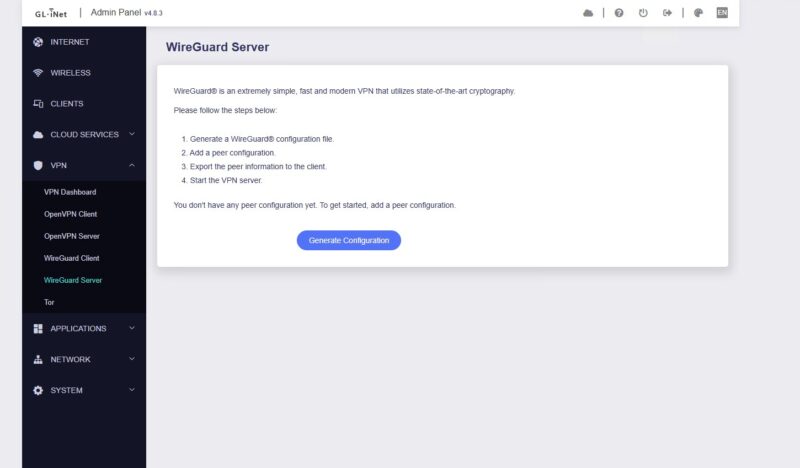
On the VPN front, there are settings for WireGuard, OpenVPN, and Tor.
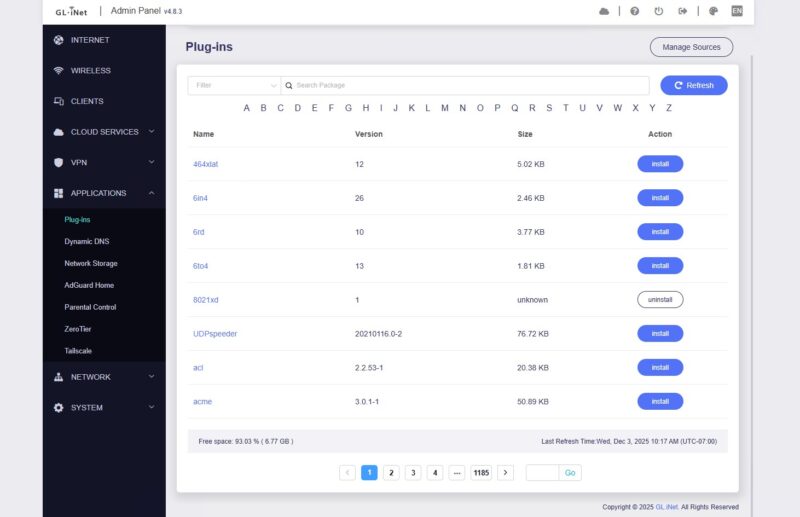
The Plug-ins list looks like this is just pulling in OpenWRT plug-ins.
Under the Applications, there are a number of items, but Tailscale is here. You can directly set this up as a Tailscale endpoint just like we saw on the GL.iNet Comet PoE 4K Remote KVM Mini Review.

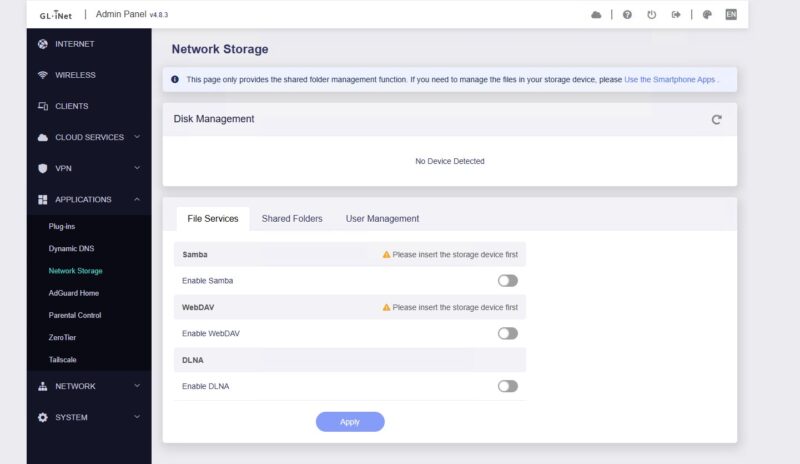
If you connect a drive to the USB port, you can set up basic network storage.
You can enable or disable hardware acceleration.

Next, let us get to the performance.


 and see how this OpenWRT-based device performs and what the software offers)
They’re underselling this. It’s known as the best WiFi 6 OpenWRT hardware out. https://www.reddit.com/r/openwrt/comments/1lopamn/current_highest_spec_router_that_supports_openwrt/
You’re right on the price now. If it goes on sale it’s the same or cheaper than that bpi kit you linked
This is also known for having really top tier wifi. I know you don’t test wifi, but it’s the best out there
Unfortunately it doesn’t come with PoE …
As someone who uses and develops for OpenWrt a lot, I have to add that this is a custom modified fork of OpenWrt, that’s also why it’s stuck at the very outdated 21.02 release which hasn’t received security patches in years.
However, OpenWrt itself provides full up-to-date support for the device, and OpenWrt images can be installed by simply flashing the respective sysupgrade image, as linked on the wiki page.
Devices with Mediatek Filogic chipset are generally very well supported by OpenWrt and perform great.
I’ve had a flint2 for nearly a year at this point and have enjoyed the simplicity of setting it up and the ability to integrate tailscale into it without issue
@Joe routers don’t typically come with PoE, mikrotik is an outlier for that. If you need PoE
you’d be better off getting a basic PoE switch or a PoE injector
My only problem is that this is a Hong Kong based company, not a US based company. I get that everything is MIC but I prefer to buy something designed in US, Japan, or some other non-life threating county.
I’d love to see, with Ryan Smith here (welcome!), to a return of AnandTech’s charts. Meaning to say, each router review will just add another bar to the chart with all the previous results.
This may take time to ensure a standard methodology (otherwise, they can’t be plotted on the same graph!), though, but hopefully the old routers can be re-tested.
This is pretty amazing equipment STH has and it’d be great to have a unified methodology + charts / database.
I thought the $280 UCG-Fiber was “just OK” with just ~1500 users, but seeing these $100 – $140 devices only achieving ~100 users seems like the UCG-Fiber has more oomph.
As mentioned by the other comment, they’re using a custom version of OpenWRT based on an older version. It would be interesting to see if installing the version from OpenWRT would cause any changes in performance.
Flint 3 with WiFi7 would be way more interesting.
For 199$ not even that much more.
you should went with OpenWRT 24 flavor of Gl-Inet firmware (available from their website), I got better results on my VPN use (~100Mbps more bandwidth over Wireguard) + nice feature of multiple VPN active at the same time and routing traffic between them. All in all, great device for the money. Wanted to move to their Flint 3 but as it actually has weaker CPU it didn’t work for me due to lower Wireguard speeds. Cheers!
I have had two of these routers for more than a year, and I love that I can do whatever I want in LuCI: set-up VLANs, install additional packages, make my own dual-WAN script, etc. But they both have one, I believe physical, downside – low-sensitivity of the 2.5G ports, if the cable is longer than ~50m they can’t negotiate it even at 1G.