
Proxmox VE has added support for ZFS boot disks, including RAID 1 arrays. For those that have been following STH for some time, we started using Proxmox several years ago when the site first moved to its colocation facility. Although STH no longer uses Proxmox, the project has moved on and in the newest Proxmox VE 3.4 version, ZFS on Linux has been added. The new installer even allows for one to easily create a ZFS RAID 1 boot volume. Today we are going to look at that process.
Test Configuration
We used a simple test configuration that allows for a 14.2w idle. If one wants a low idle power cluster, the C2750 is still the leader.
- Motherboard and SoC: Supermicro A1SAi-2750F with onboard Intel Atom C2750
- RAM: 32GB Micron DDR3L (4x 8GB SODIMMs)
- Drives: 2x OCZ Vertex 1 120GB
Not too fancy but the eventual goal is to have nodes with SATA II boot SSDs, hard drives on the SATA II ports and faster/ larger SSDs on the SATA III ports.
Installing Proxmox VE 3.4 on a ZFS RAID 1 array
The firs step is heading over to the Proxmox website and downloading the ISO file. Once it is downloaded, one can either mount via IPMI (shown below) or burn an optical disk image or flash boot drive with the ISO.

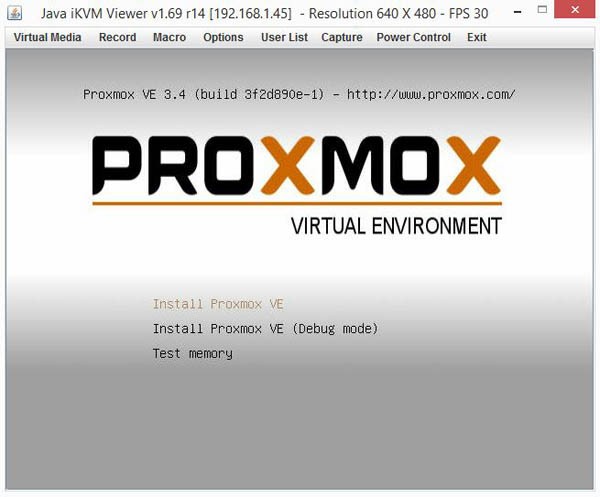
After booting, select the first option from the installer screen.
At this point, you will see the boot environment. Give it some time to boot into the installer.

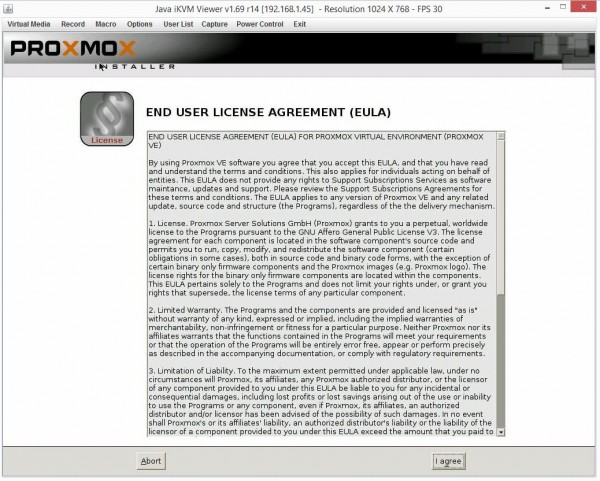
As with all things software, accept the EULA to continue.
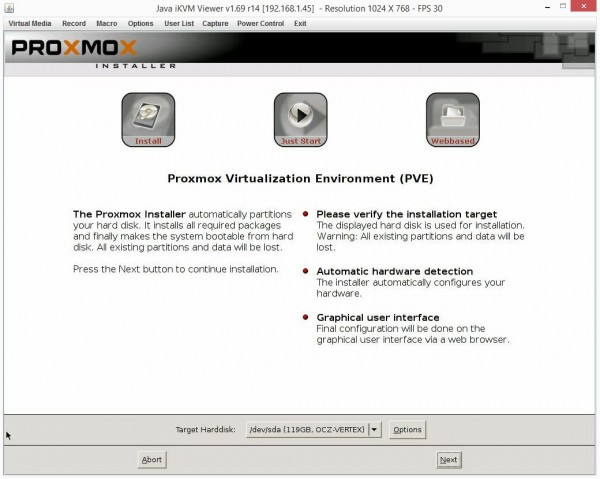
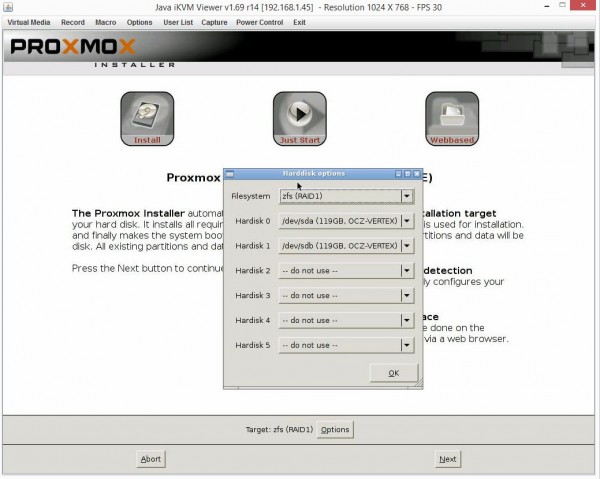
On the next page you will need to make a decision on where to install Proxmox. Here, it is recommended to click Options.
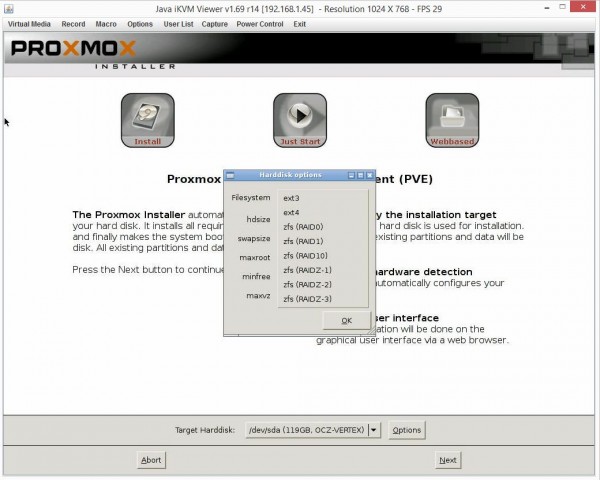
Under File system one is presented with a number of different options, six of the eight are now zfs options. We are going to select RAID 1 to use both SSDs.
Since we have not installed our other SSDs or HDDs yet, we can see the two OCZ Vertex drives as Hard disk 0 and Hard disk 1 [sic]. Yes, “hardisk” is in the foreground window while “Harddisk” is in the window’s title bar and “hard disk” is in the background installer text.
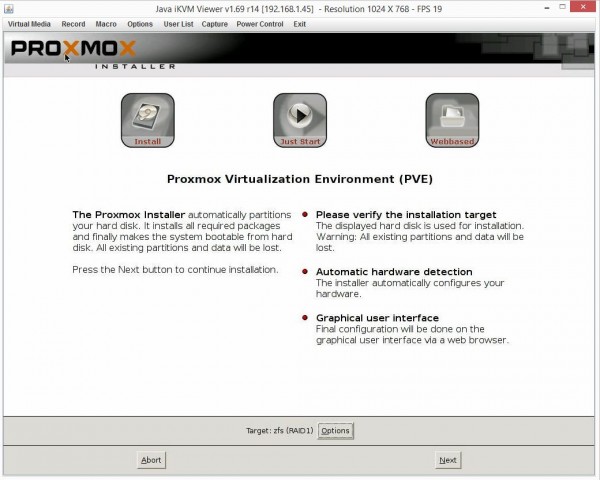
After one clicks OK they are taken to back to the installer screen.
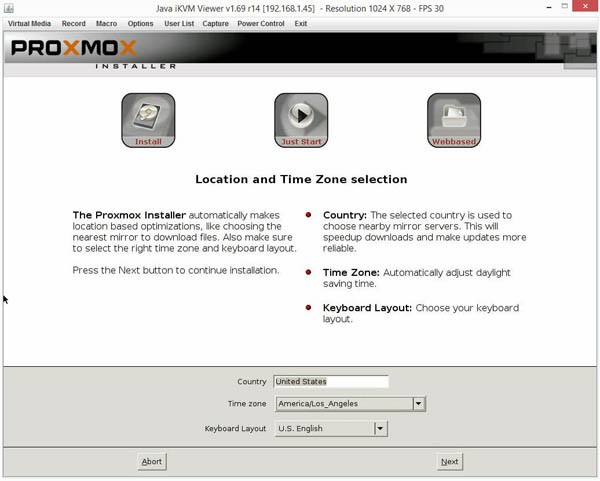
Next pick the location.
Followed by the root password (login is root with whatever password you have here). That is not explicitly called out on this page so that should save you some time searching.

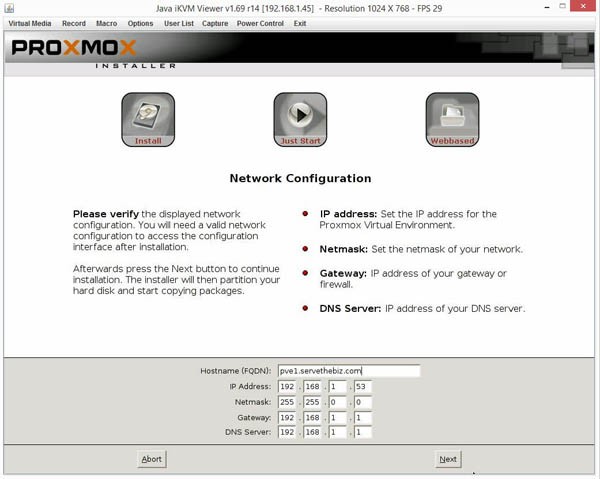
Finally, it is time for network configuration.
At this point, you will need to remove the boot media and then the system will boot into Proxmox’s CLI.

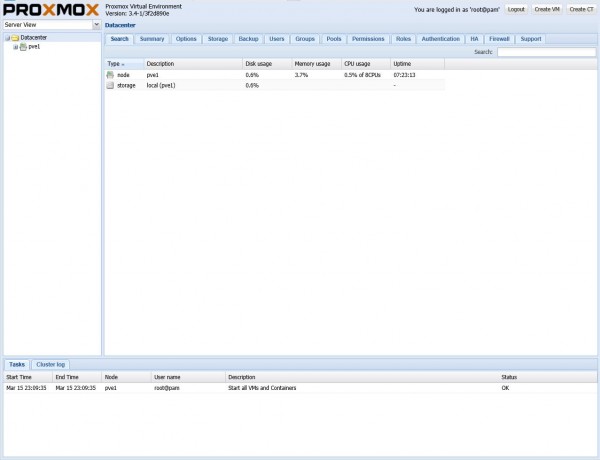
The CLI gives one the web page that can be used to access the GUI. You can also use the root login here.

At this point, you are up and running and ready to start managing VMs and storage from the web panel.
The one big note in this entire process is that the Proxmox installer is exceedingly easy, even to start using a ZFS RAID 1 array with. The one challenge it faces is that the installer’s options to proceed are buttons that say Abort and Next. There is no back button if one inadvertently clicks Next before having the correct settings. It takes only a few seconds to boot but this can be a consideration for folks looking to use Proxmox. Certainly the new Proxmox VE 3.4 ability to boot off of RAID 1 (or RAID-Z1, Z2 or Z3) arrays is an awesome asset to the platform.


