
Today we are going to look at how to install pfSense with a mirrored boot device. pfSense runs perfectly well on USB sticks but for local logging, some prefer SSDs which can offer higher write endurance. Since pfSense often runs at the edge of networks, failure and downtime adding redundancy can provide peace of mind. Using a mirrored boot device in pfSense is extremely easy to setup and with the costs of high quality SSDs plummeting, this is an attractive option.
Test configuration
For this we used a slightly different setup than we normally would. We utilized a Supermicro X9SKV-1125 Intel Xeon E3-1125c based system we reviewed that includes Intel’s communication chipset. For SSDs we added two Intel S3500 240GB drives attached to the two SATA ports on the motherboard.
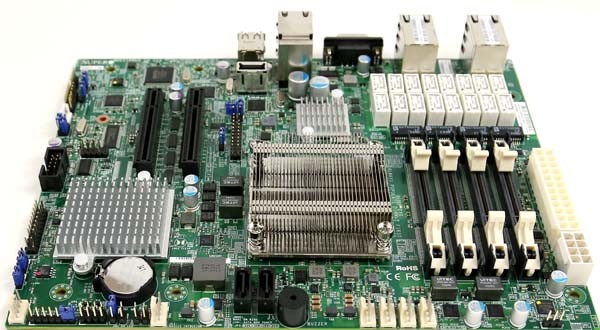
This configuration certainly qualifies as a fairly robust solution as the base motherboard is designed for embedded communications platforms. We are using pfSense 2.2.4 which is the latest available release at the time of this writing.
Setup
The first steps in the setup are booting from an ISO with the full installer. Since the purpose of this guide is to install on two SSDs, the assumption is that one is not trying to simply run pfSense off of an embedded USB stick.
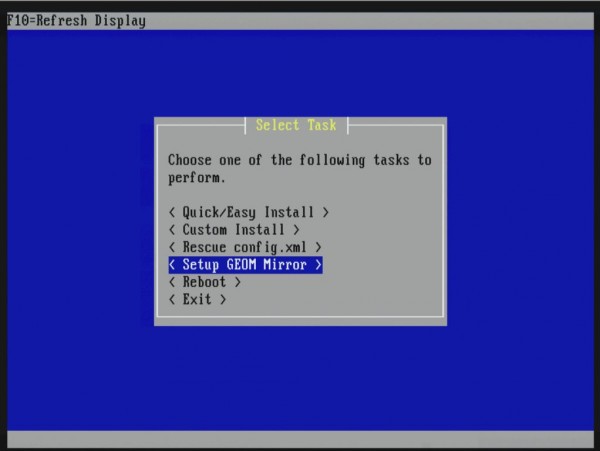
pfSense detects the presence of two disks but will not install to a mirror itself. It will add a < Setup GEOM Mirror > menu item at one of the initial install screens.
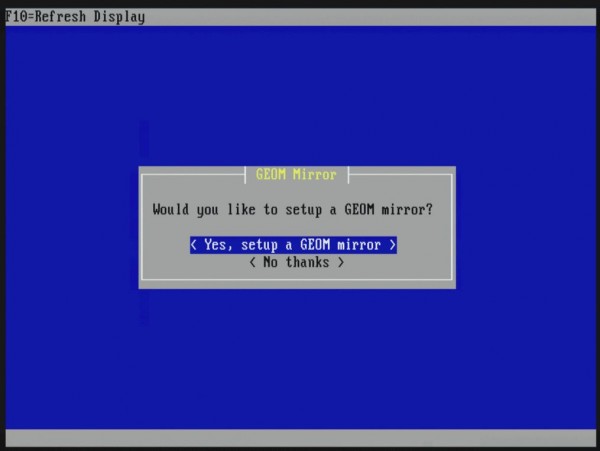
Assuming you are following this guide, it is best to confirm that you want to setup the mirror.
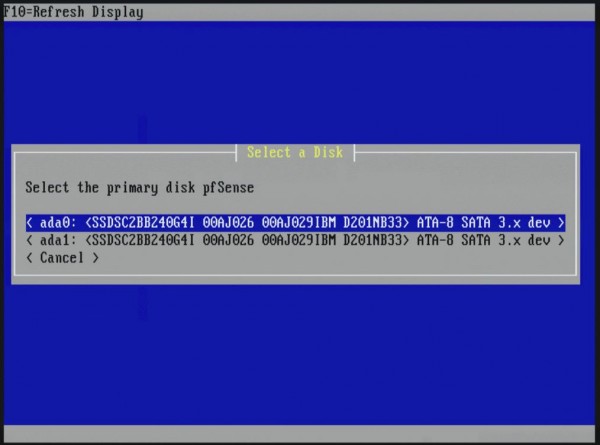
Once this is complete, you need to select the primary disk. In this case we are selecting our first Intel DC S3500.
Next you need to select the disk that will be the mirror. In this case we are using our second Intel DC S3500.

Once this is complete, you can simply install to the mirror as normal. The net result is a mirrored installation of pfSense that will provide peace of mind in the event of a disk failure. In terms of difficulty this is easy even for a novice to complete in under a minute.


Interesting! Never knew it was possible.
Not entirely clear, but is it an existing install or a new install of PFSense?
This was done as part of a new install.
thank you, but this is a software RAID right ? its not recommended.. dos pfsense support hardwar (BIOS) raid ?
This is the recommended way to mirror for pfSense.
this article is interesting but need some explanations.
what happened when the first disk fails ??
is there an email alarm or something else to know it must be changed ?
will the errors on first disk be copied to the second disk that is OK ?
and when the first disk is replaced, do you need to redo this installation ?
thanks for your answer.
Outdated in 2.4.x now use zfs option